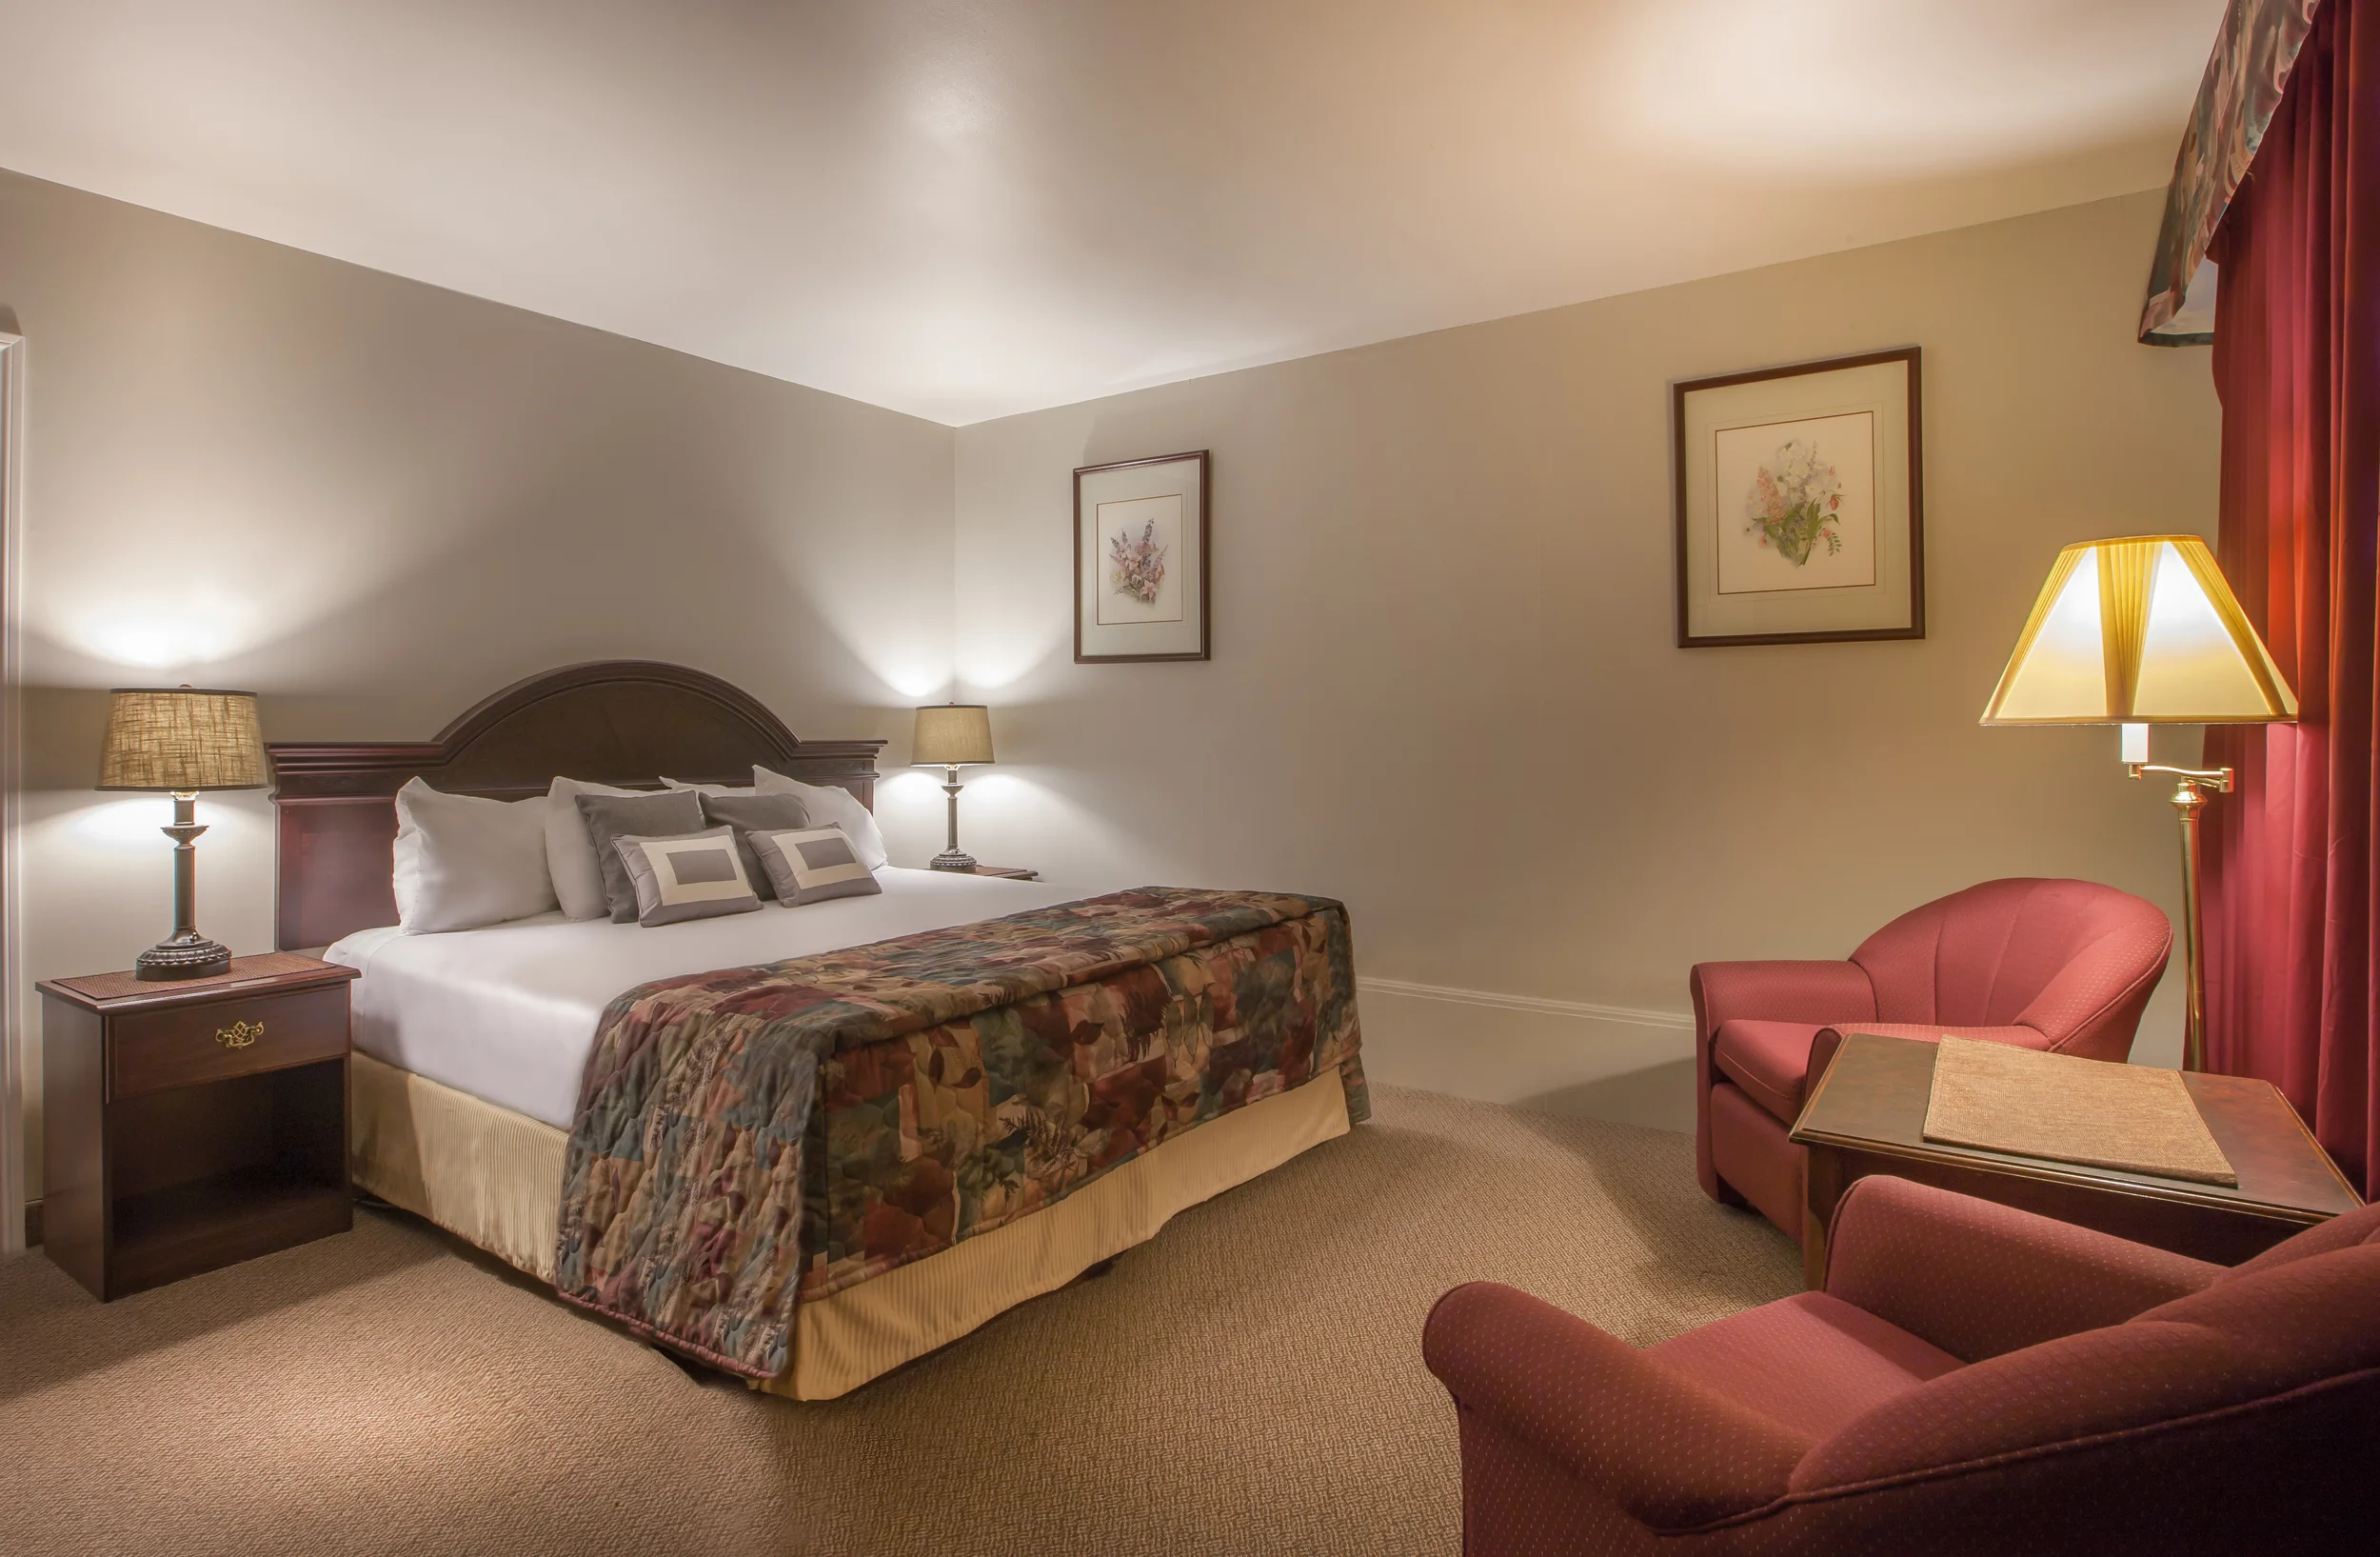
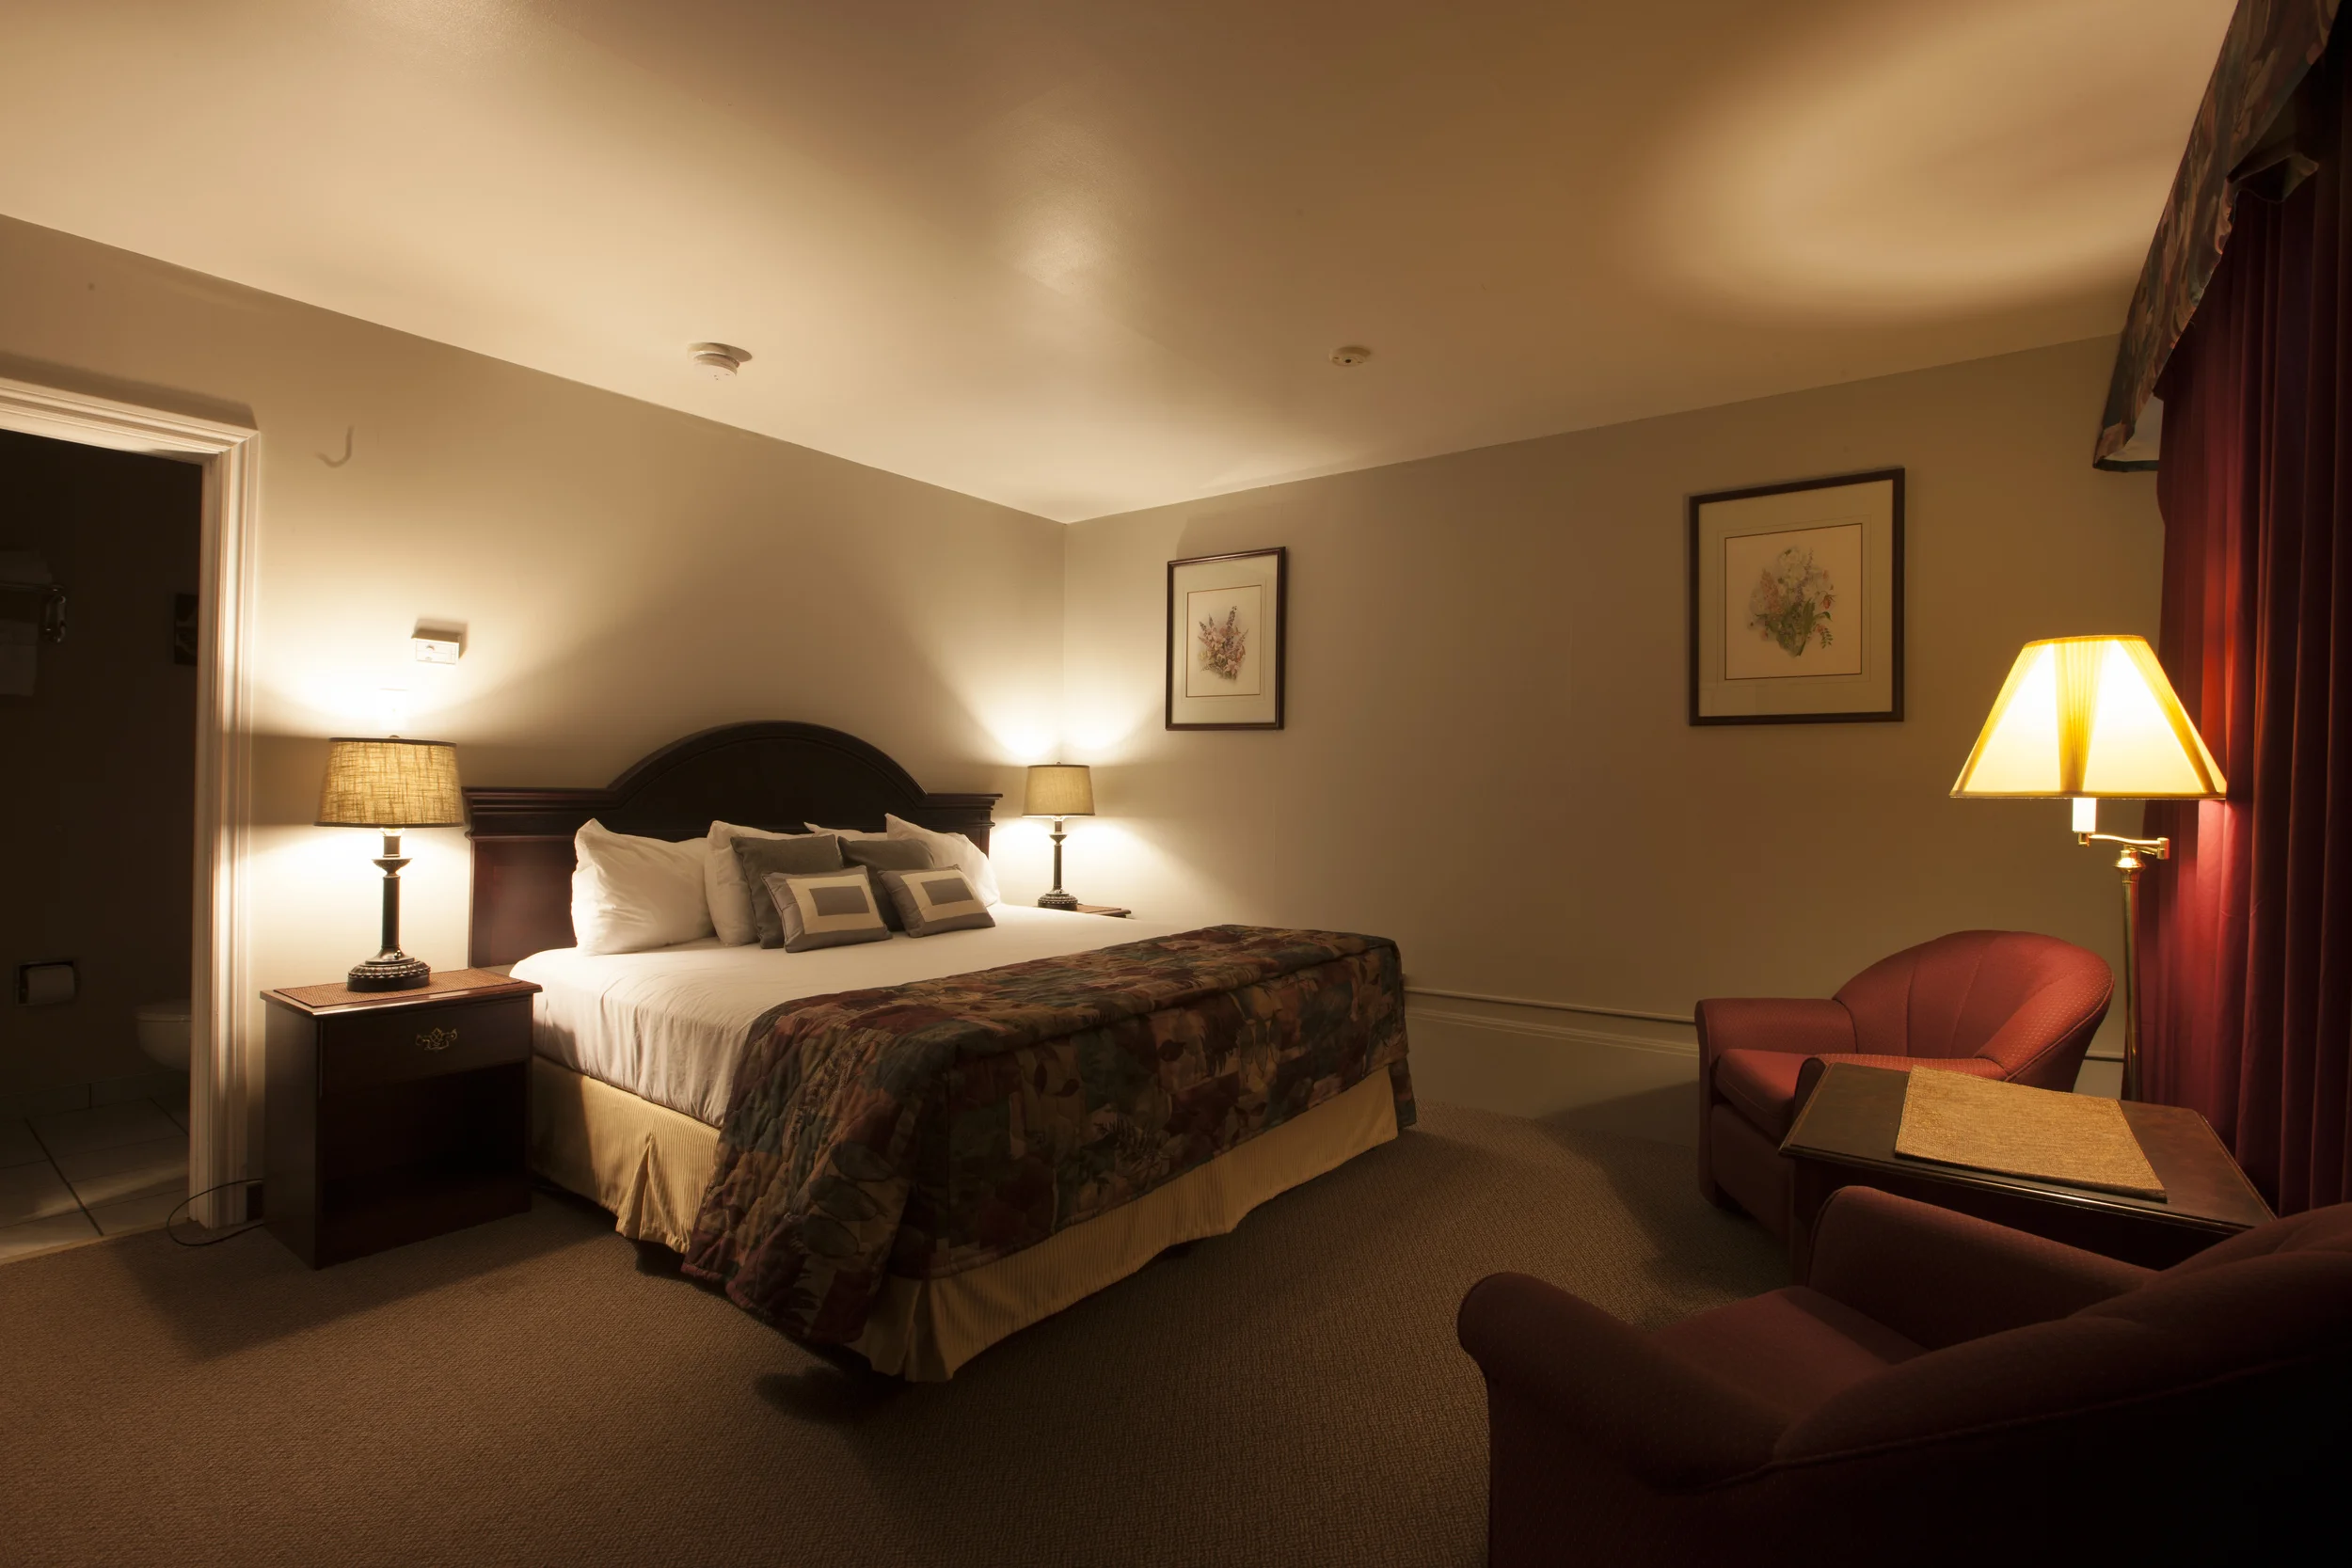
This hotel room really shows the power of editing software and the tool available to make any image come back and with amazing results. I really find it disappointing when you come home from a shoot and realize that you missed some valuable thing that you could have avoided, like in this image the bedskirt and bedding were crooked and out of place. check out the result!
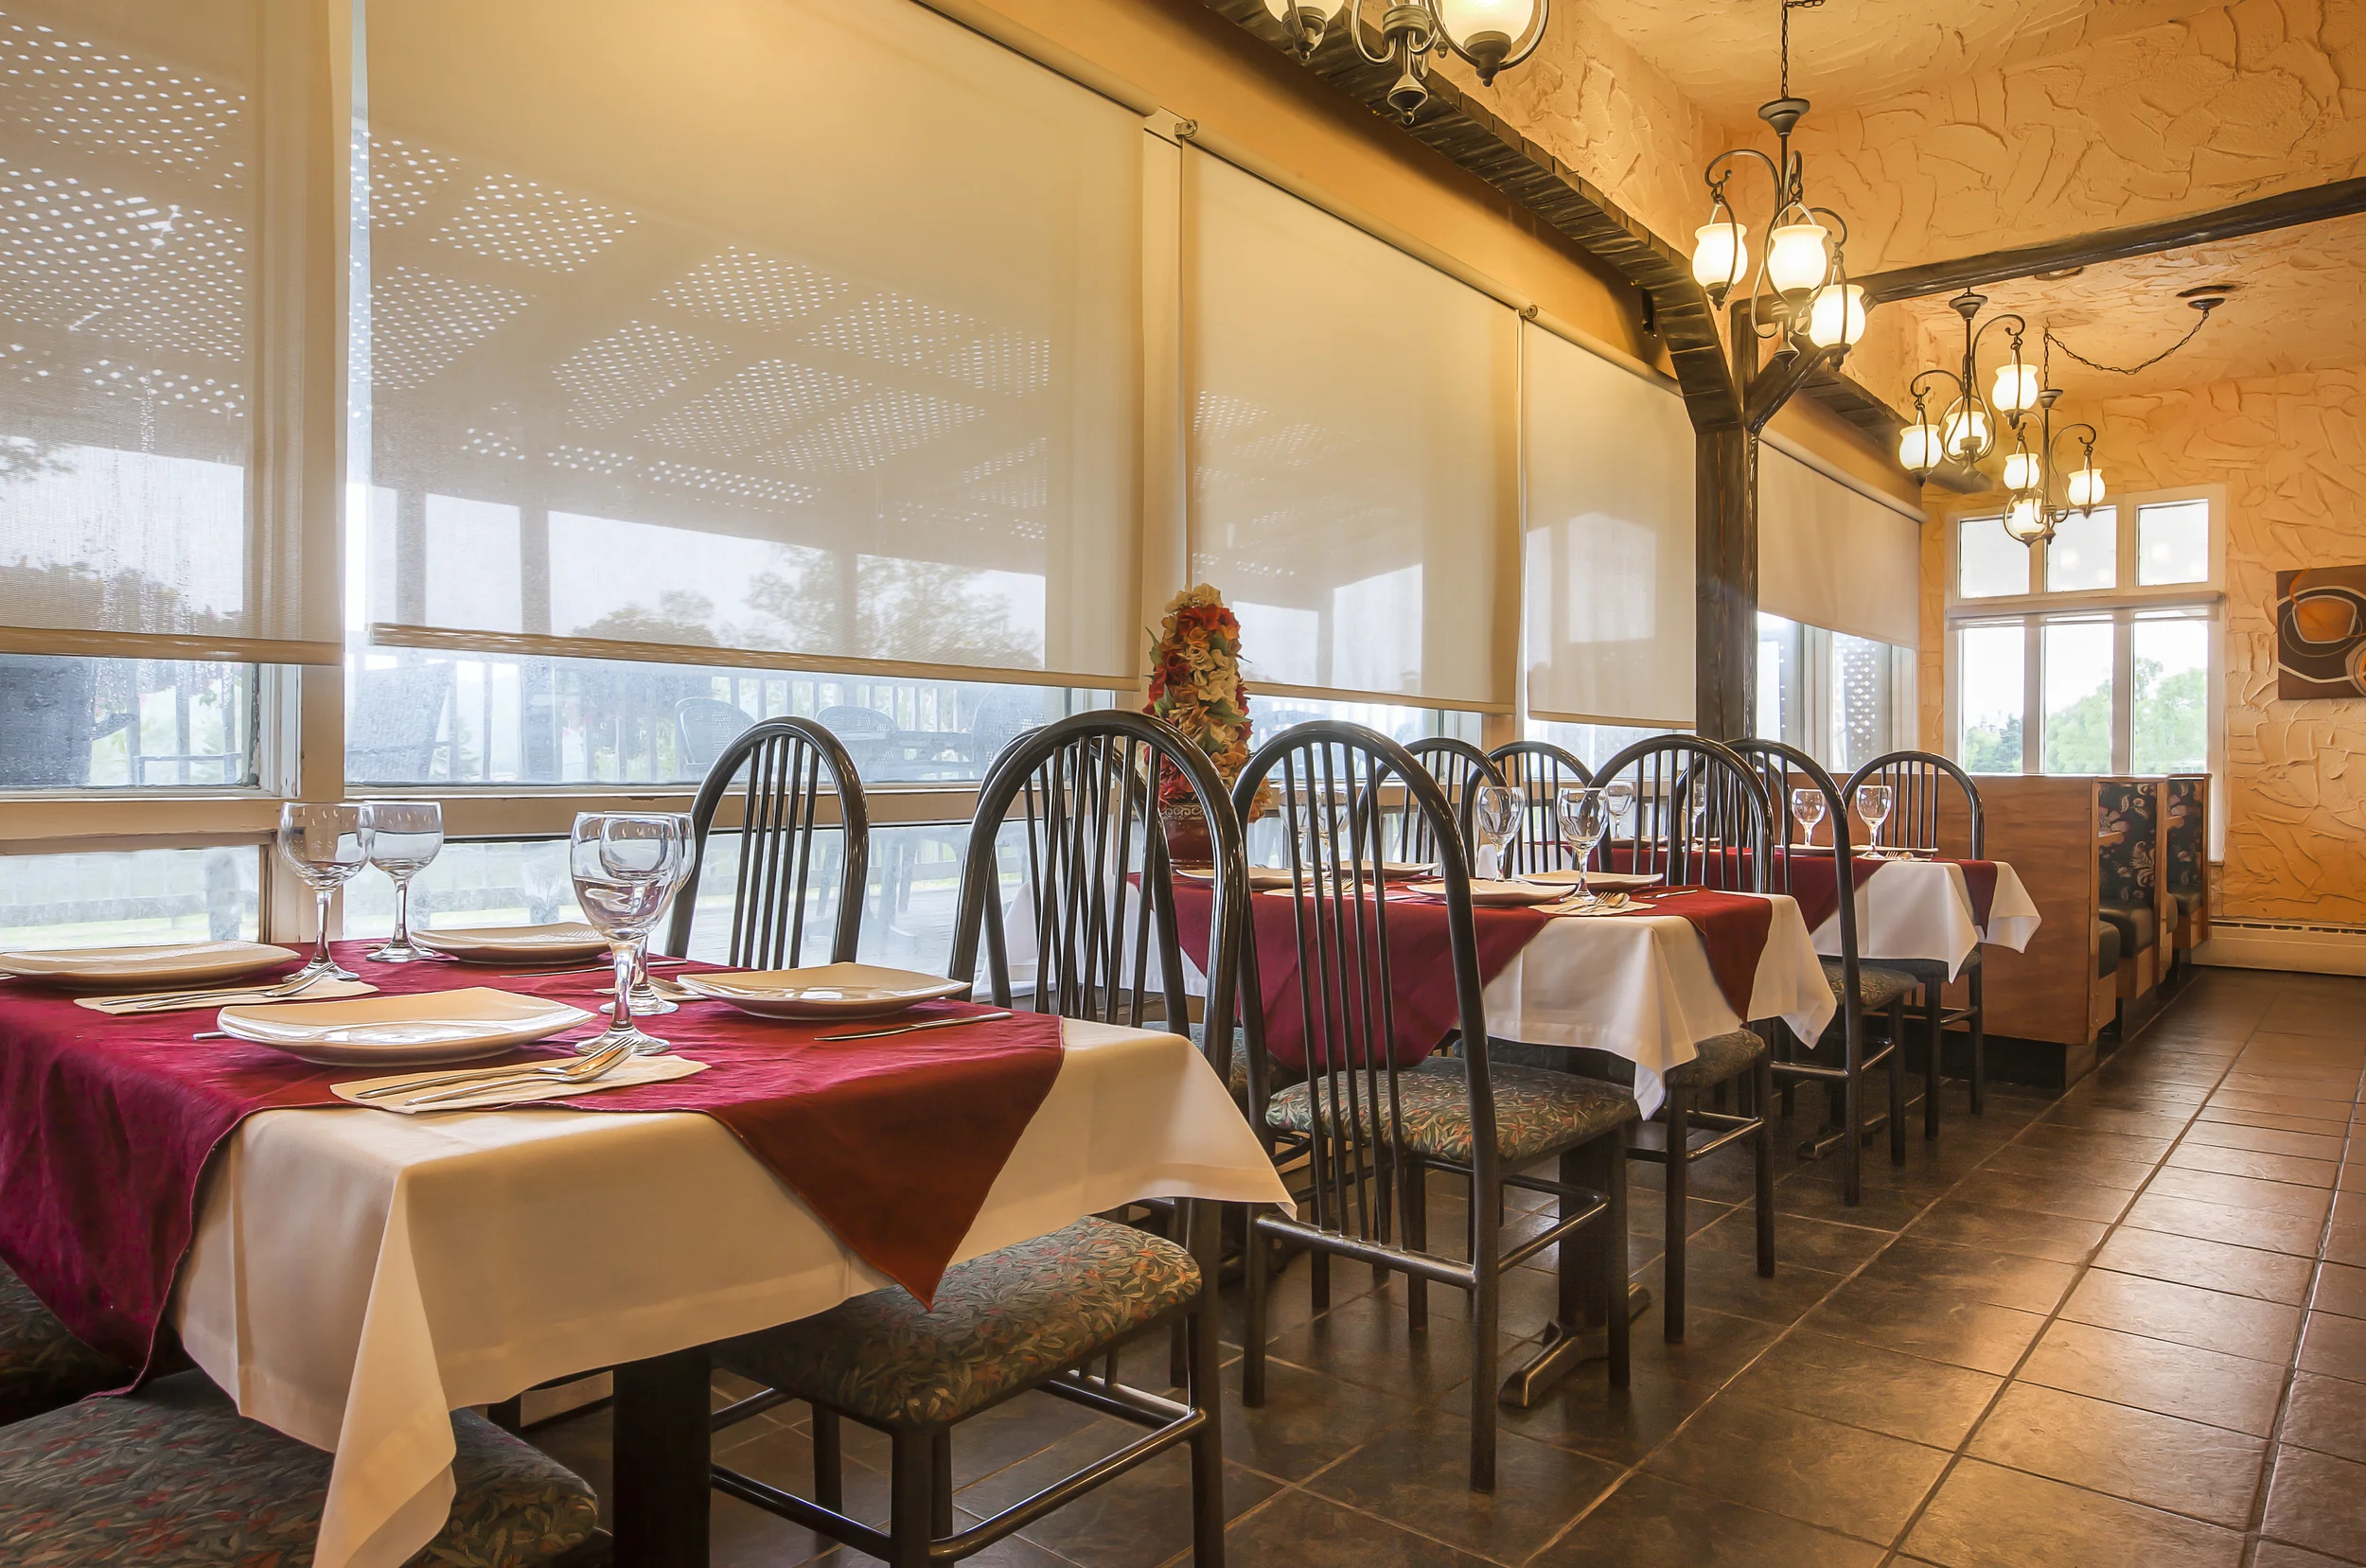
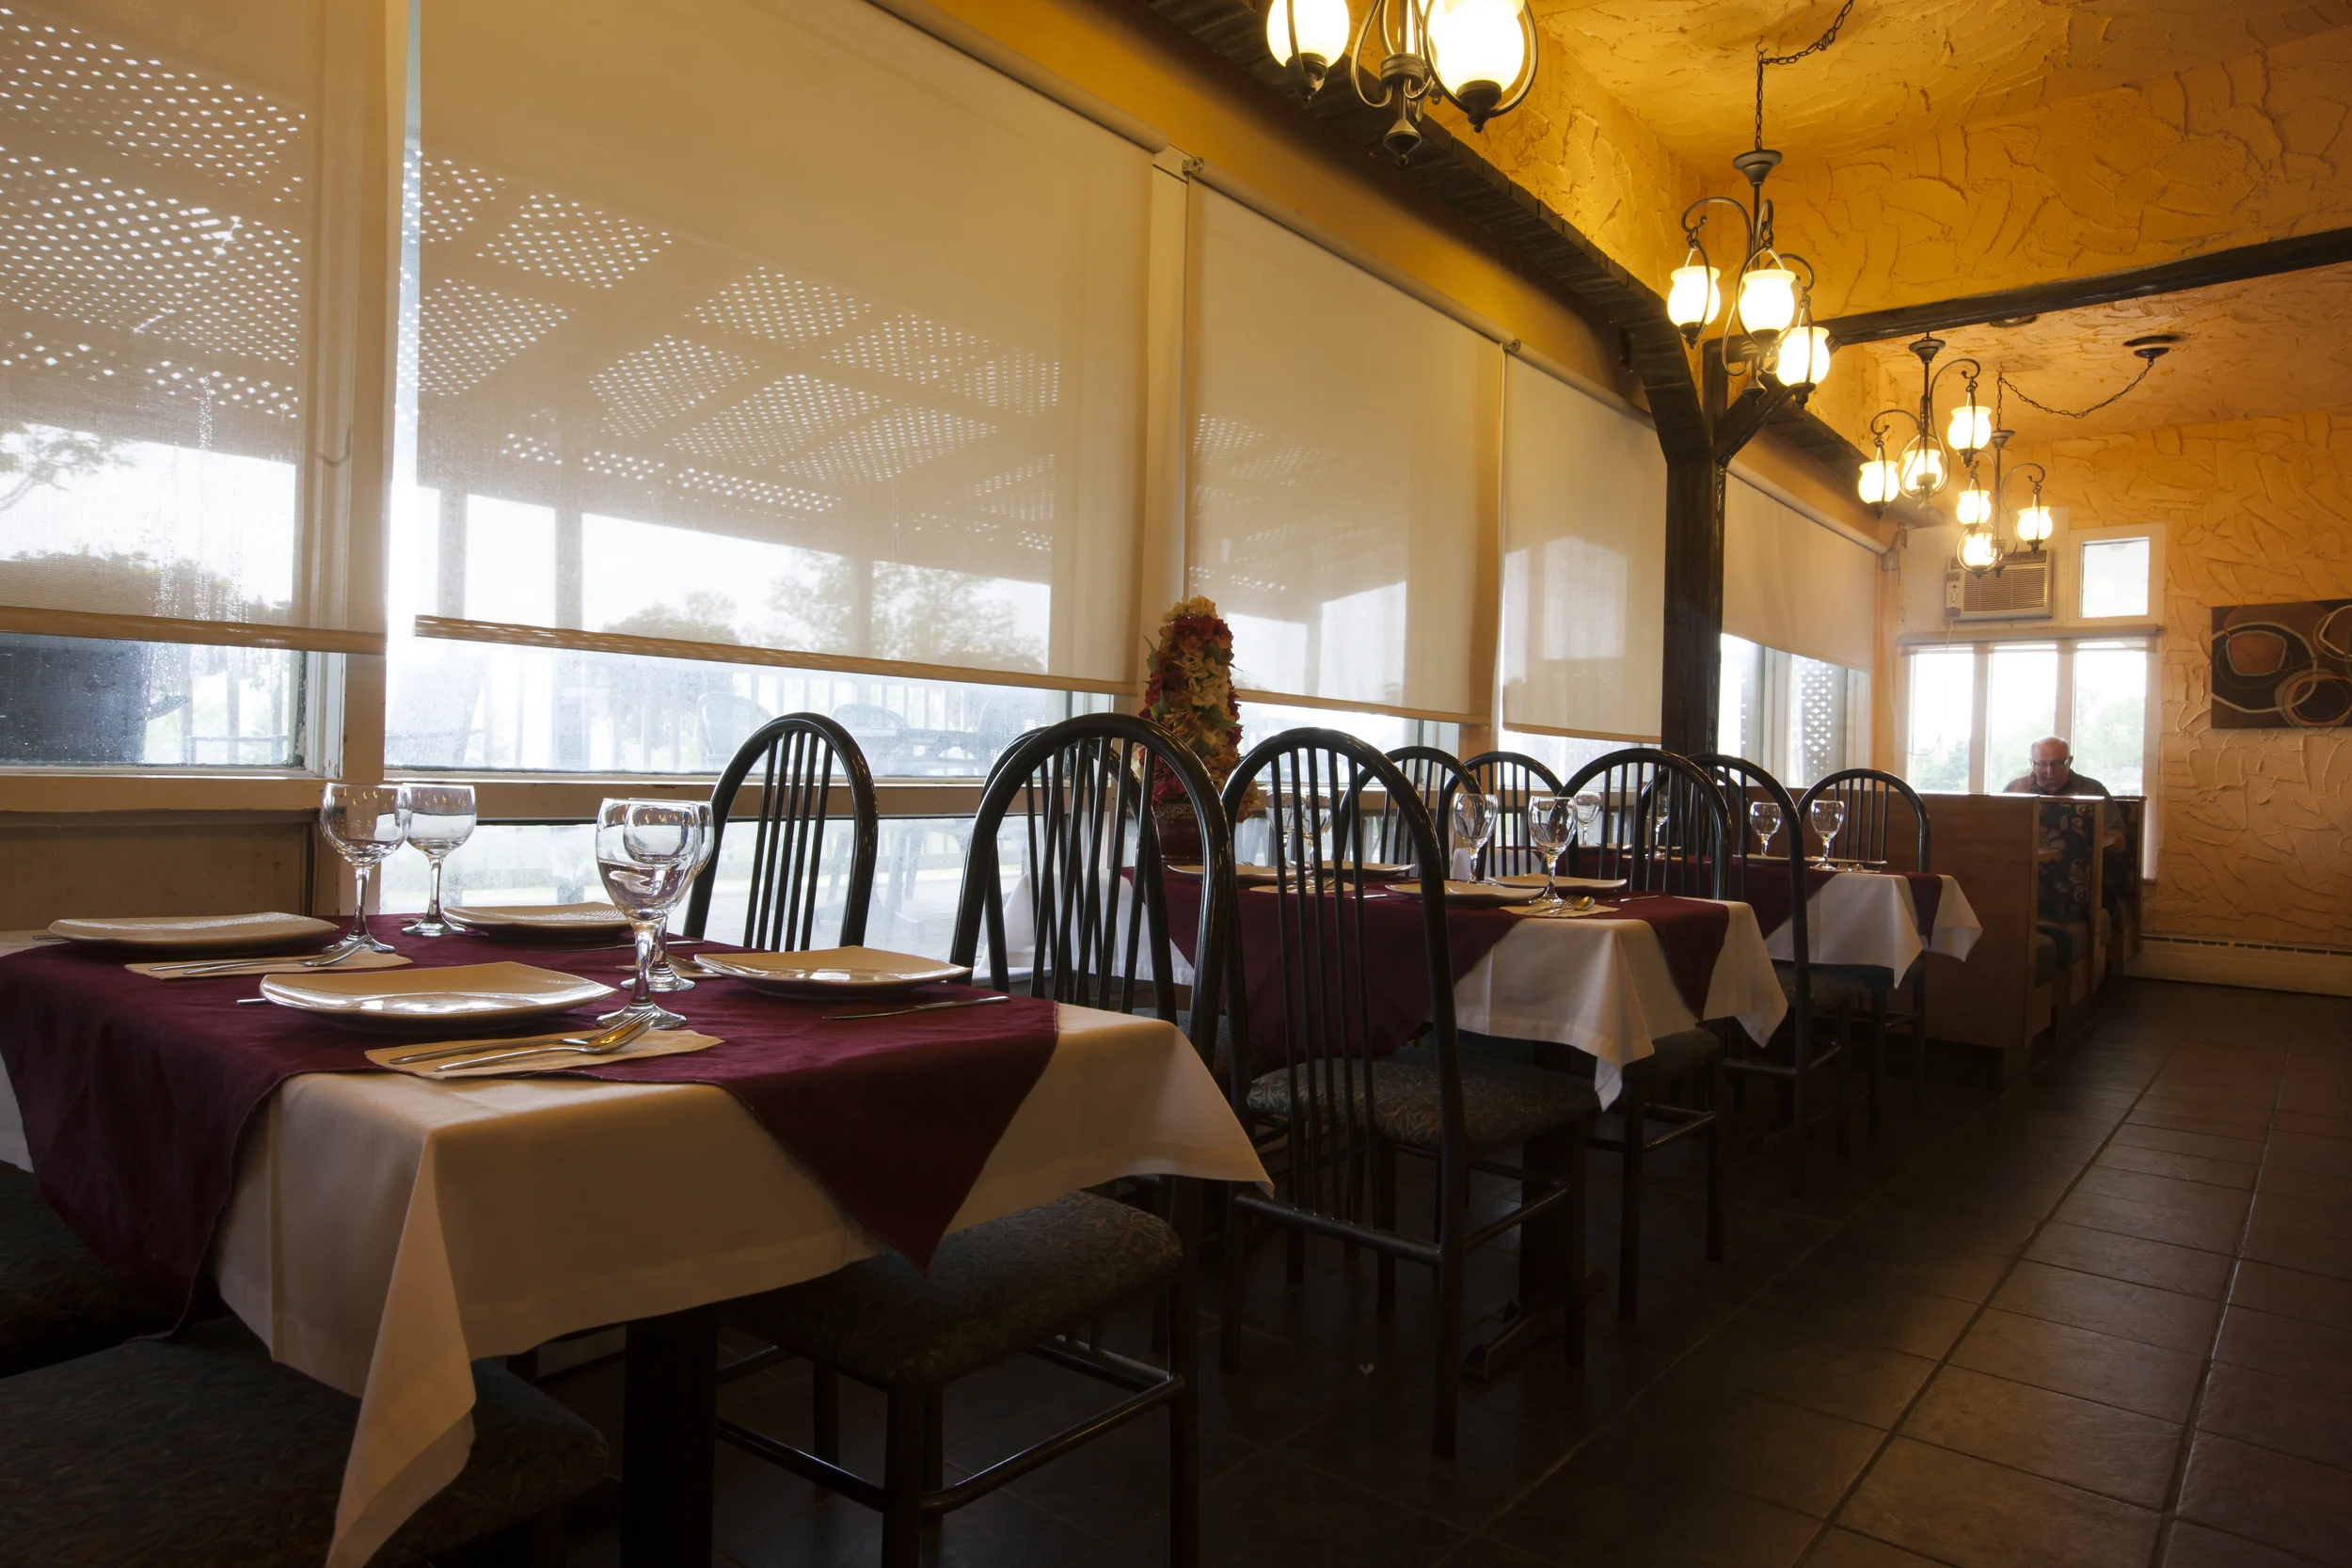
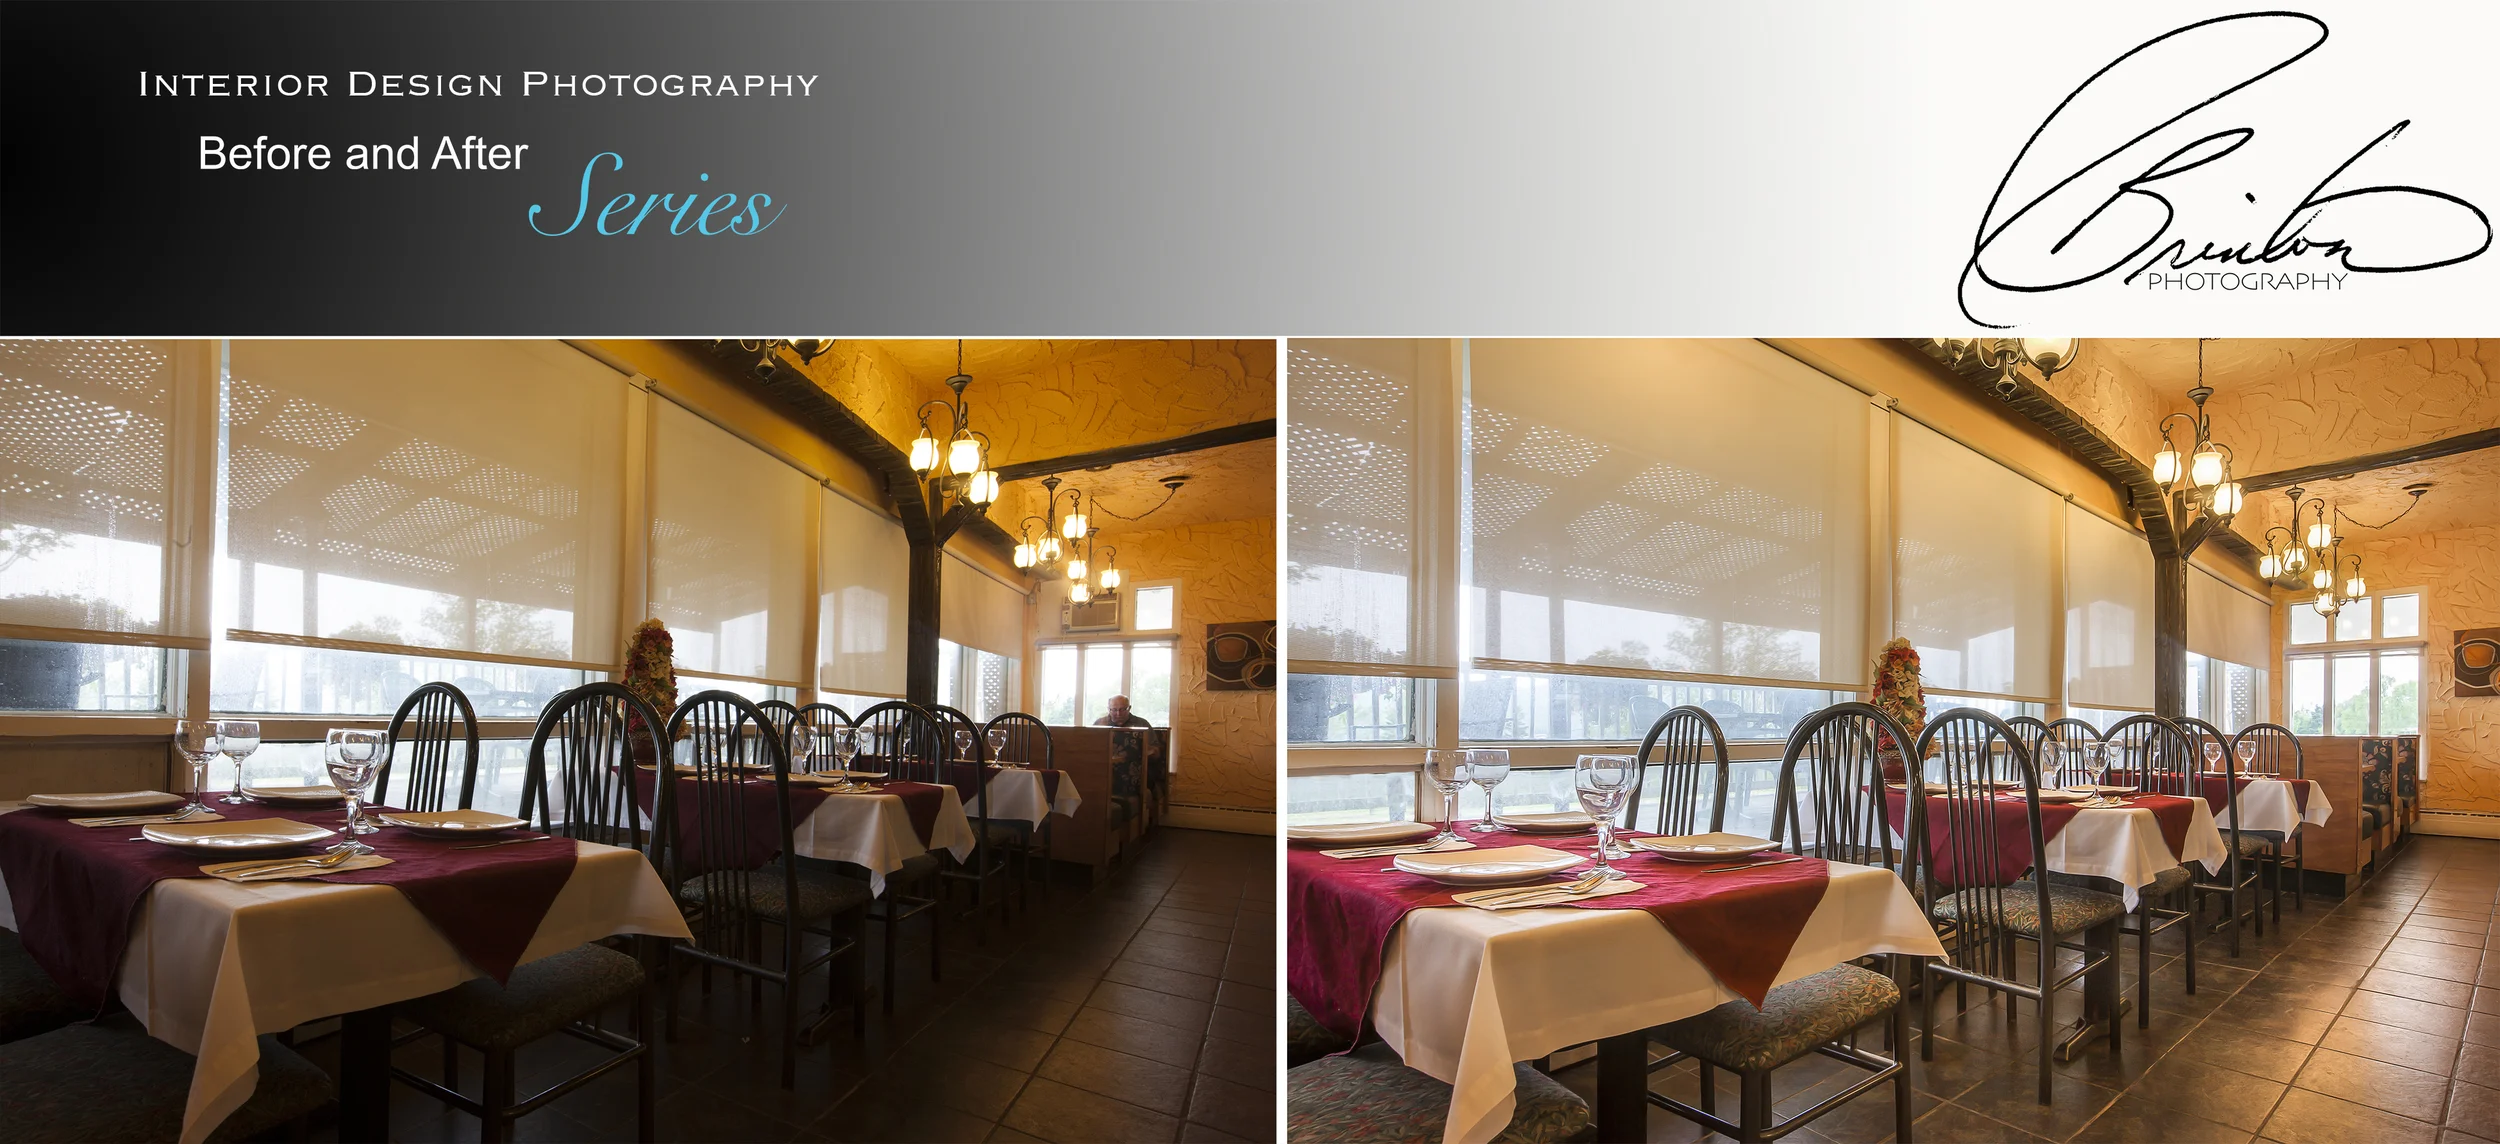
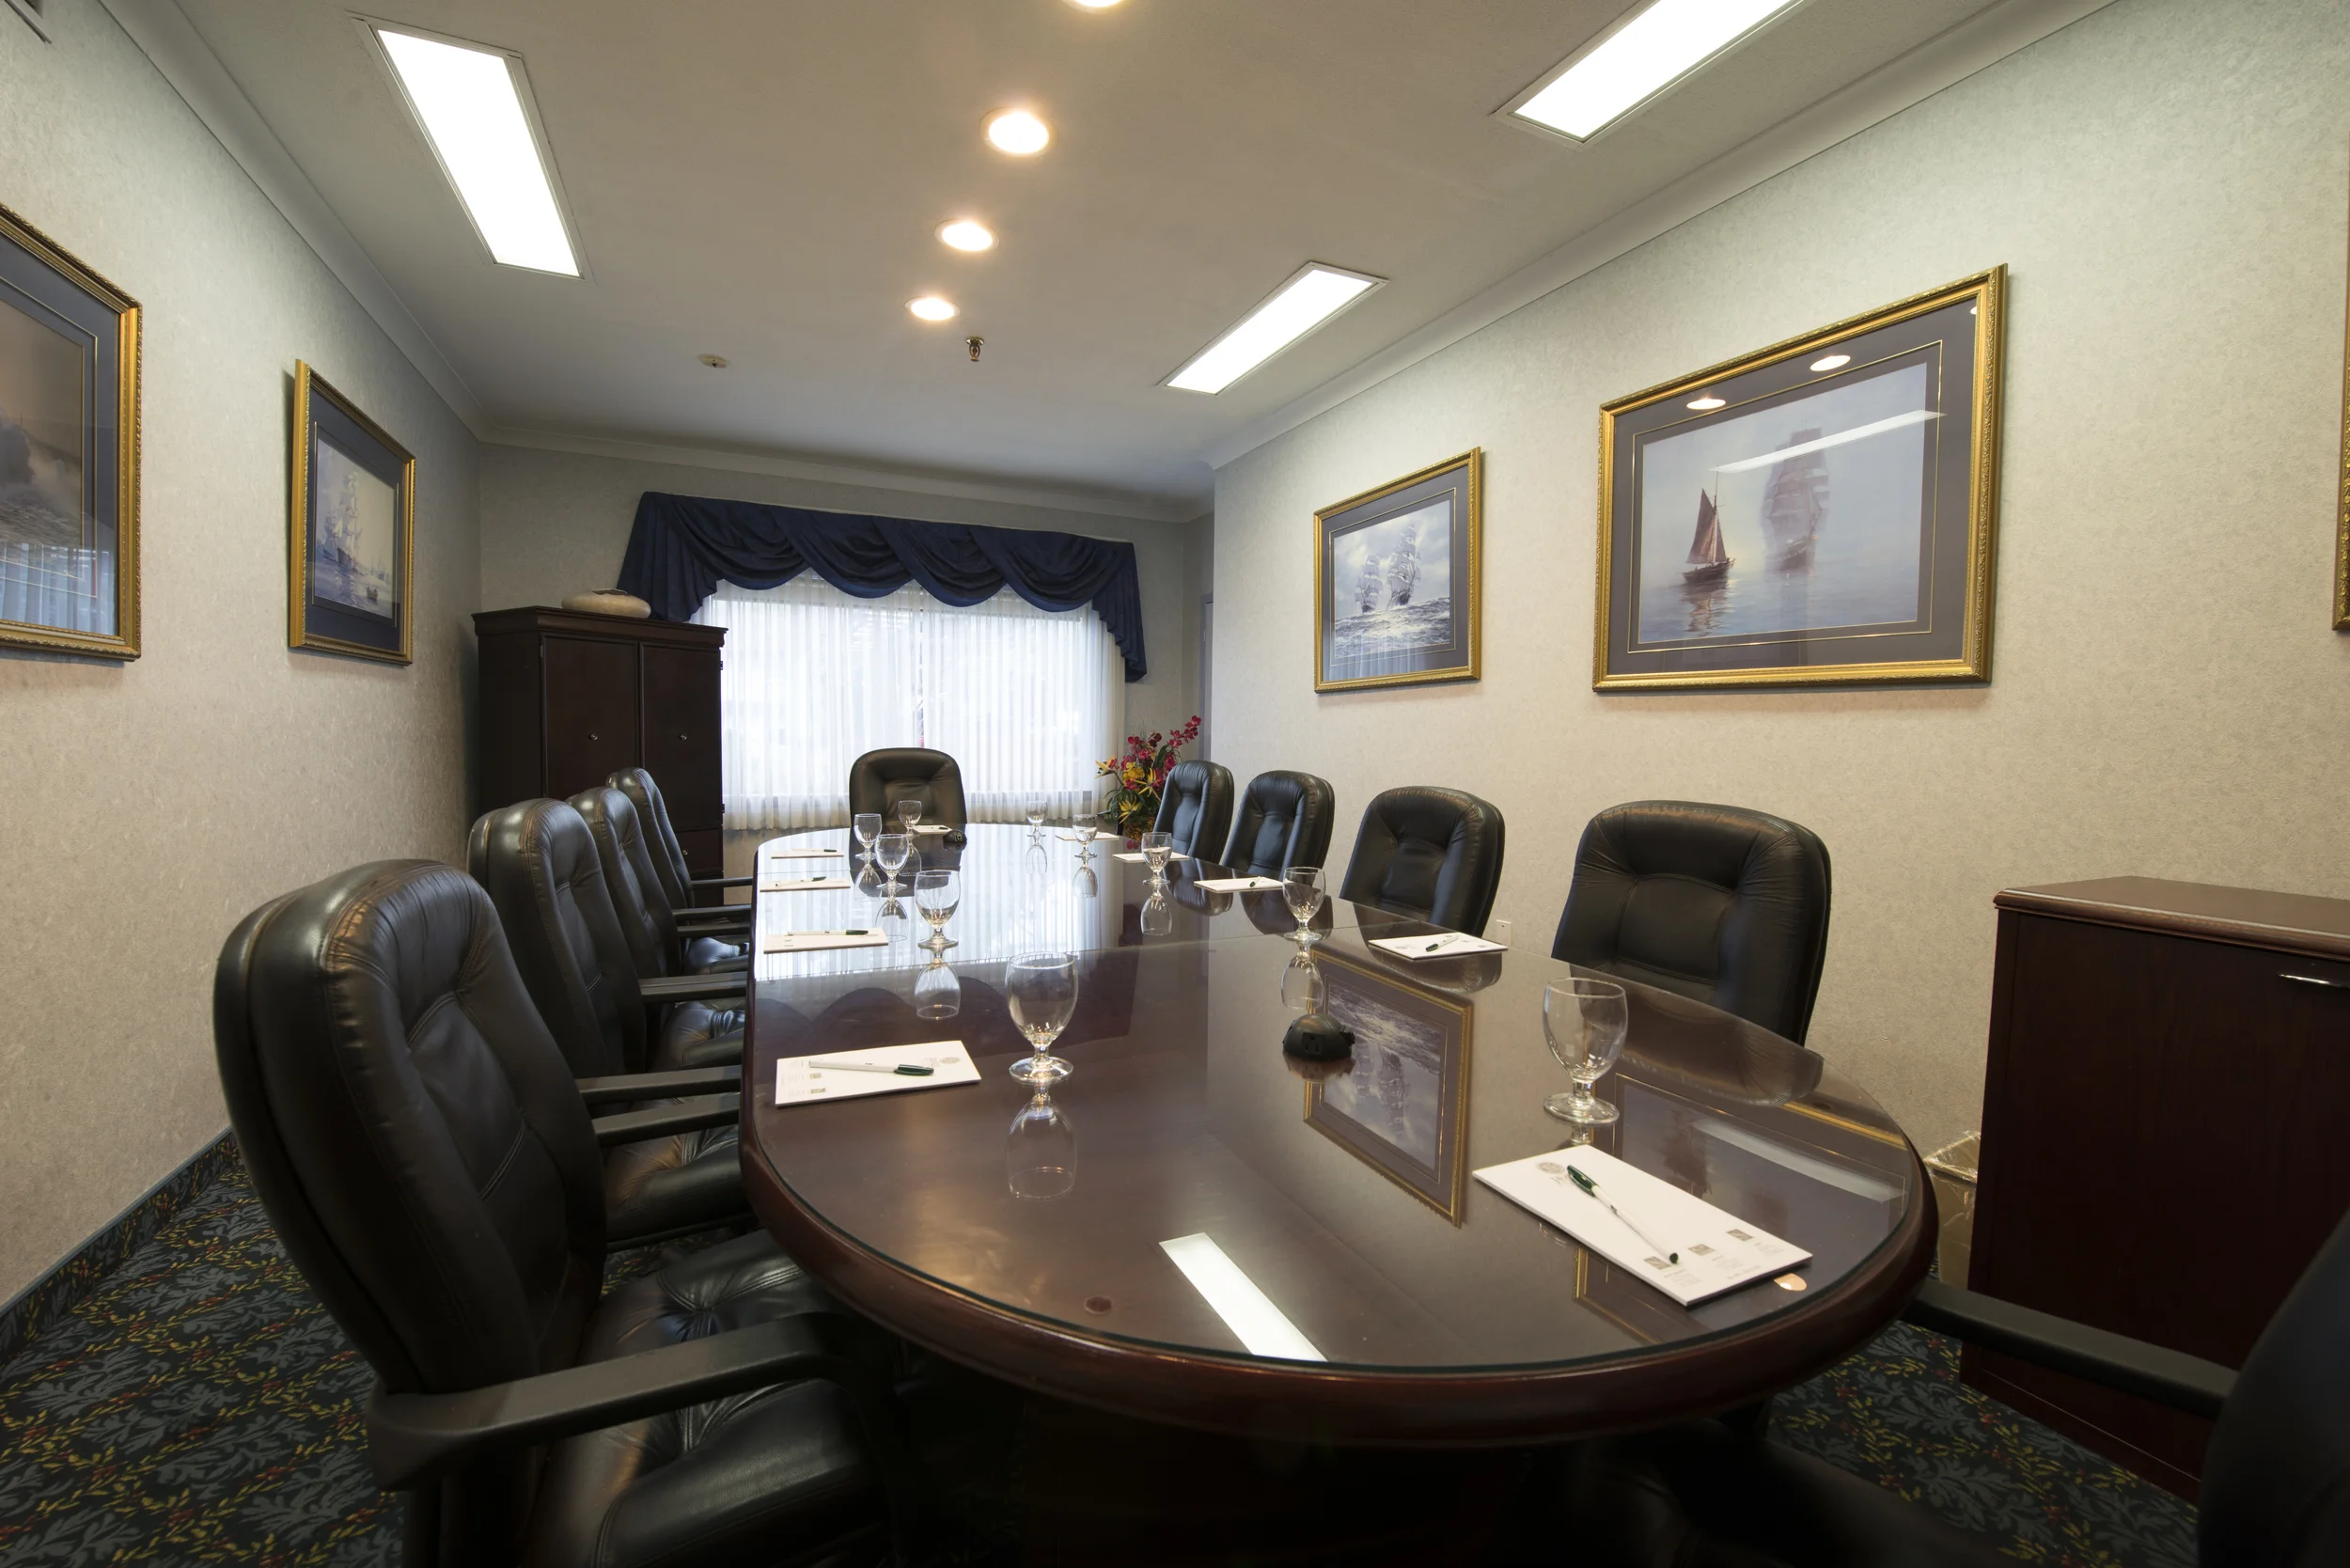
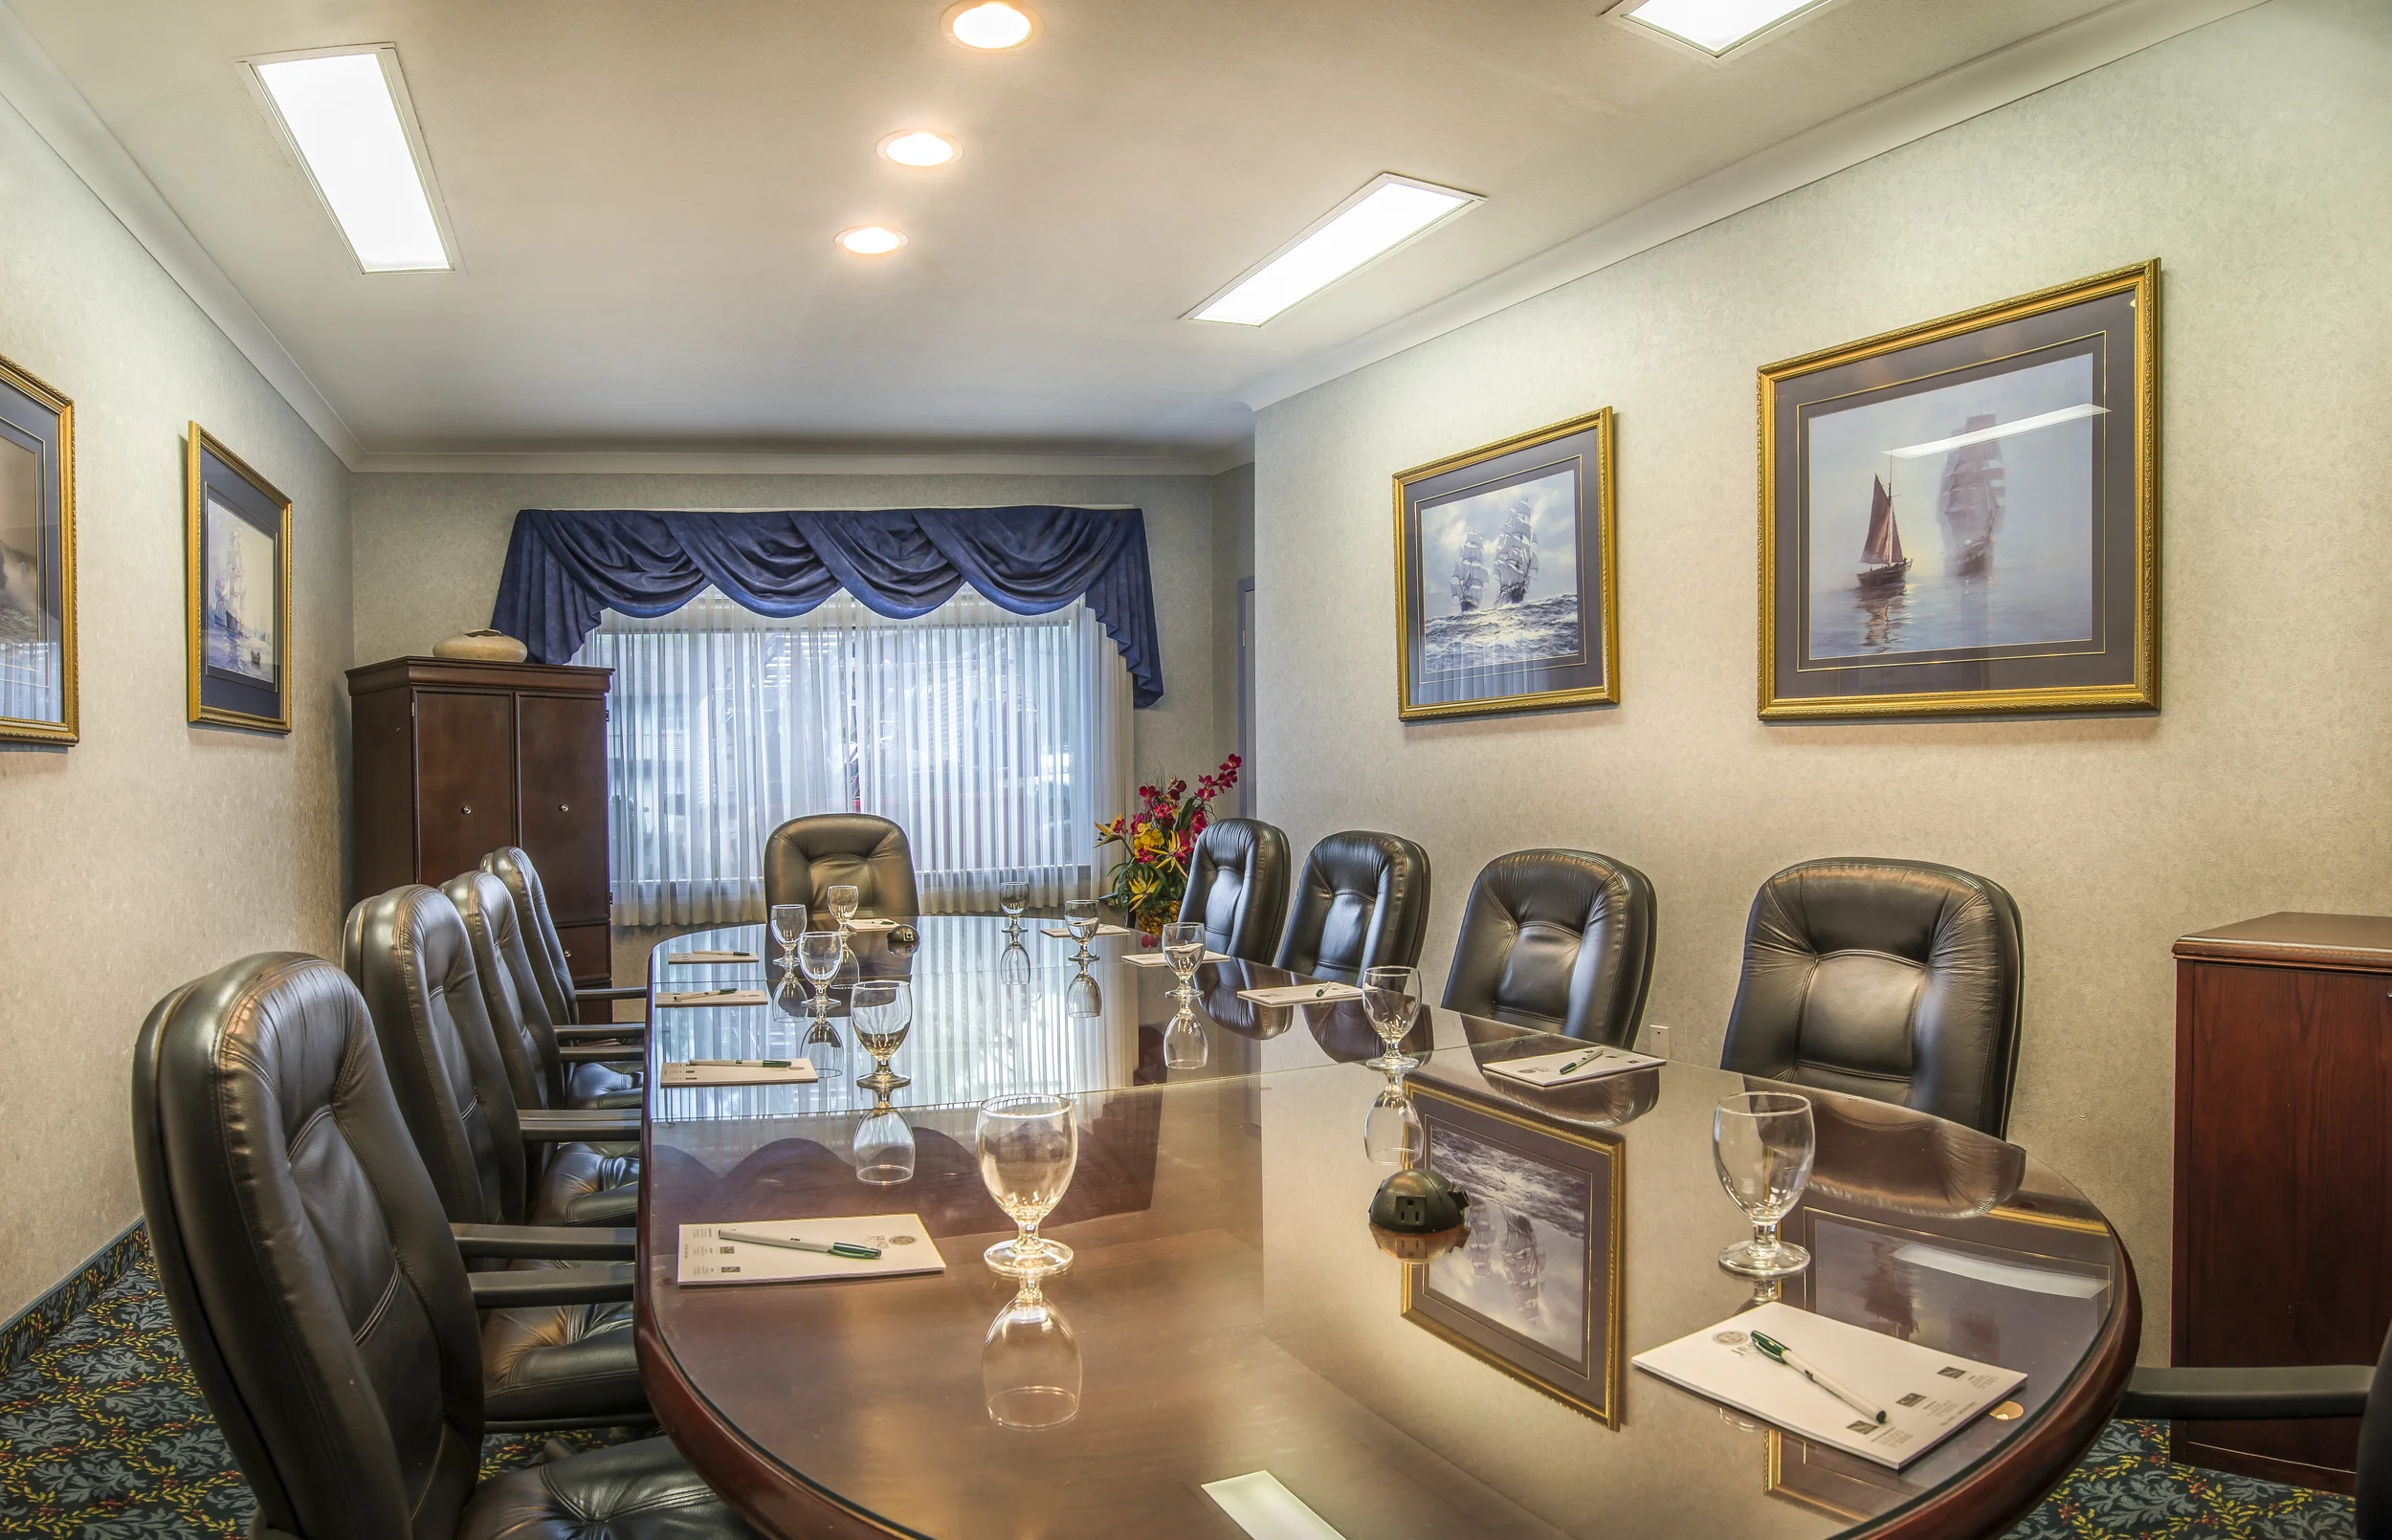
This Image is one of my favorites in terms of results for this before and after series, it posed a few issues as the angle and size of room made it hard to capture the whole table while keeping the shape of the room. Shooting wide angle of course can distort your images and making them straight again can be TIME CONSUMING, and even though I was shooting with the best wide angle lens for keeping lines (Nikon 14-24mm 2.8) this one was still a pain. The result was great!
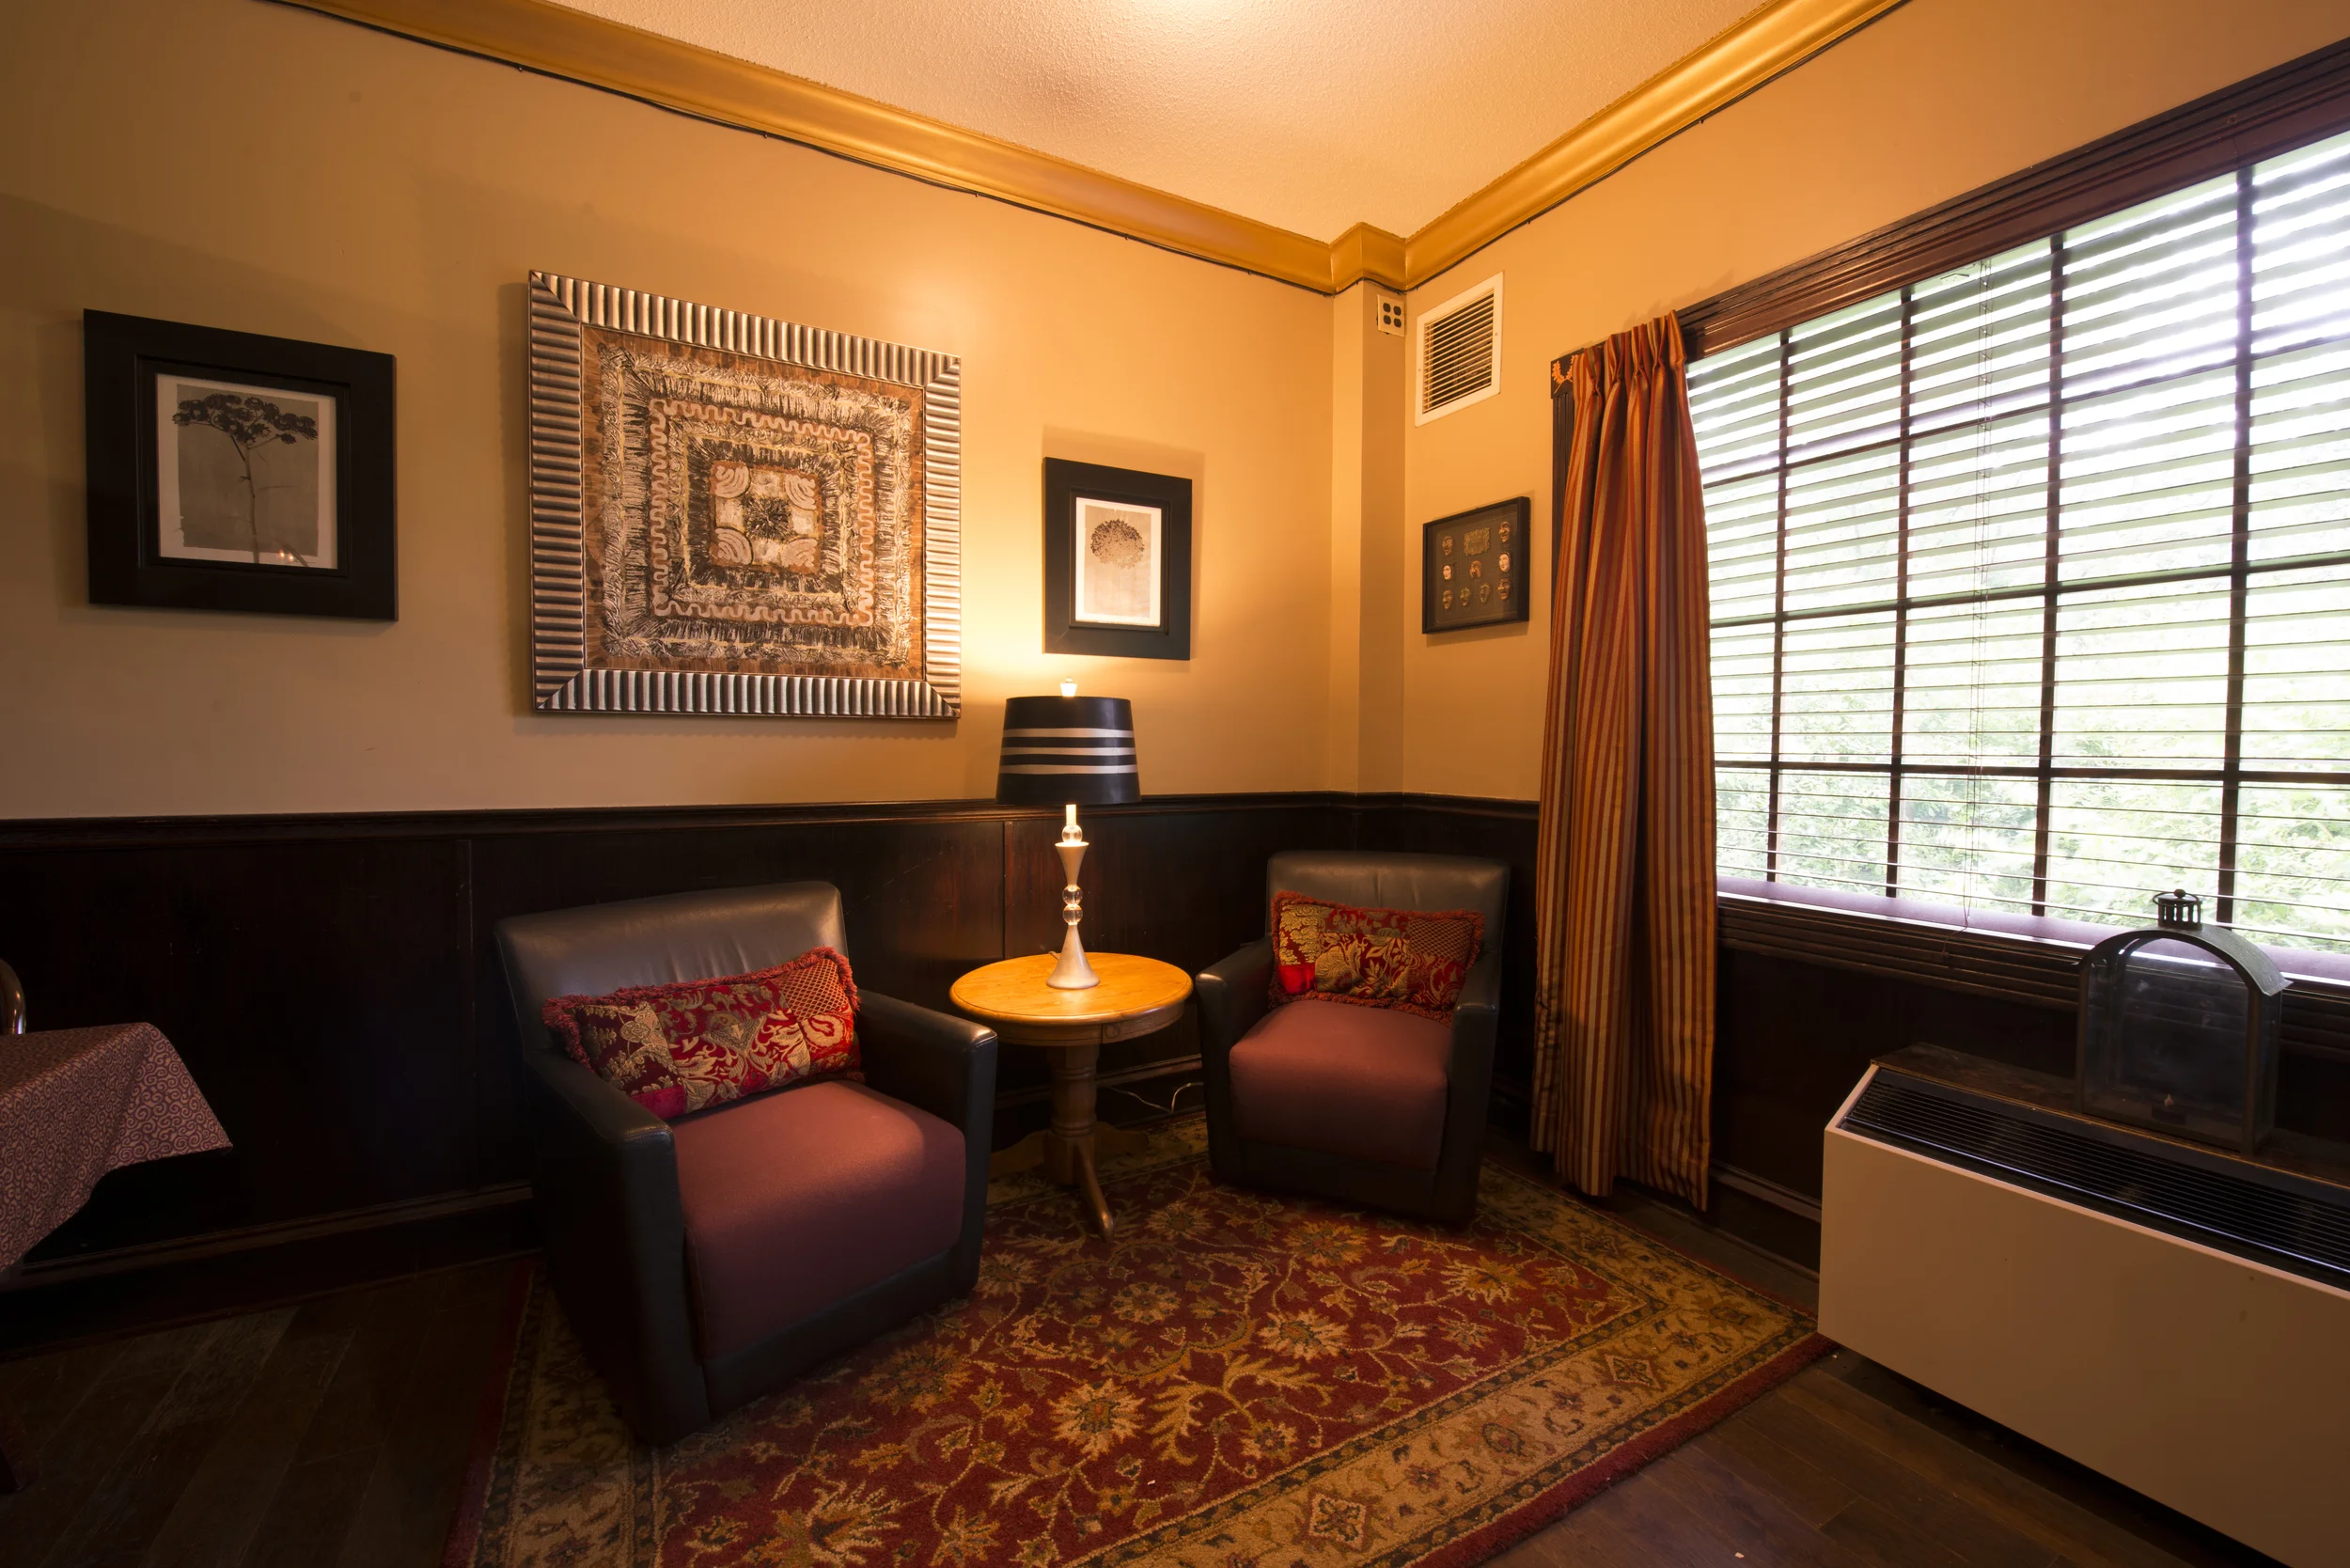
This is the Bar lounge shot that I just shot a few weeks ago, and this one posed a few problems. The first one is airconditioners, they are ugly for any image and do not look good in interior design shots and clients don't want them in their images. This airconditioner was huge and right in my frame which i felt best suited this image, and there wasn't much to work off of to make it look real. The other problem i faced was the lack of light to properly blend the image together, so I took multiple images at different exposures which is well known in Photography as high dynamic range (HDR). While using the HDR image along with a metered exposure that the camera best picked for the scene I was able to blend the two images together to come up with a great result! Check this out.
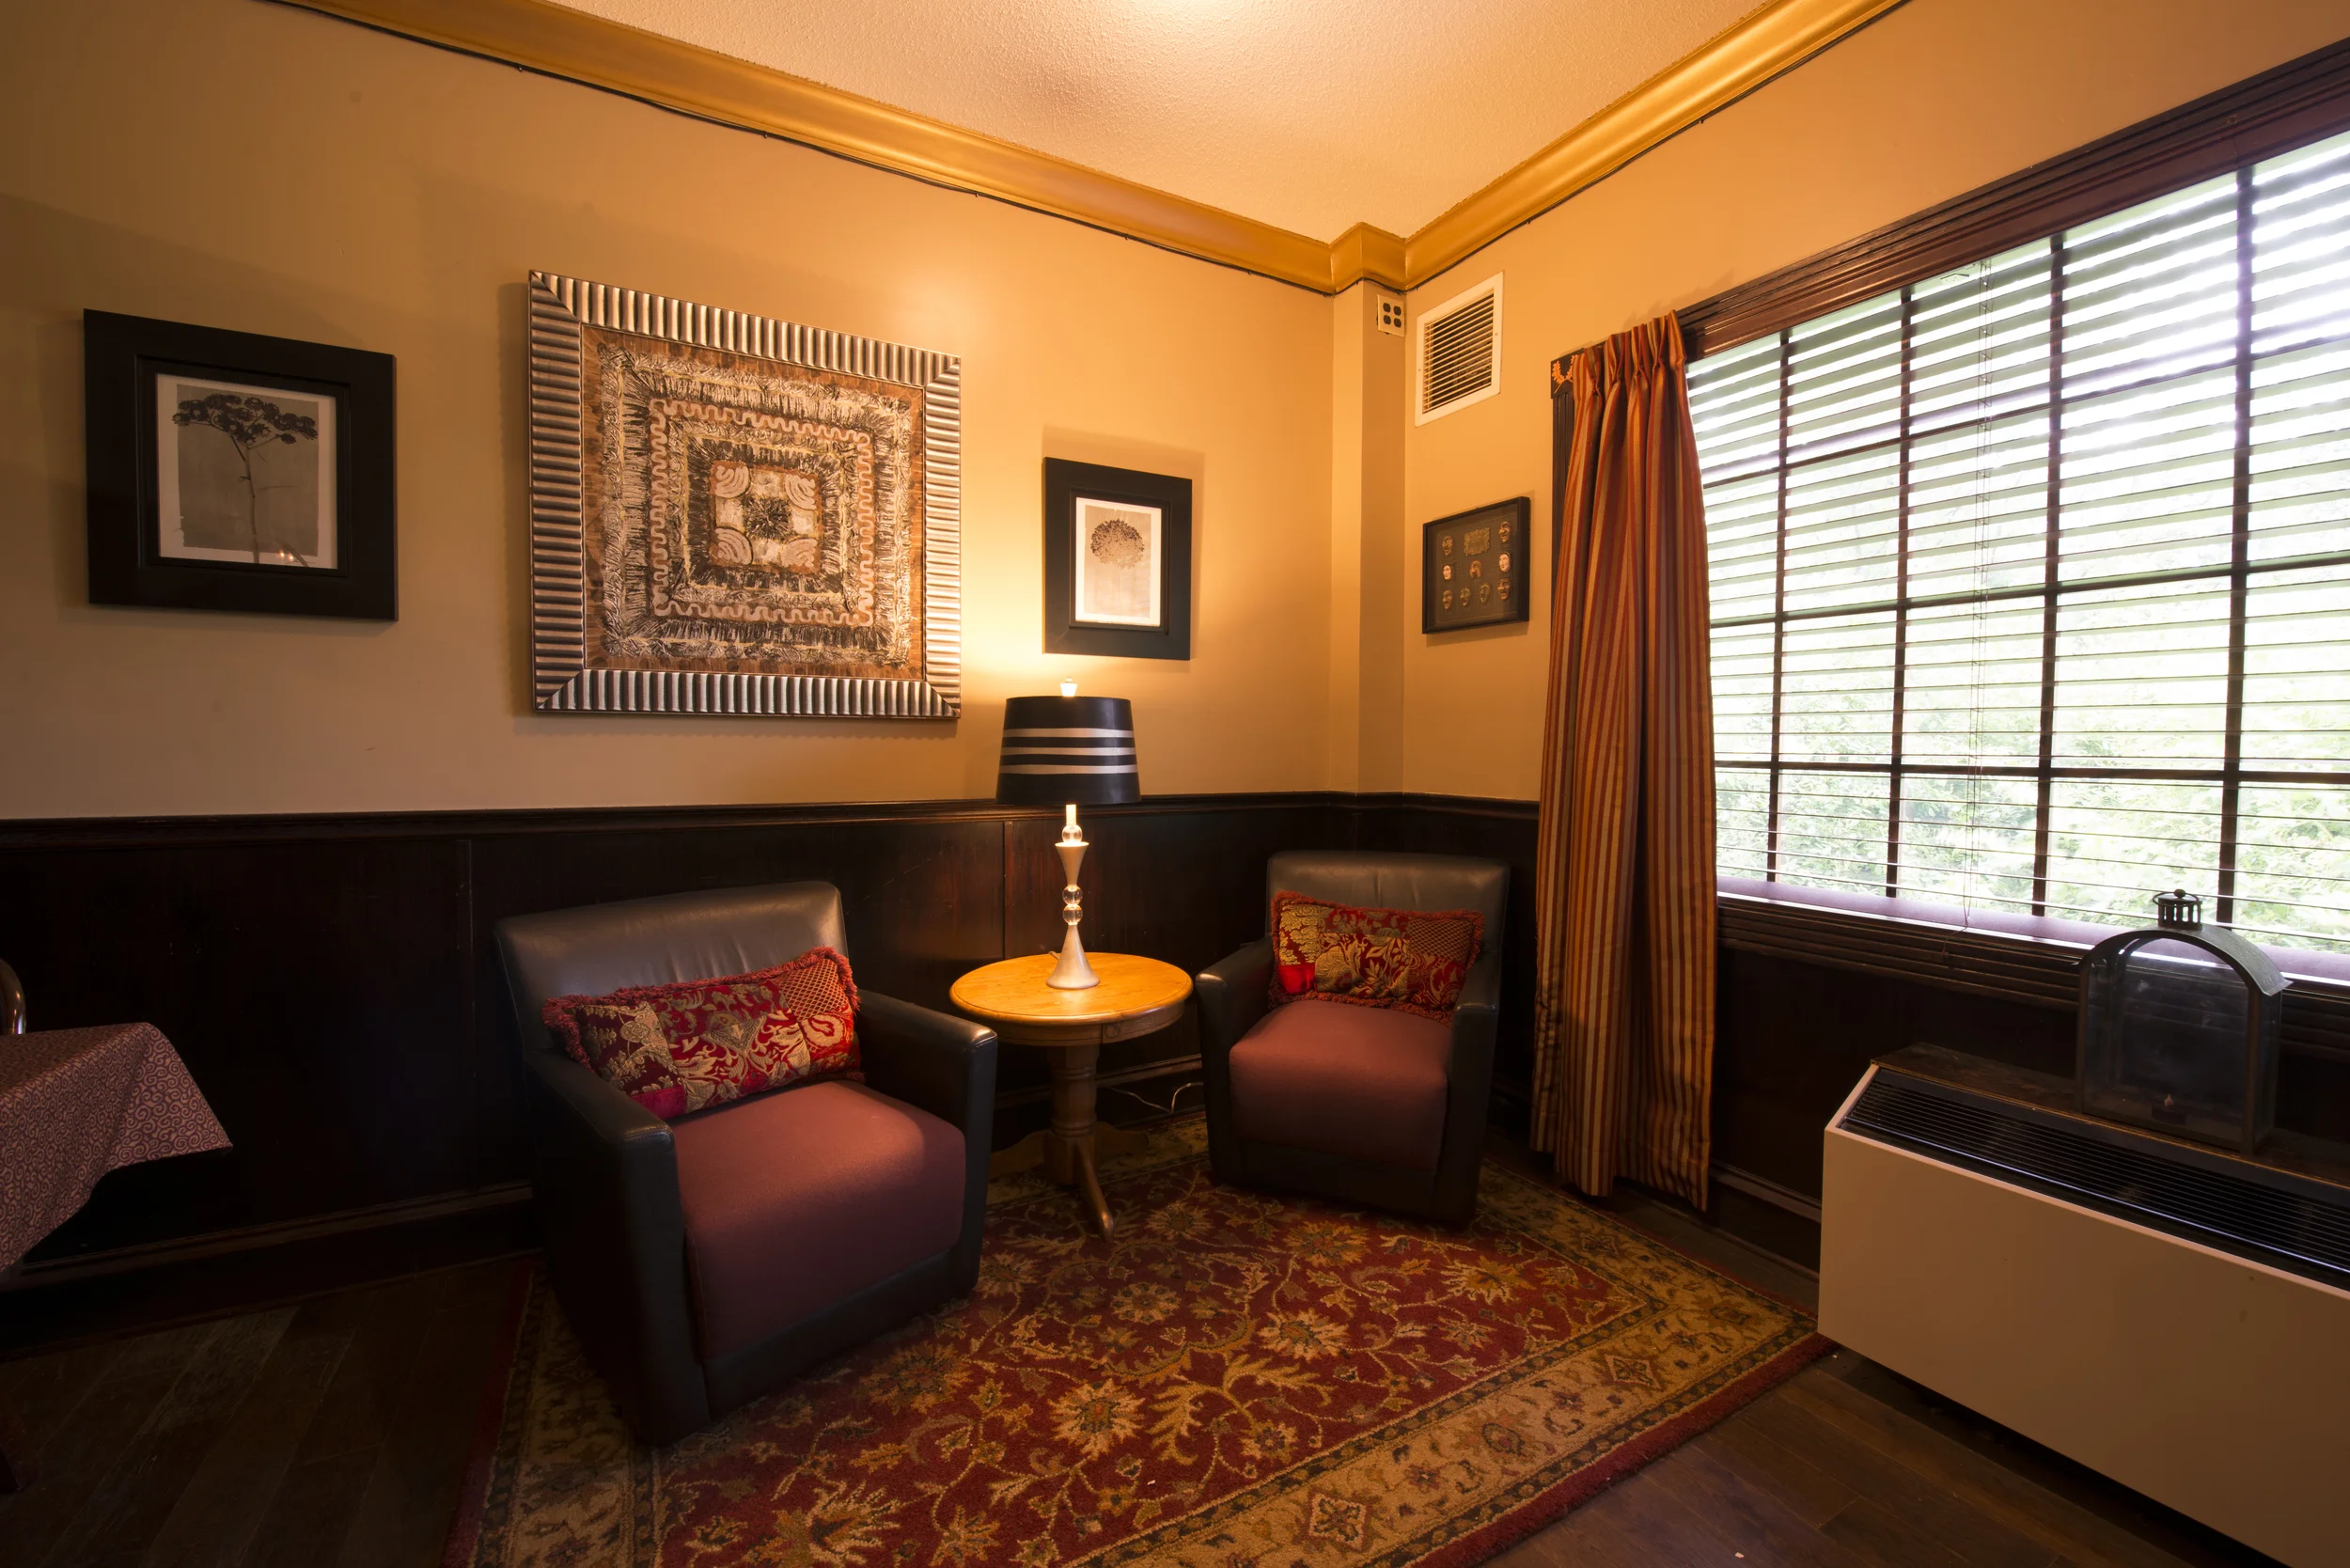
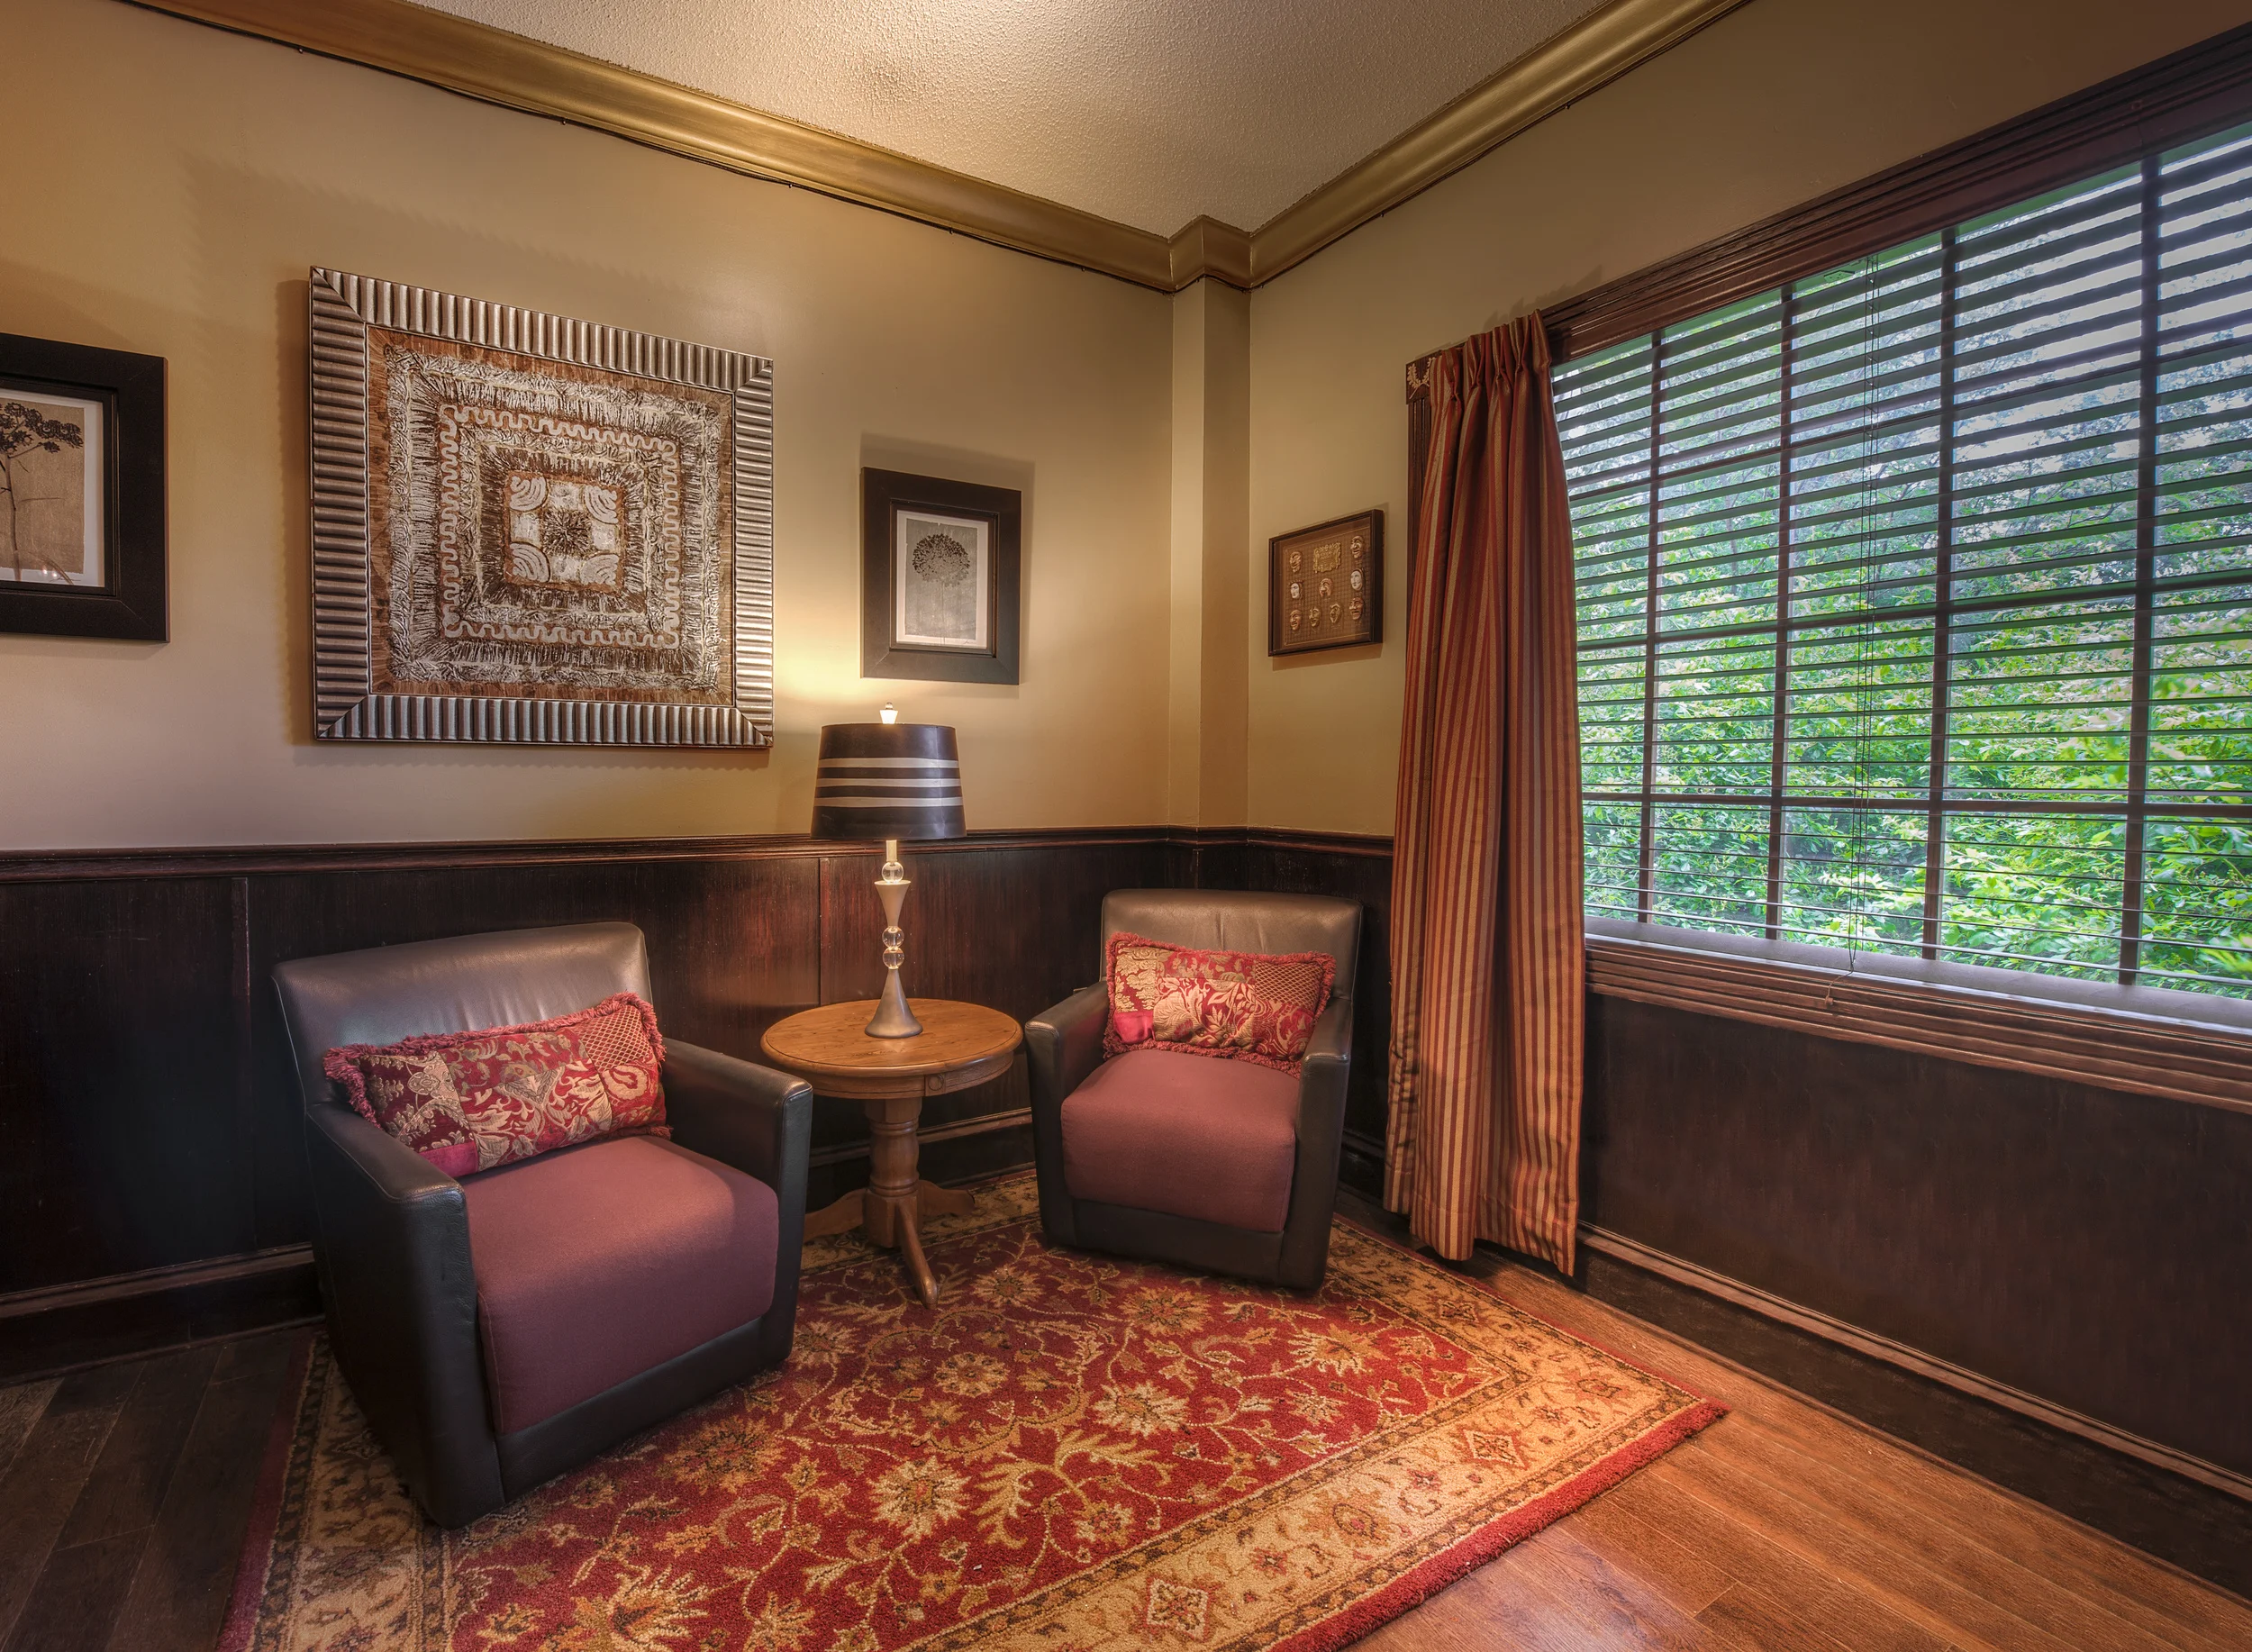
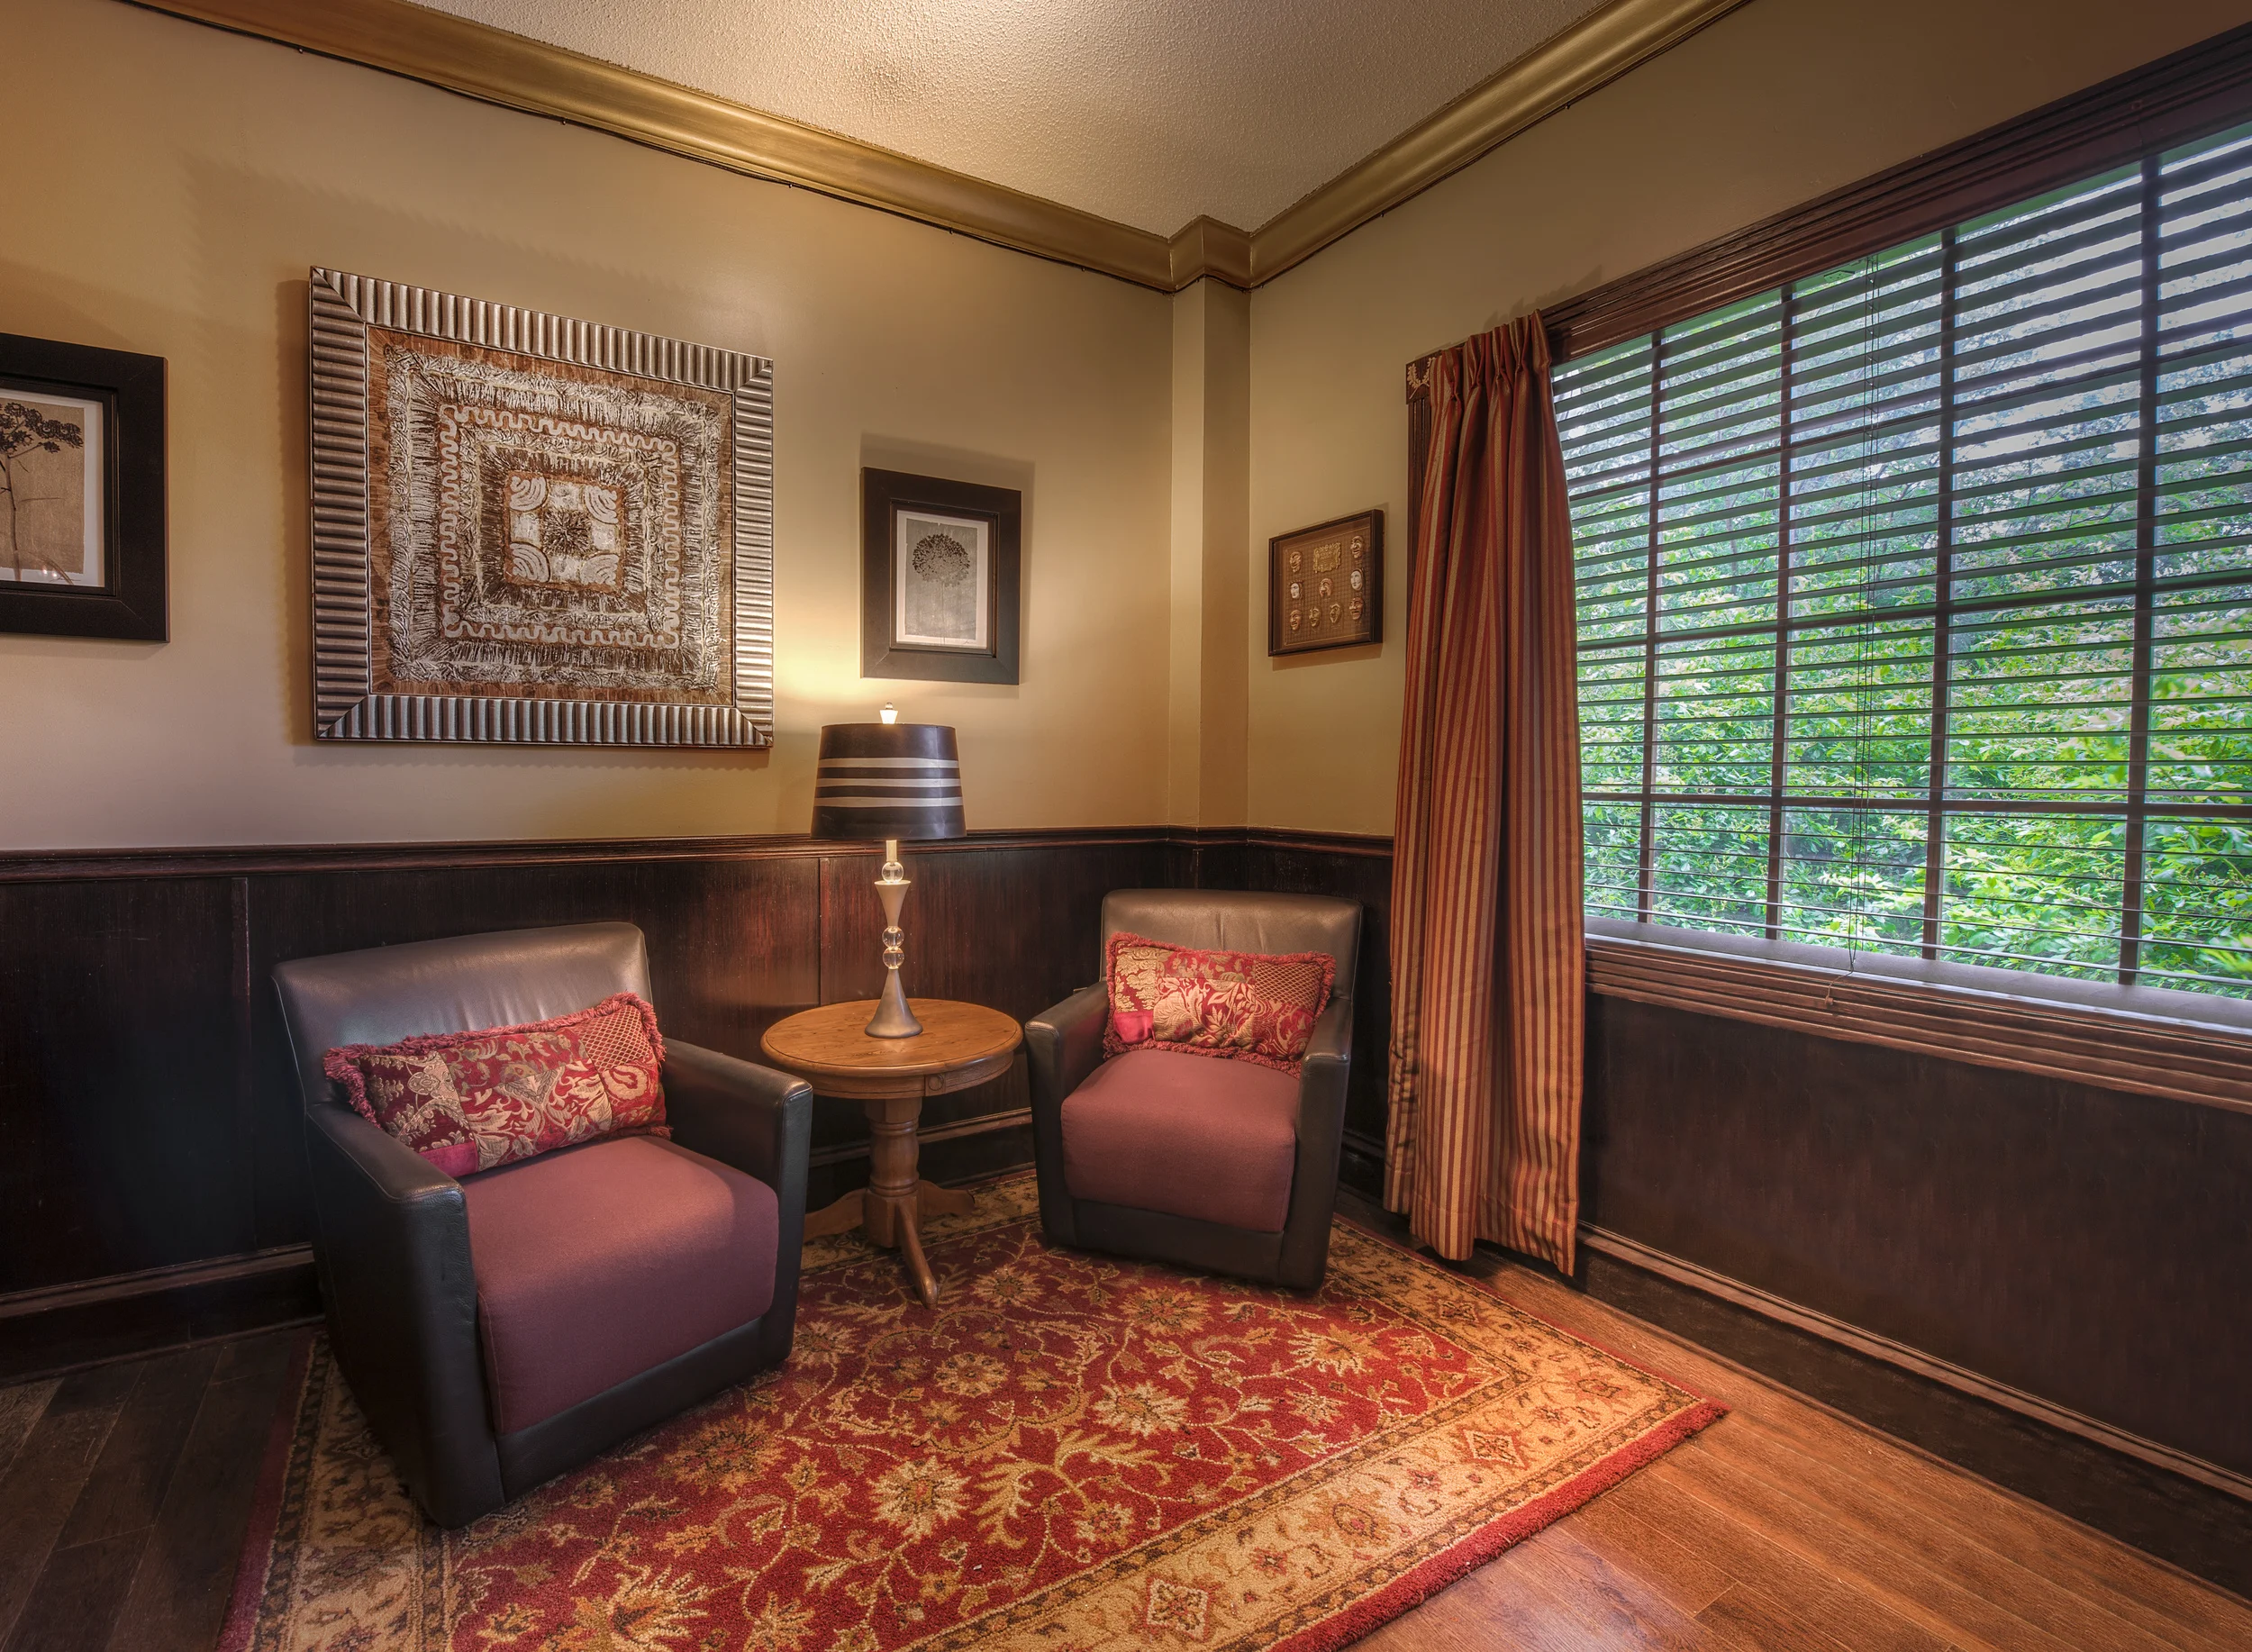
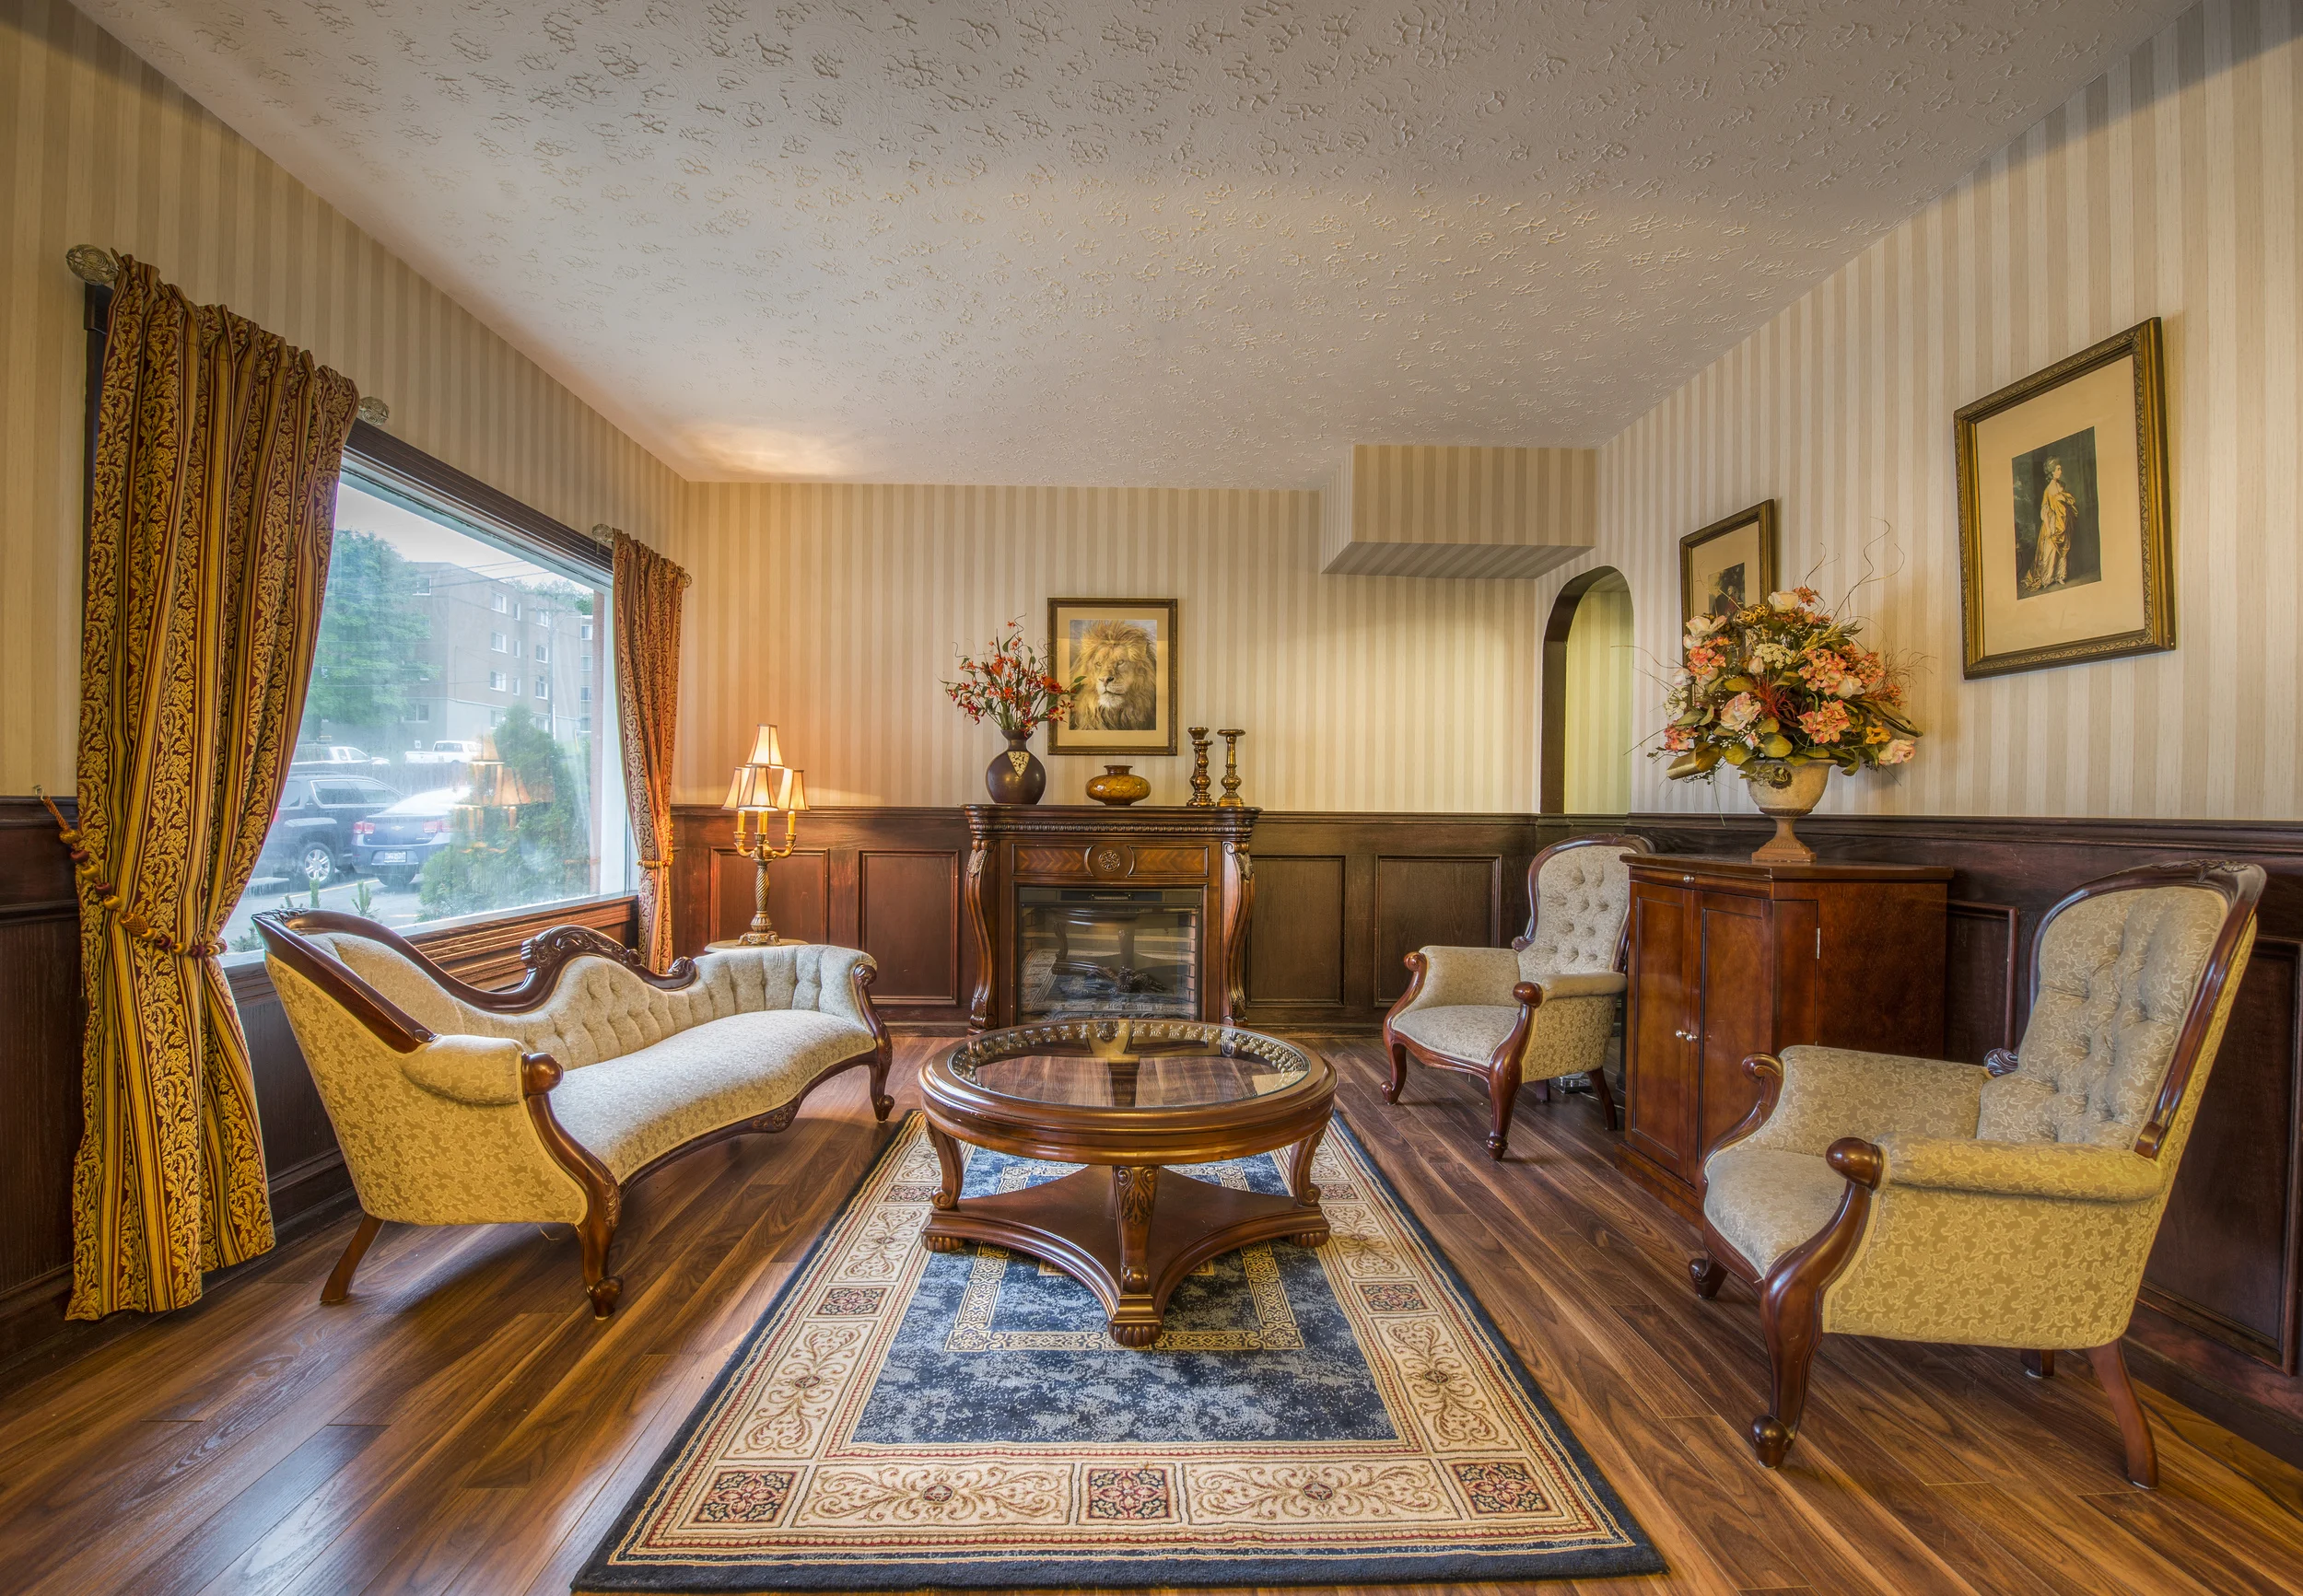
In this image I was finding it hard to get angles that would rule out getting reflections from the lights behind me and the huge glare from the window. So for this image I used a HDR blend again along with some lightroom adjustments to bring out the rich wood colors and details of the old style furniture. The other problem was getting that light reflection from the picture in the center of the frame and felt it took my attention every time I looked at the image. To fix this issue I scoured the internet looking for a image that would work in the frame as I was unable to remove the flare without ruining the old image within the picture. Check out this before and after subtle but really worked out for me here!
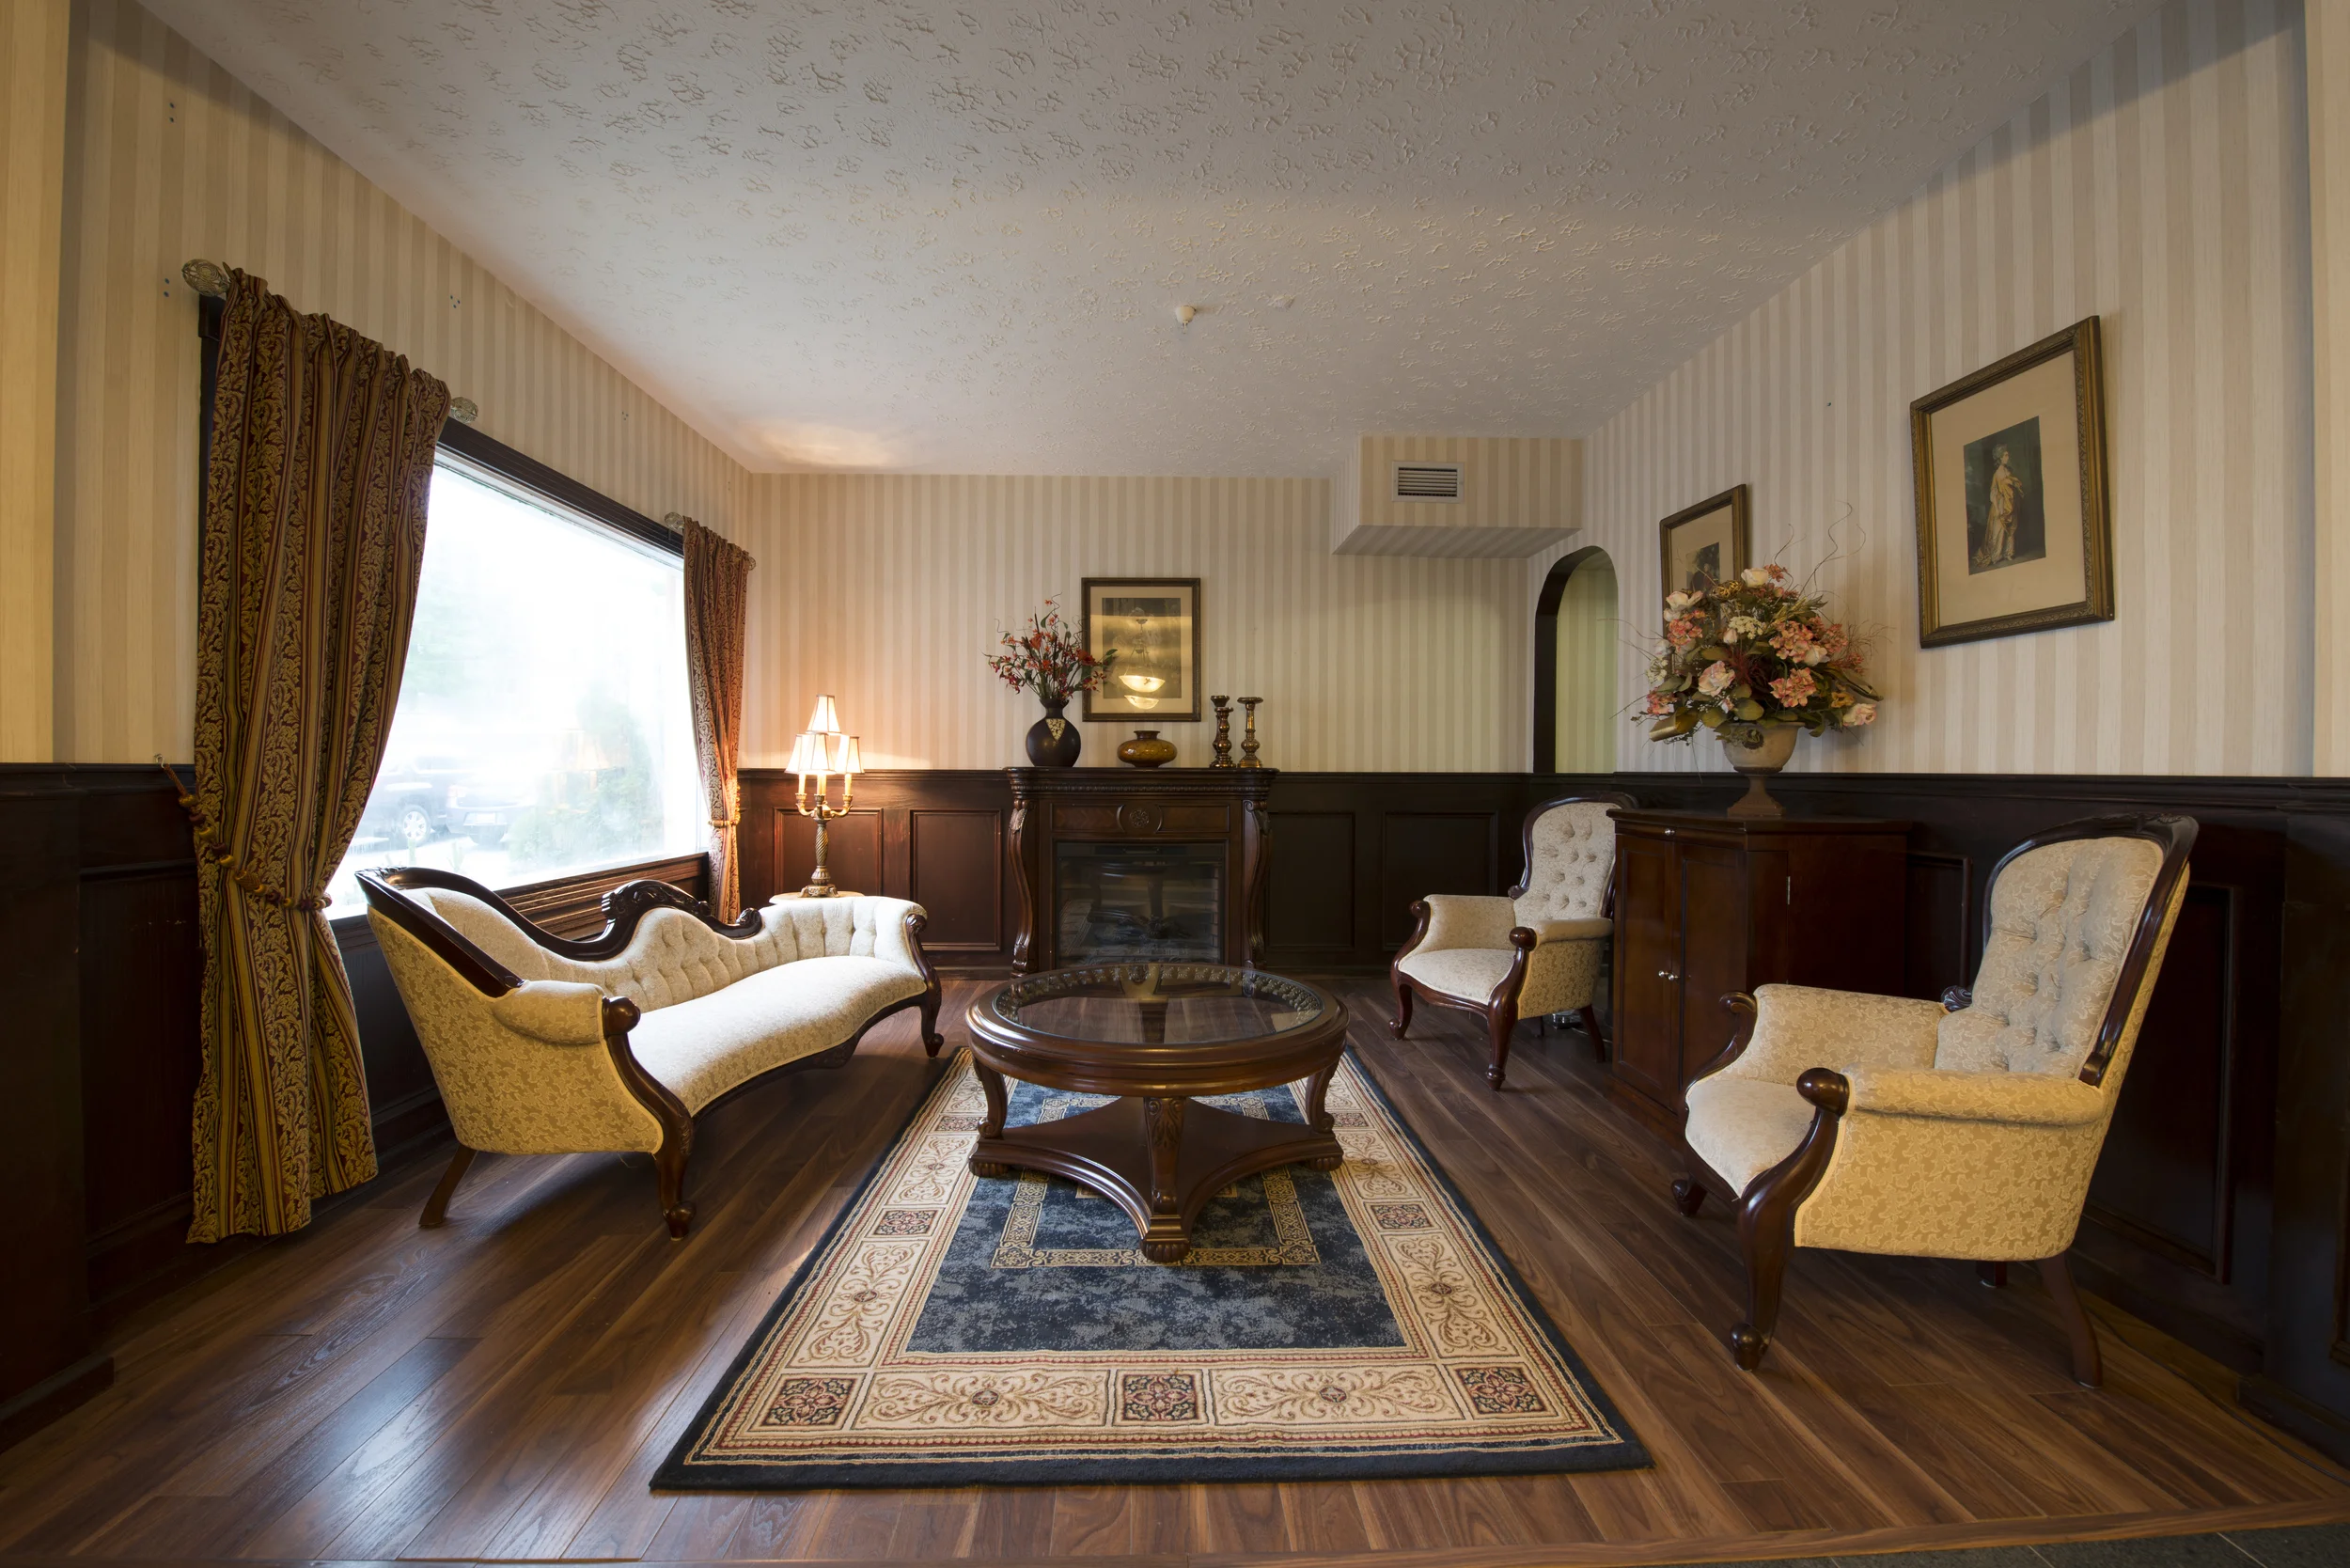
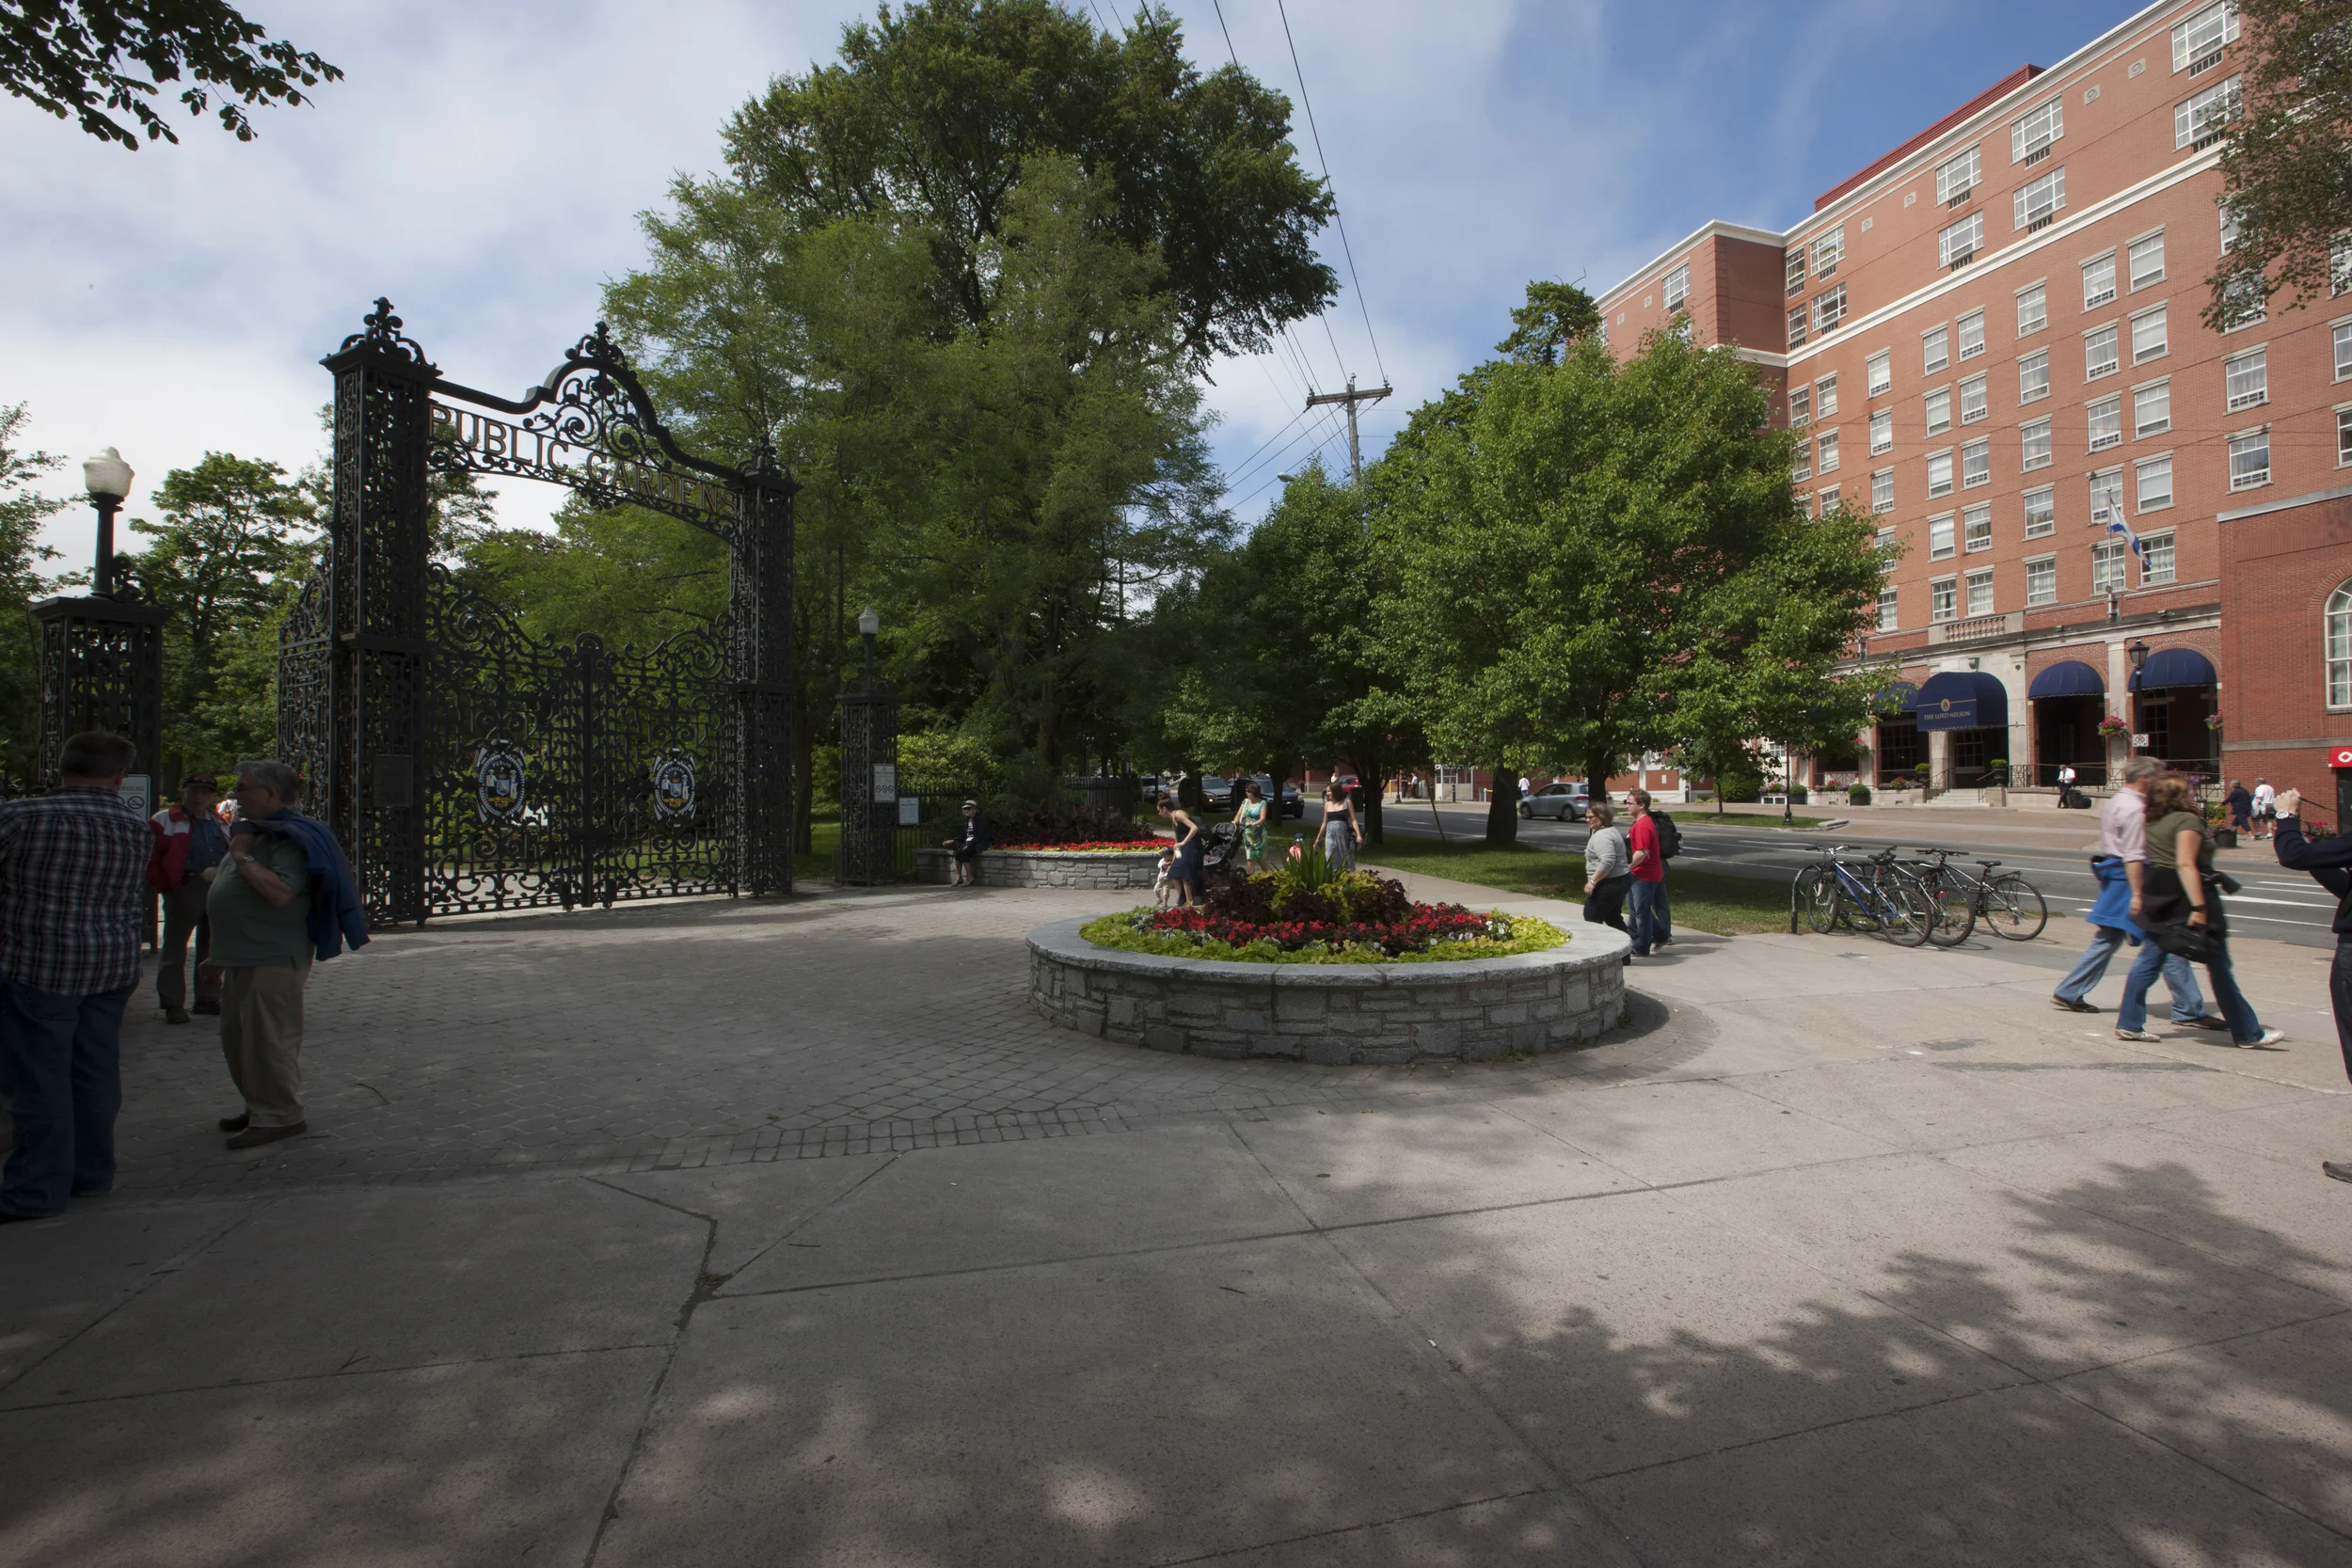
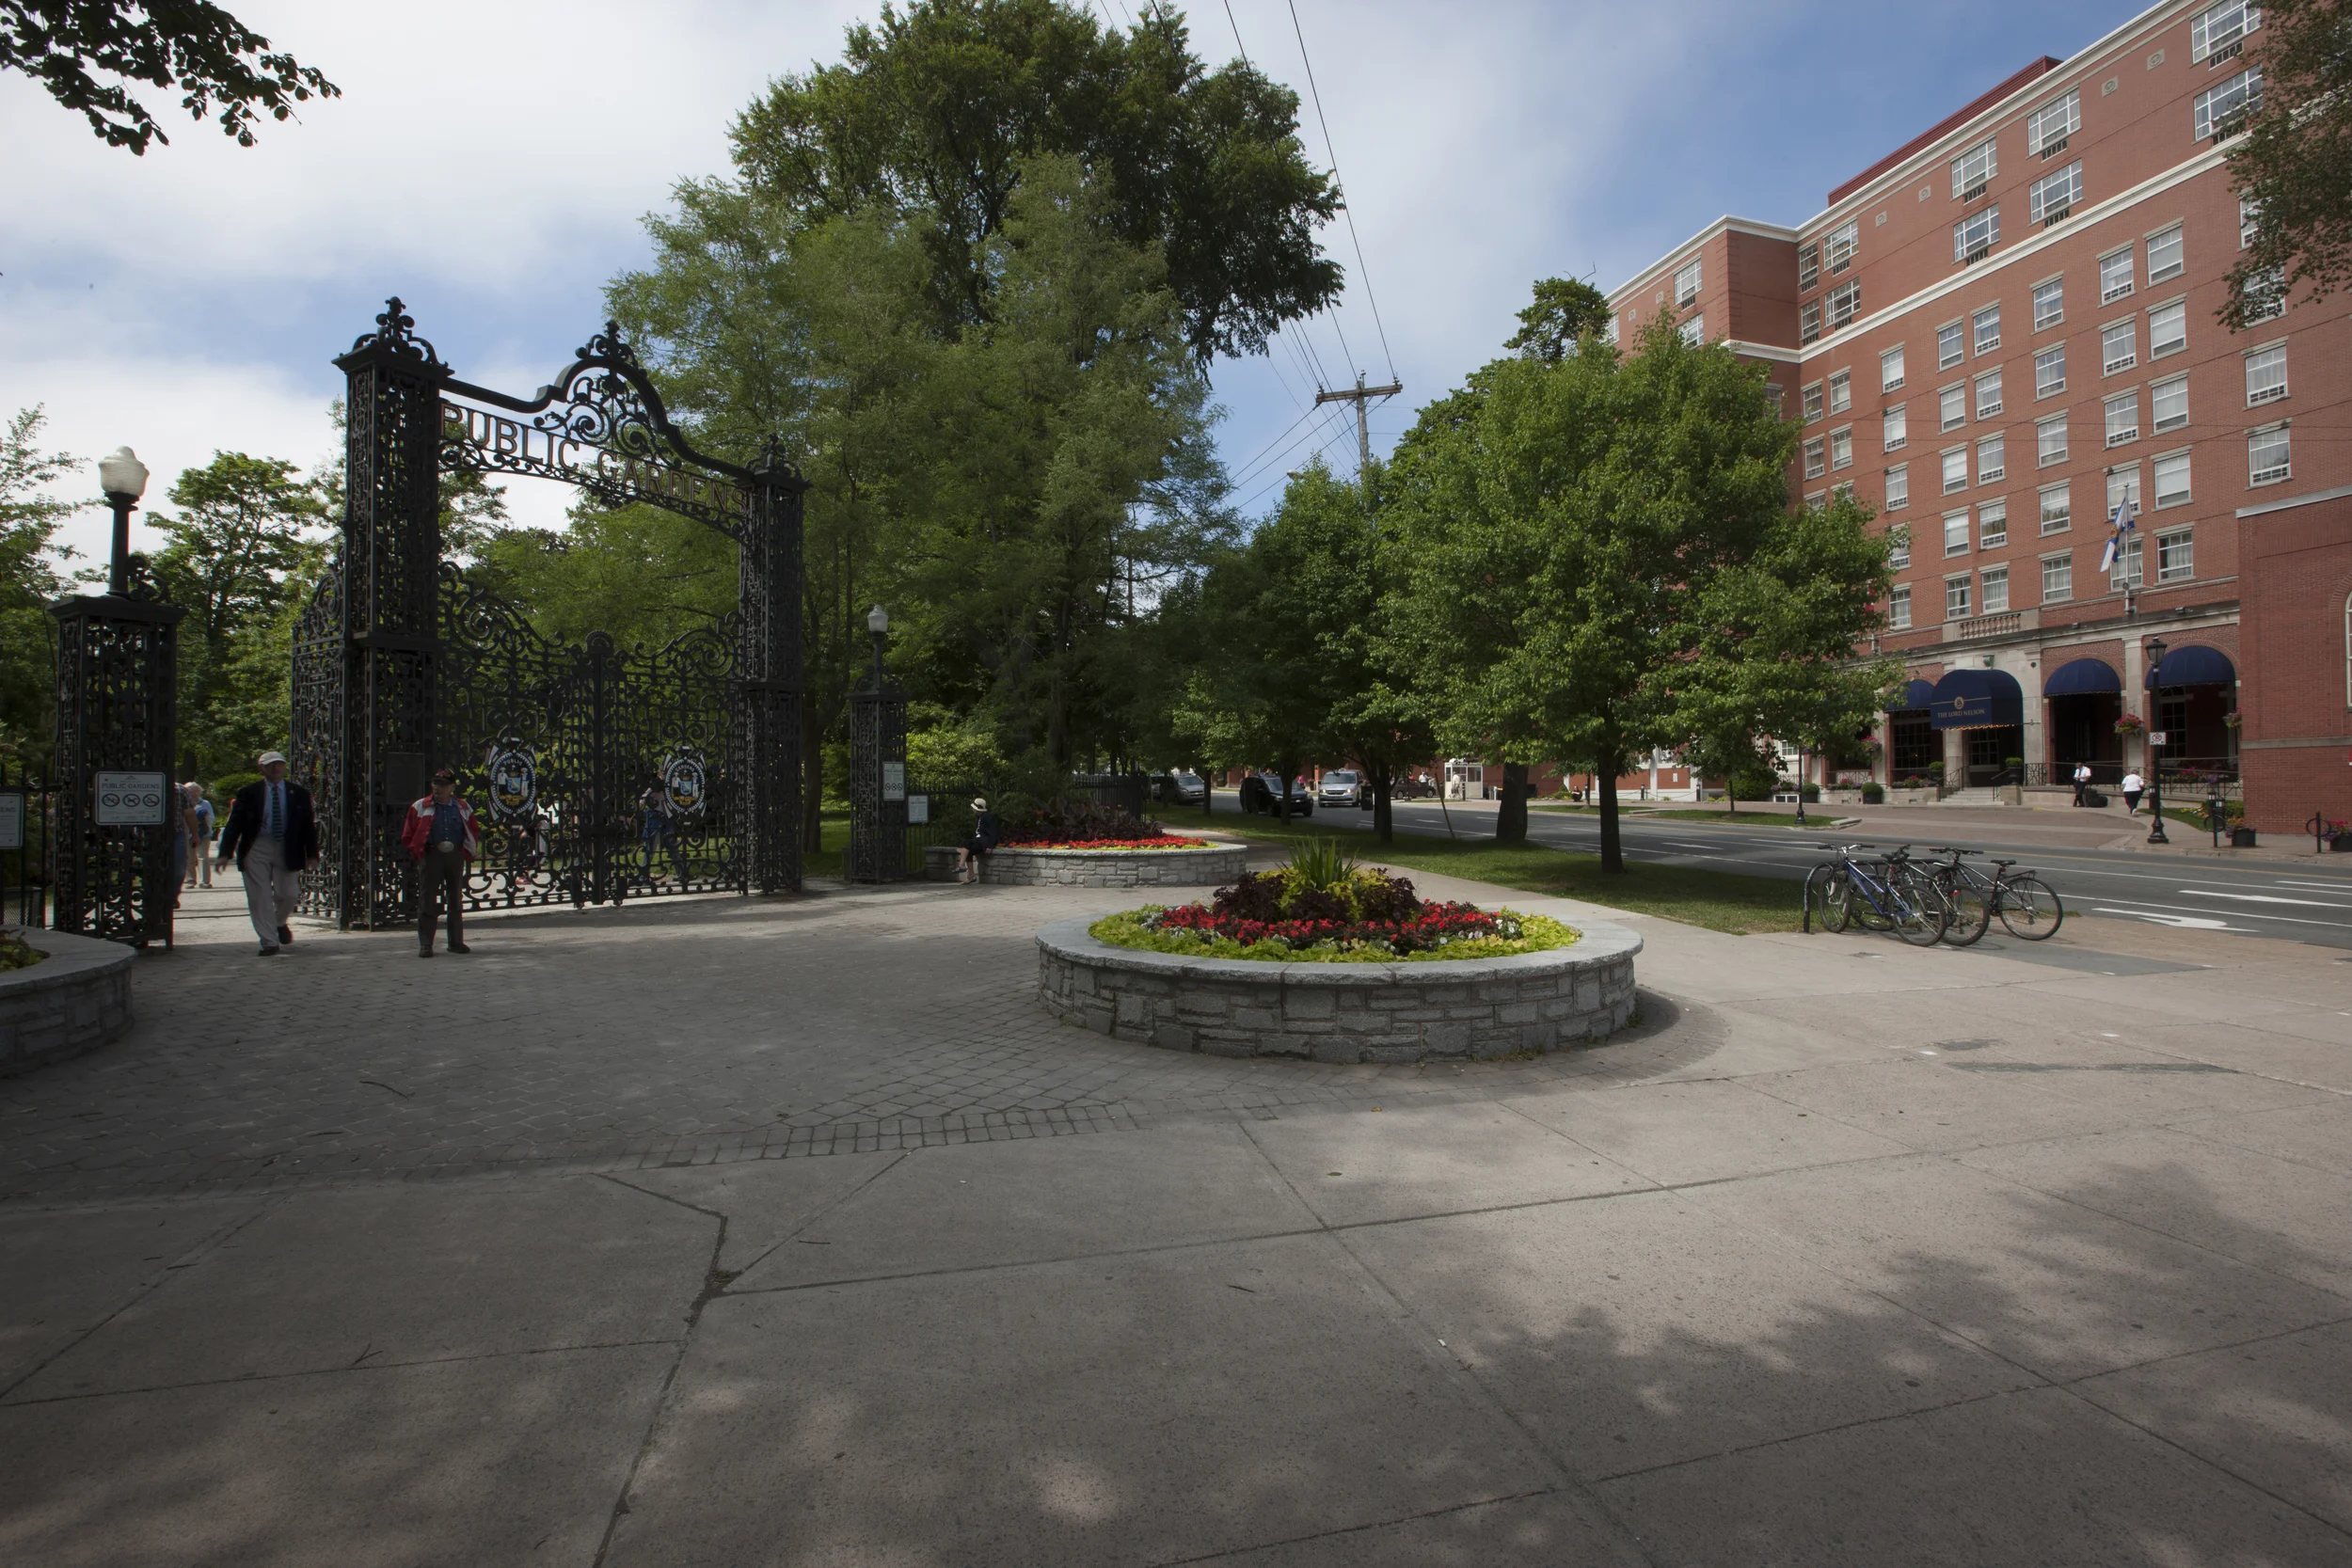
Talking images in a busy environment where the client requires no people and less distraction as possible can seem impossible, but it can be done, as you will see in these images I took recently for a client. They wanted a image showcasing their hotel with the park in view, and the public gardens, lush and full of trees and thick bushes and flowers doesn't give you much of a view from the park outward. So in the mid afternoon on the busiest street east of Montreal, Spring Garden Rd was full of traffic and a steady flow of people enjoying the park!
For this I had to take a bunch of images at different times to make sure that in every photo, parts of the scene were clean and free of all the distractions i mentioned, and then with photoshop layers I am able to blend the images together and remove any power lines and unwanted items for a clean result. below you will see a couple of the images in a mini gallery to see the different shots needed to blend this image together and I was very pleased with the result and so was the client!
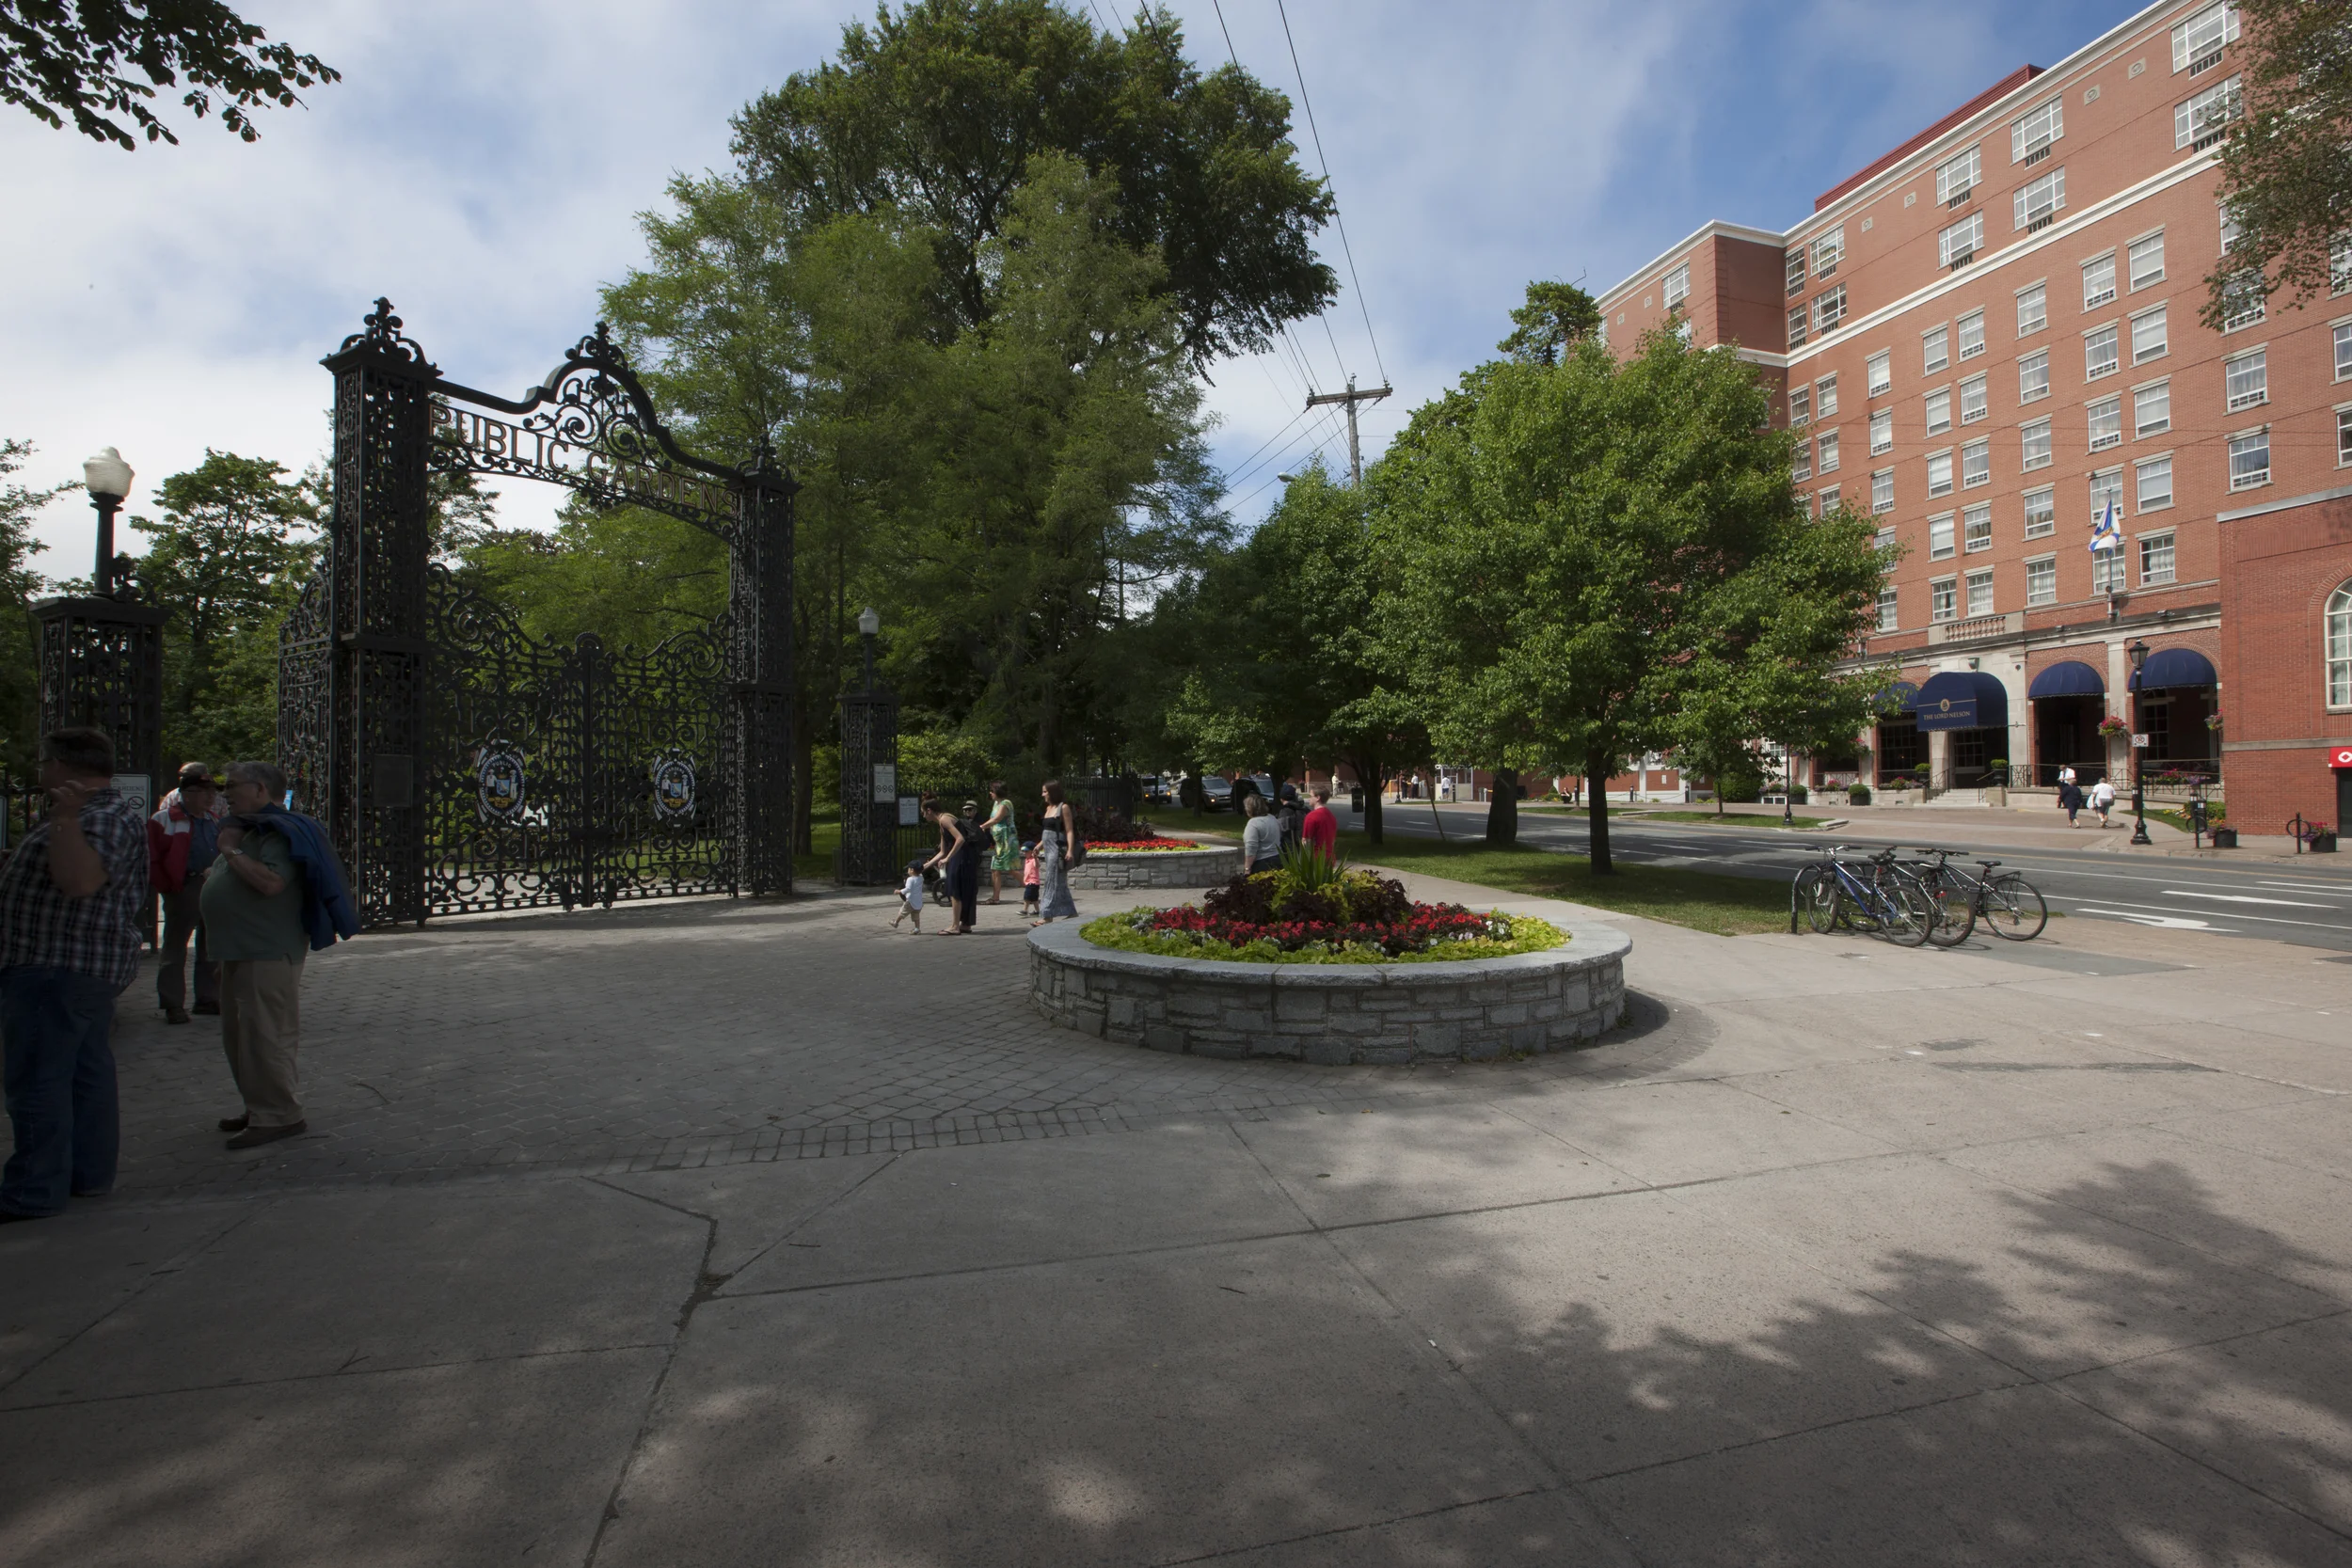
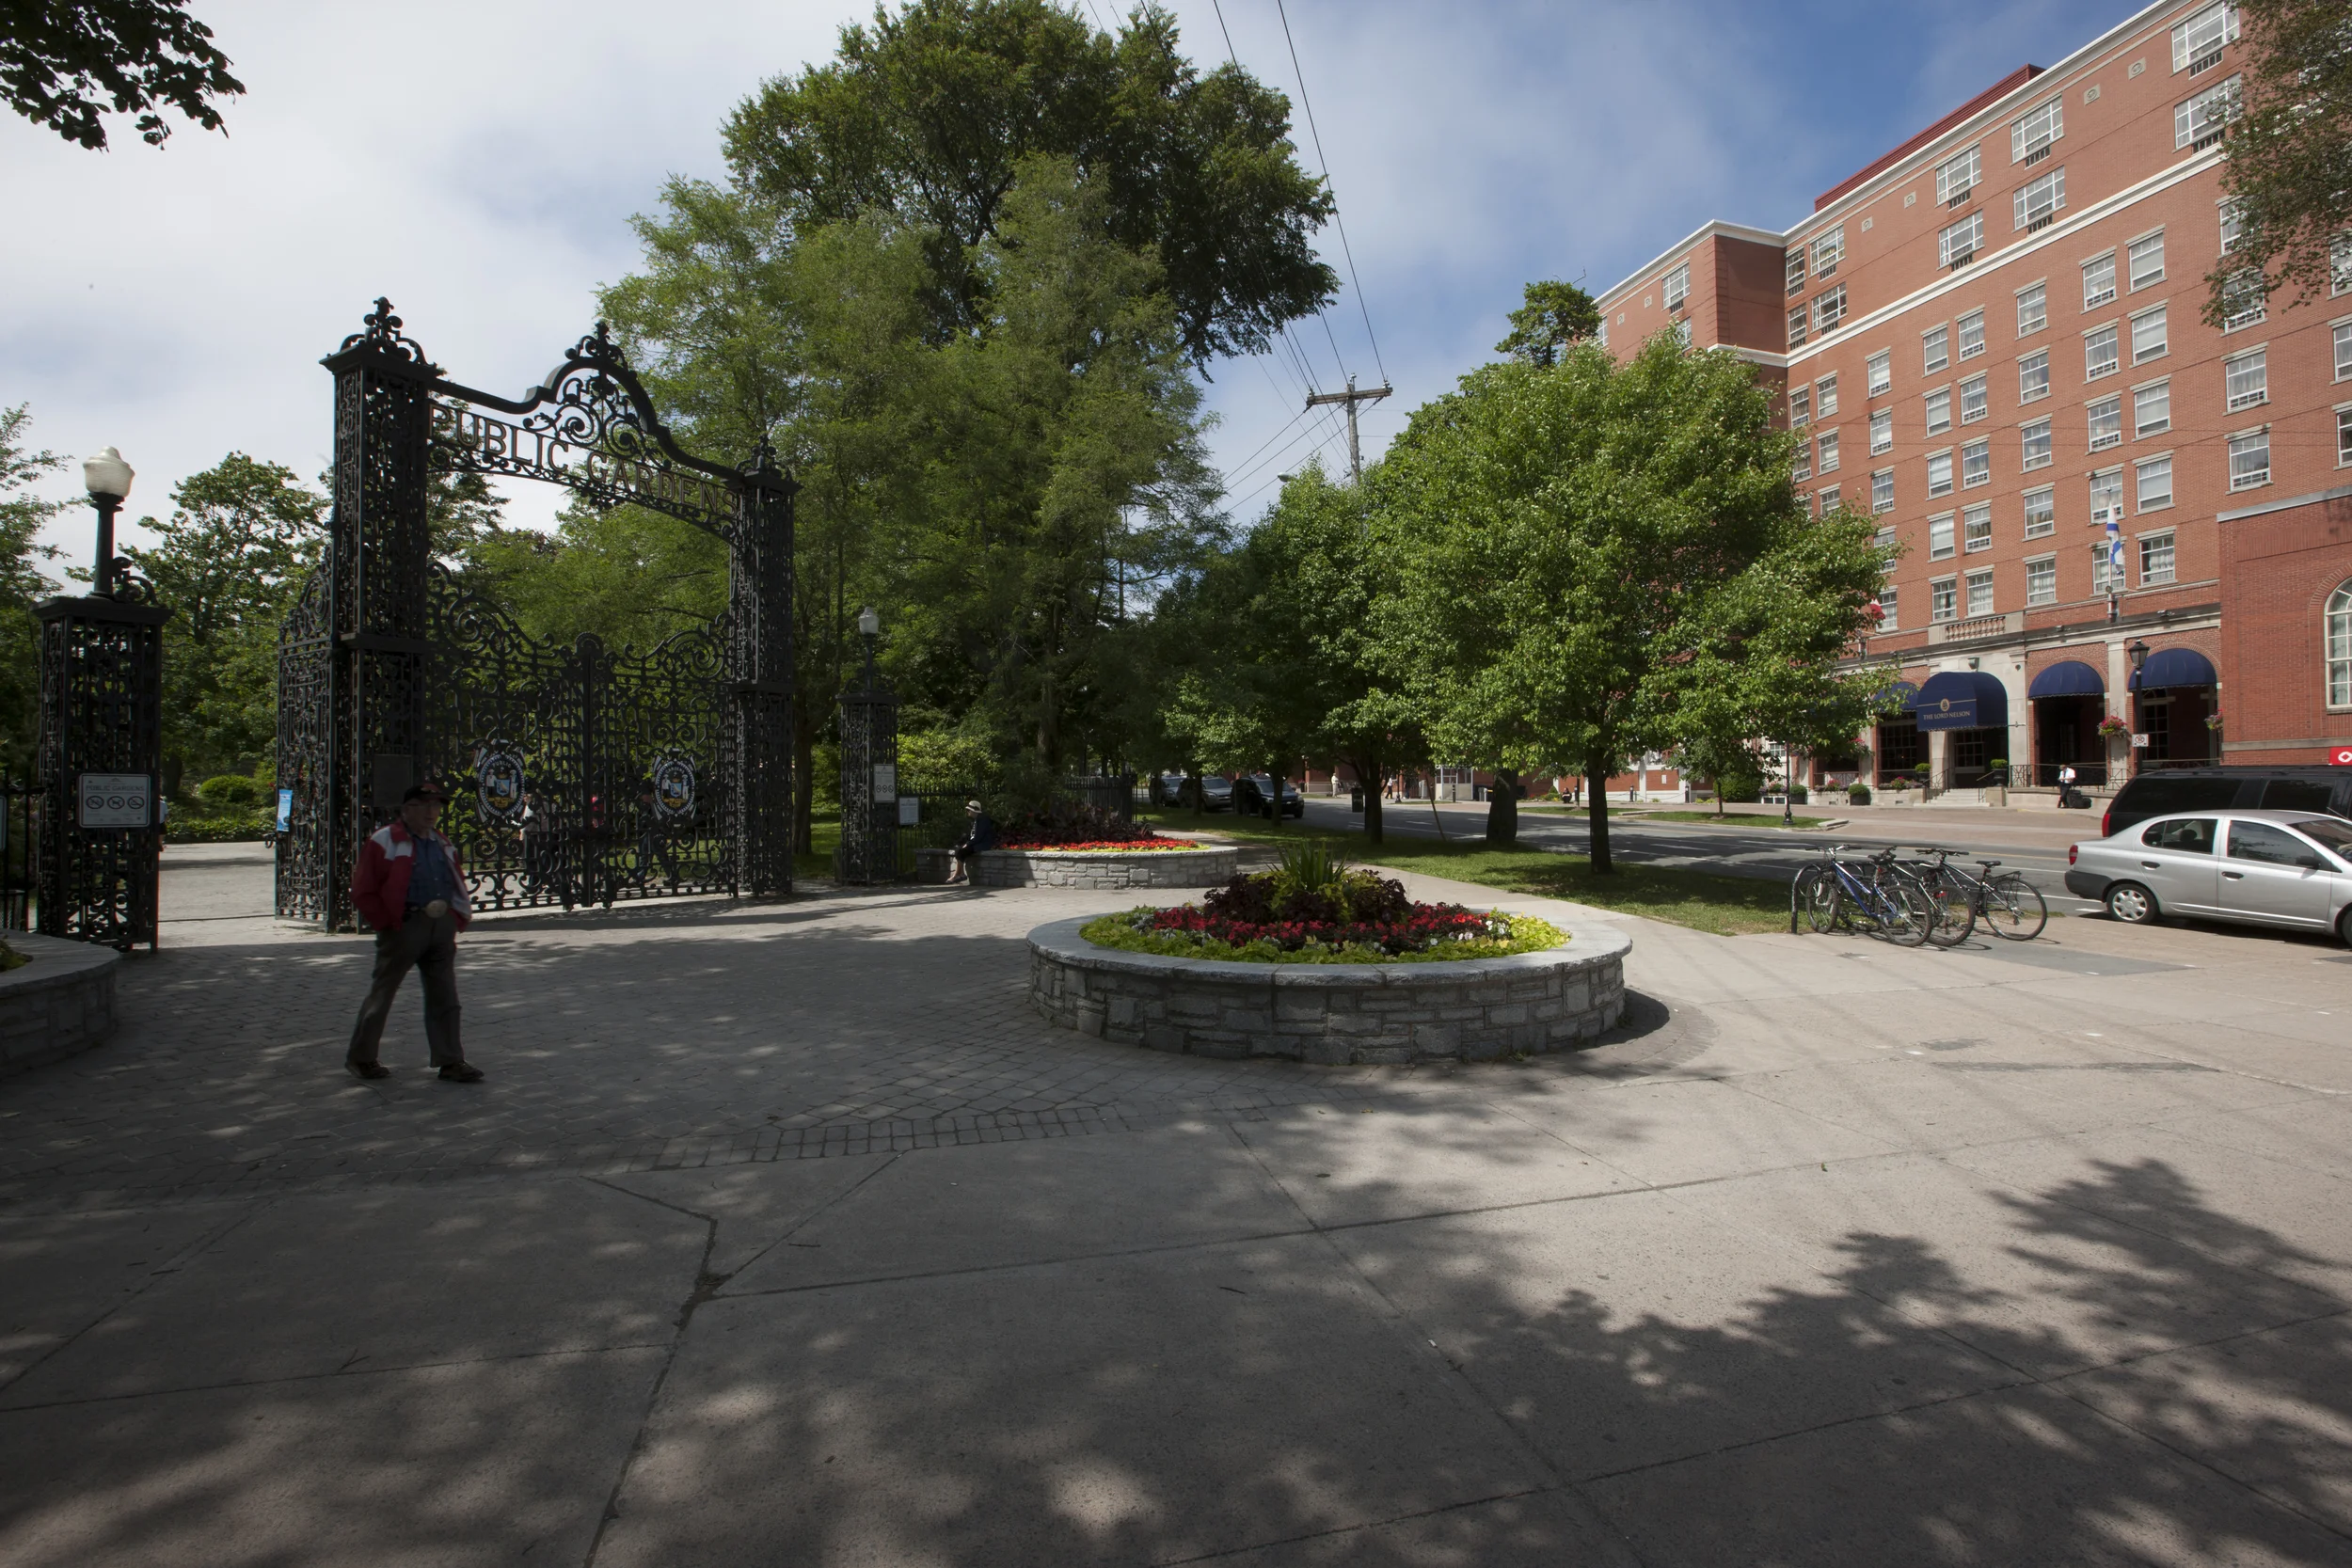
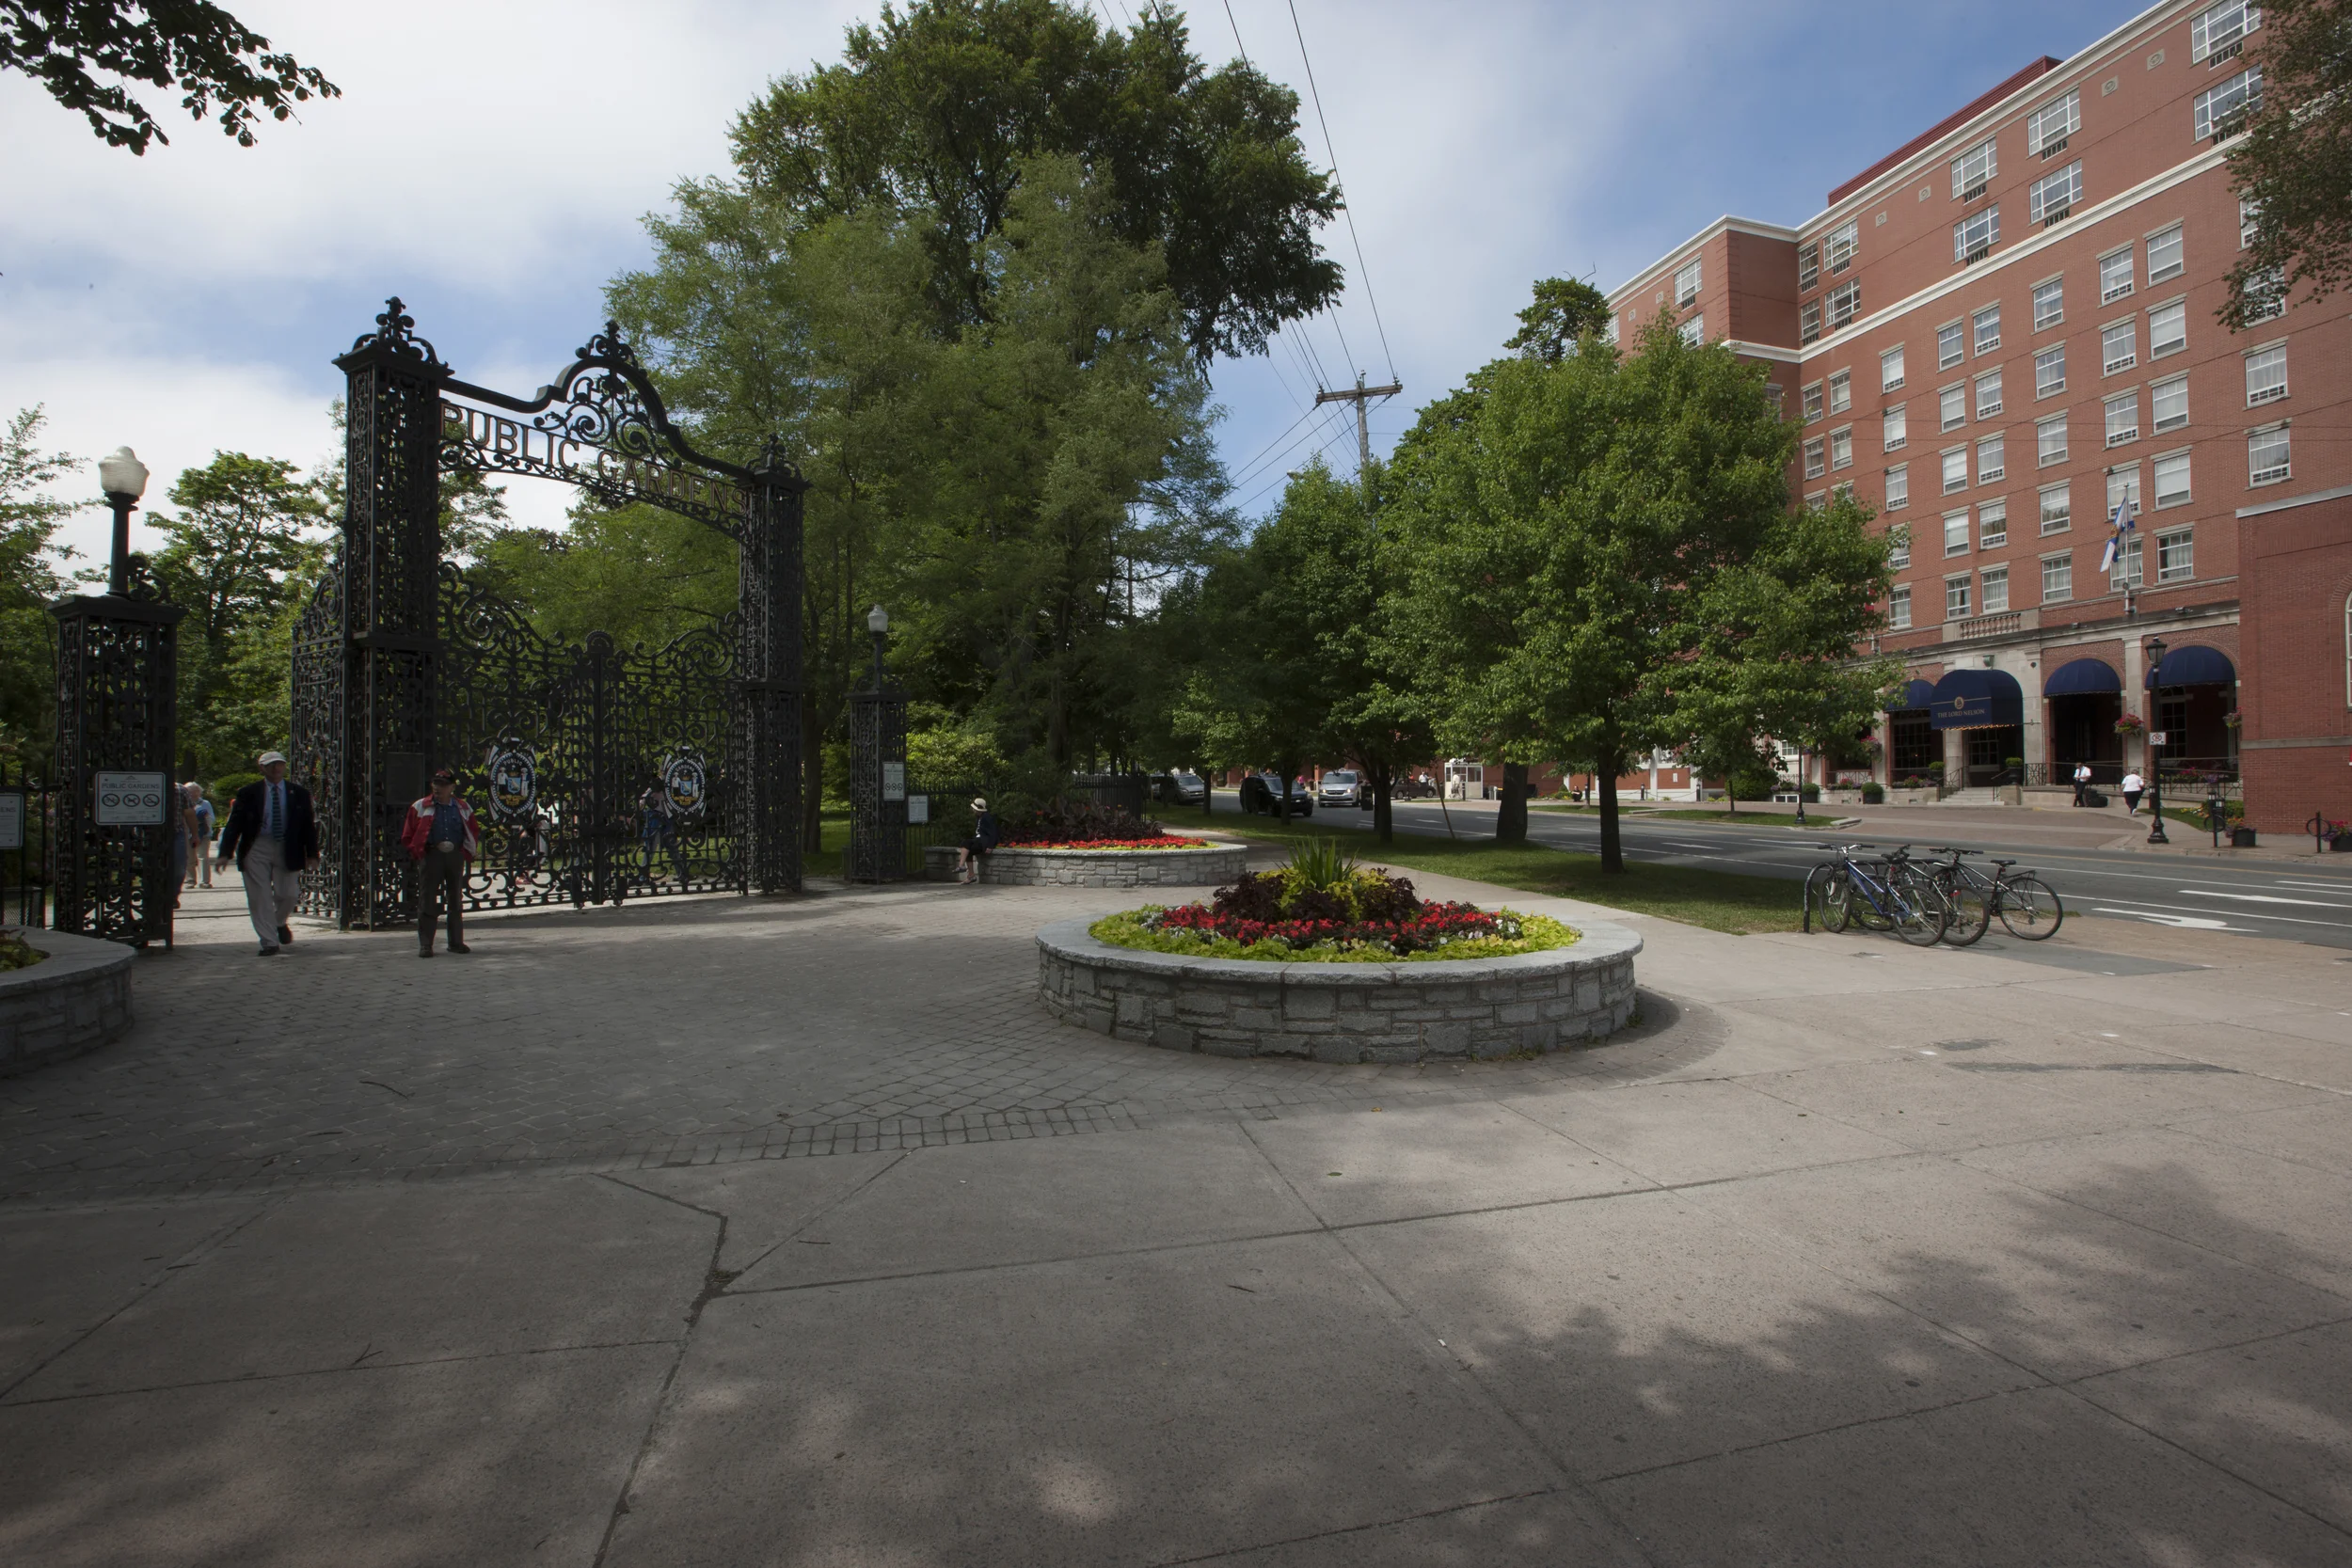
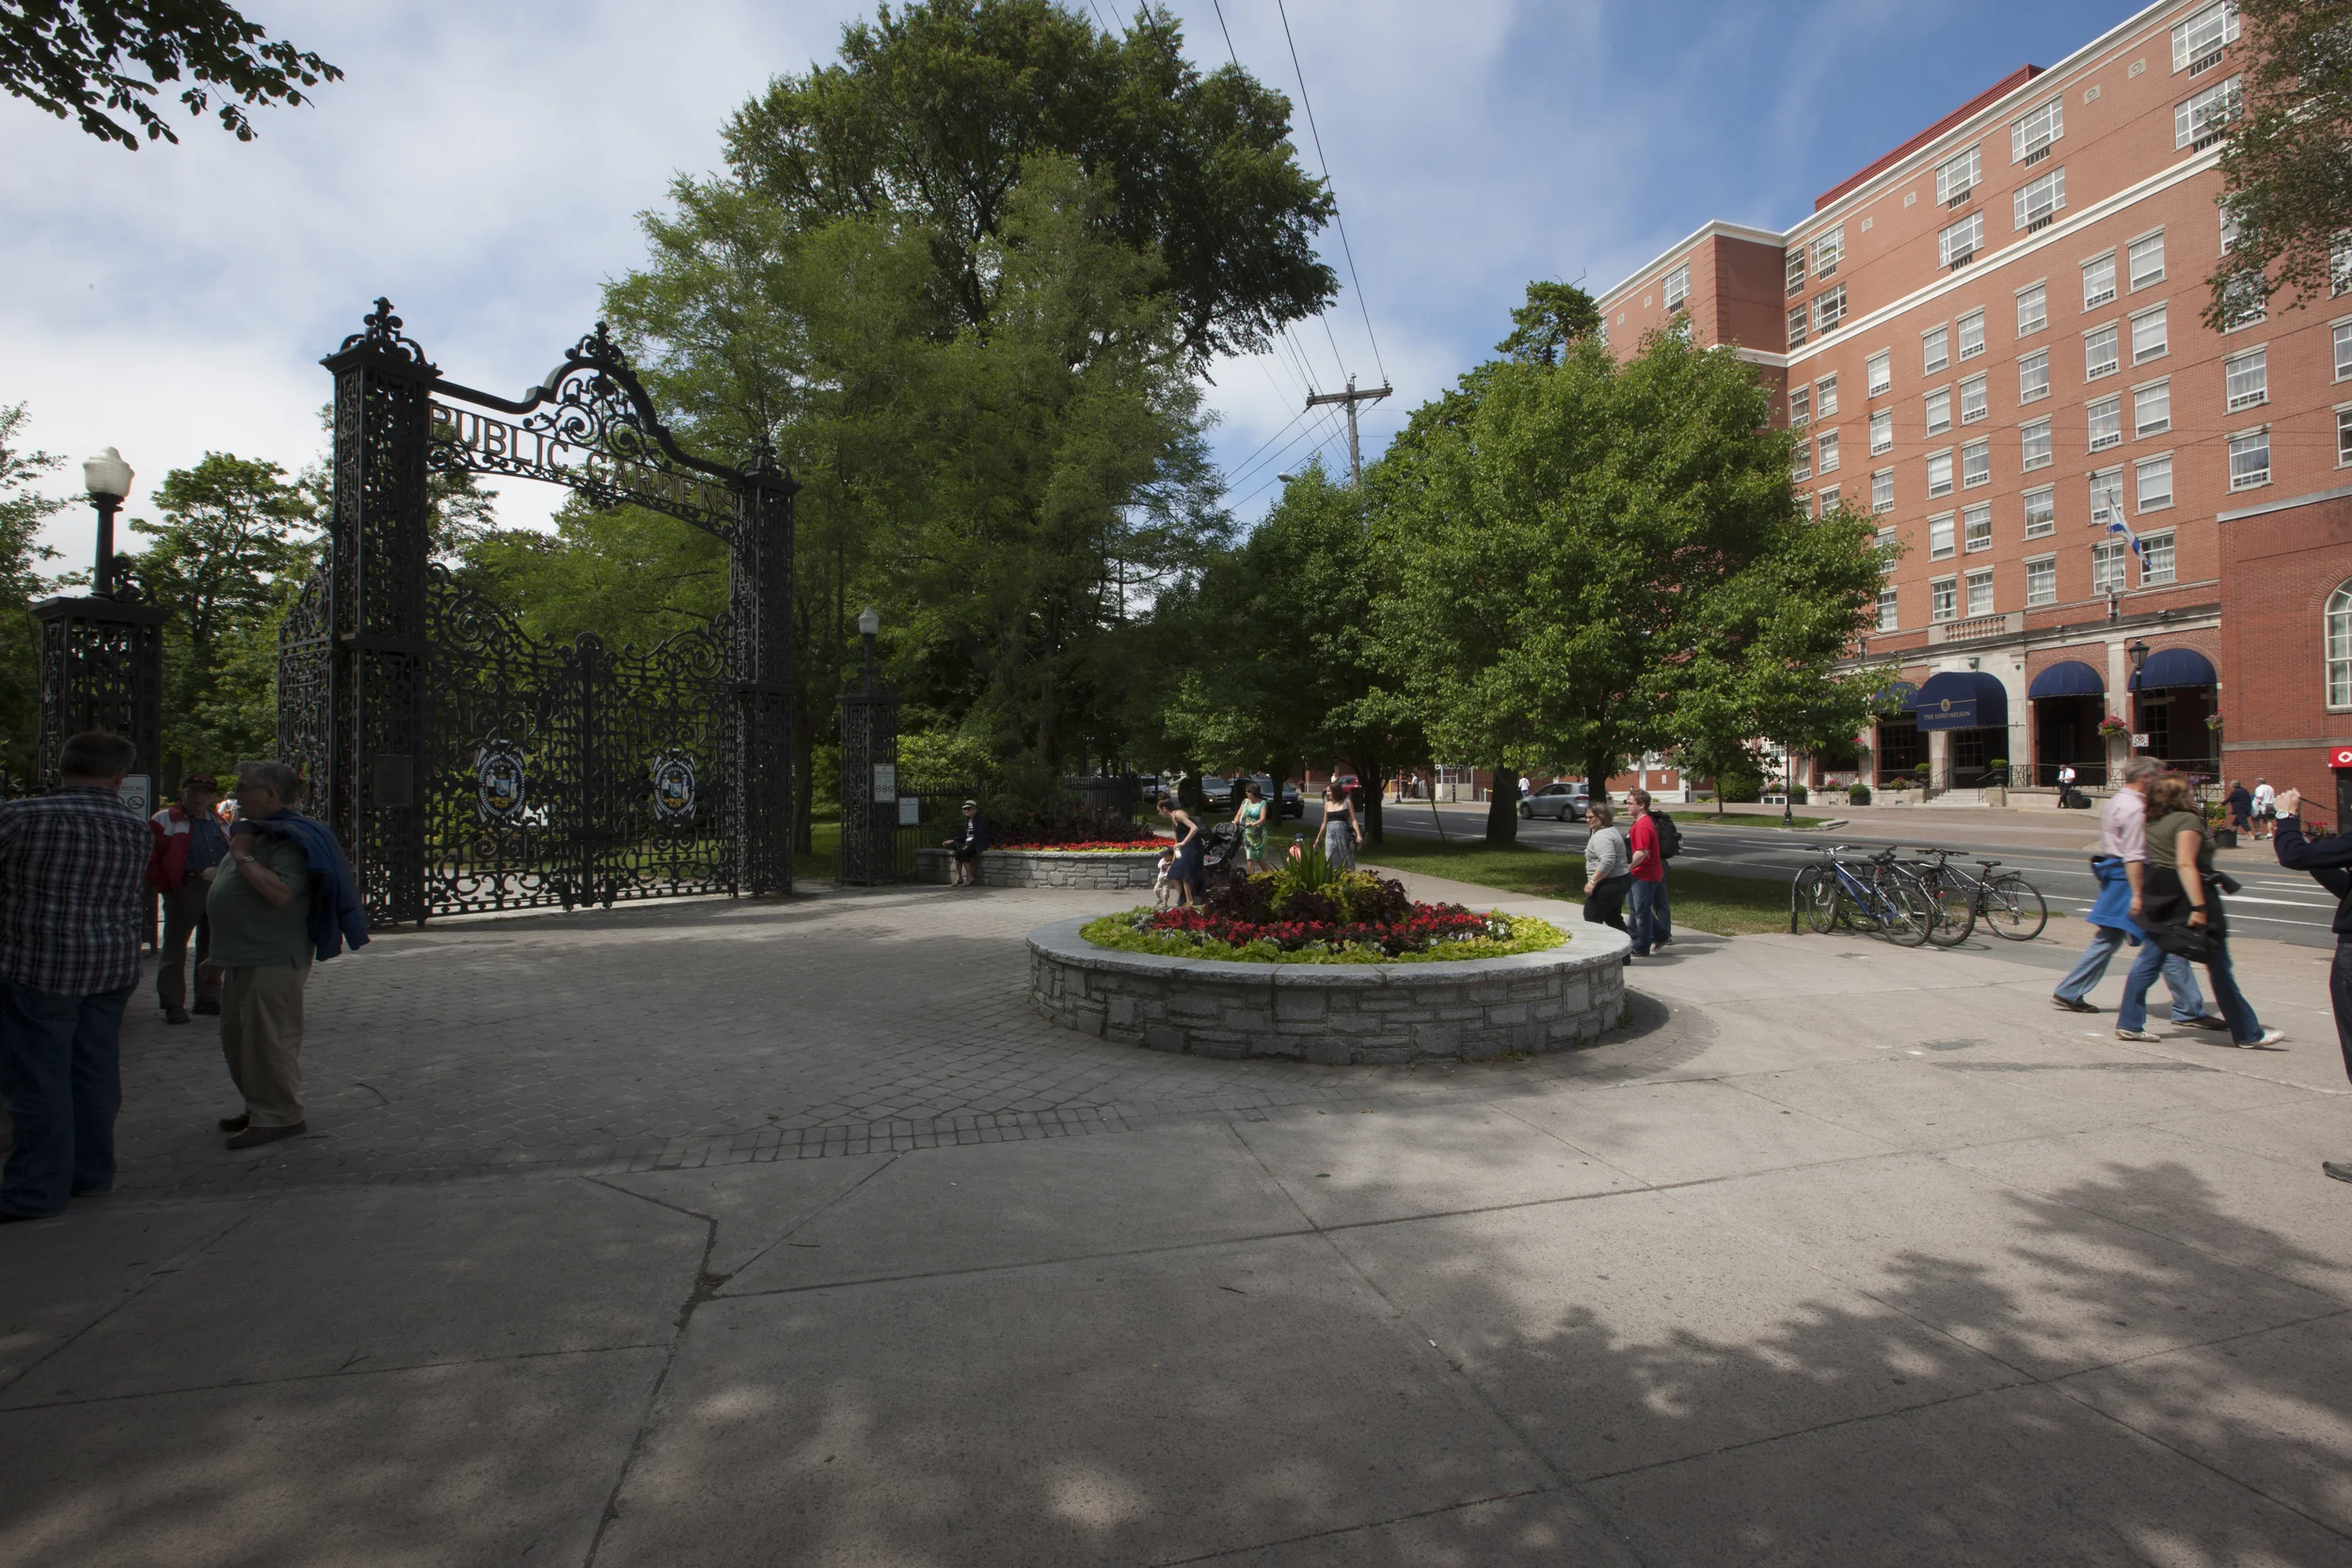
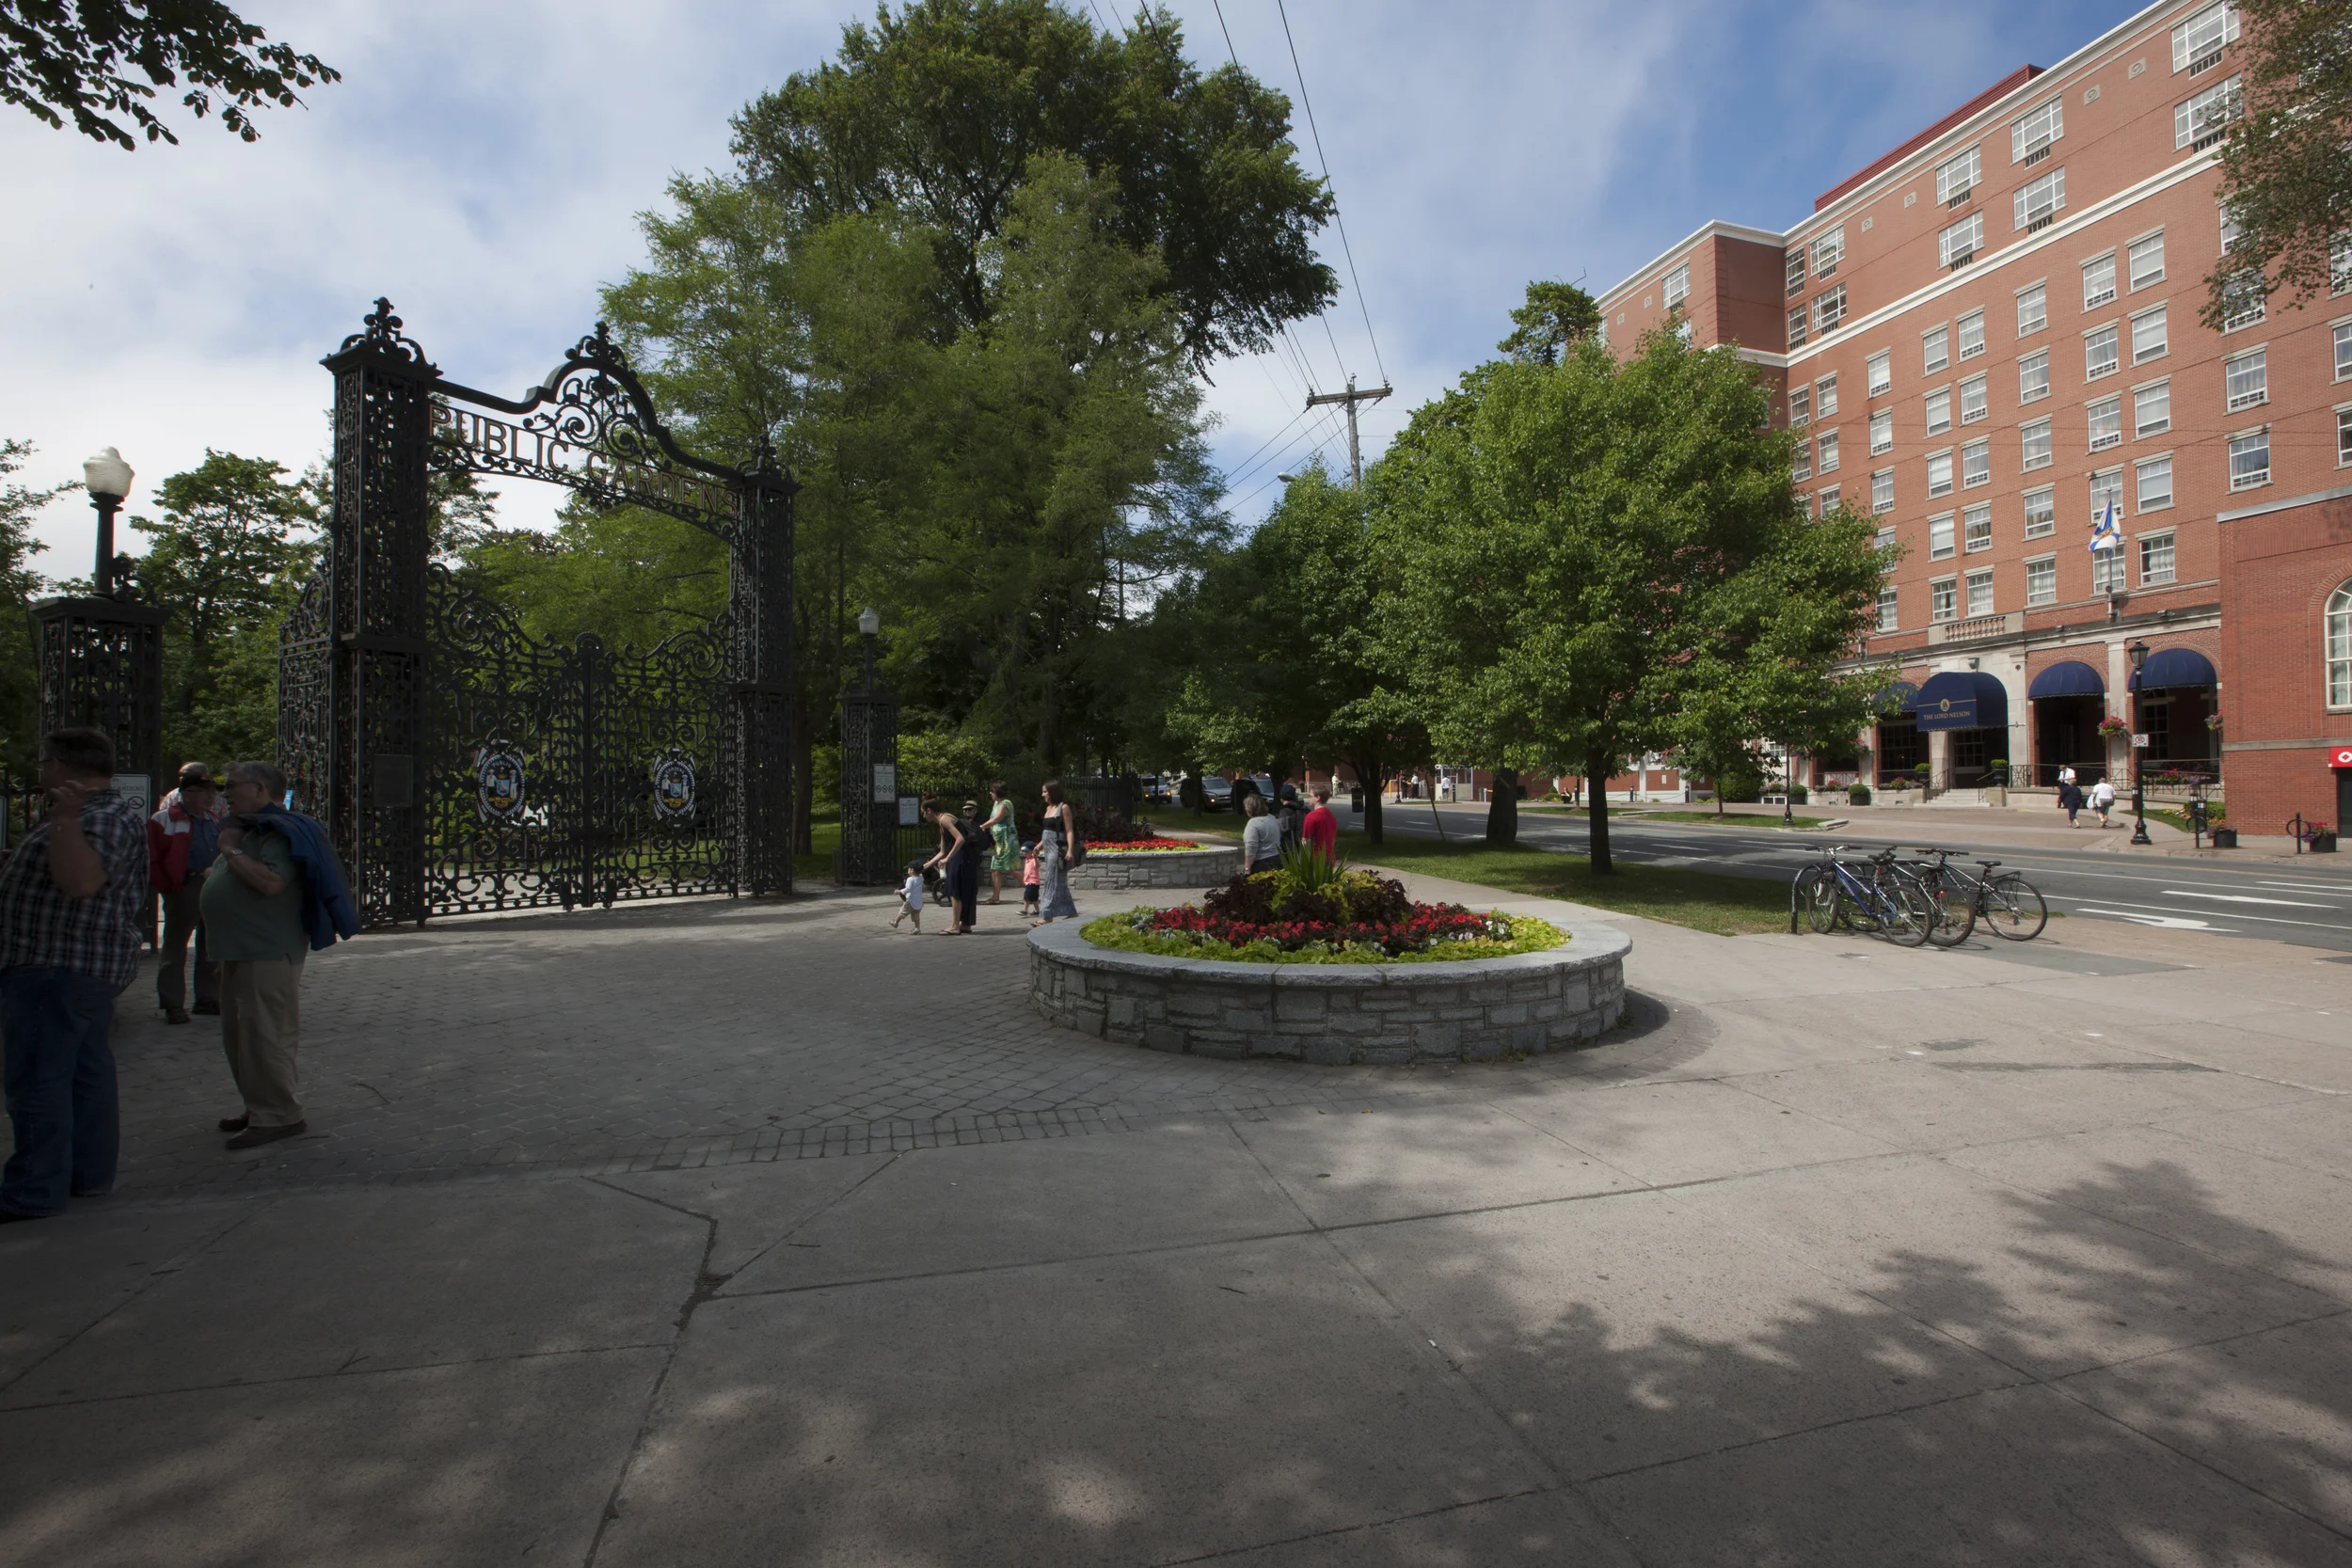
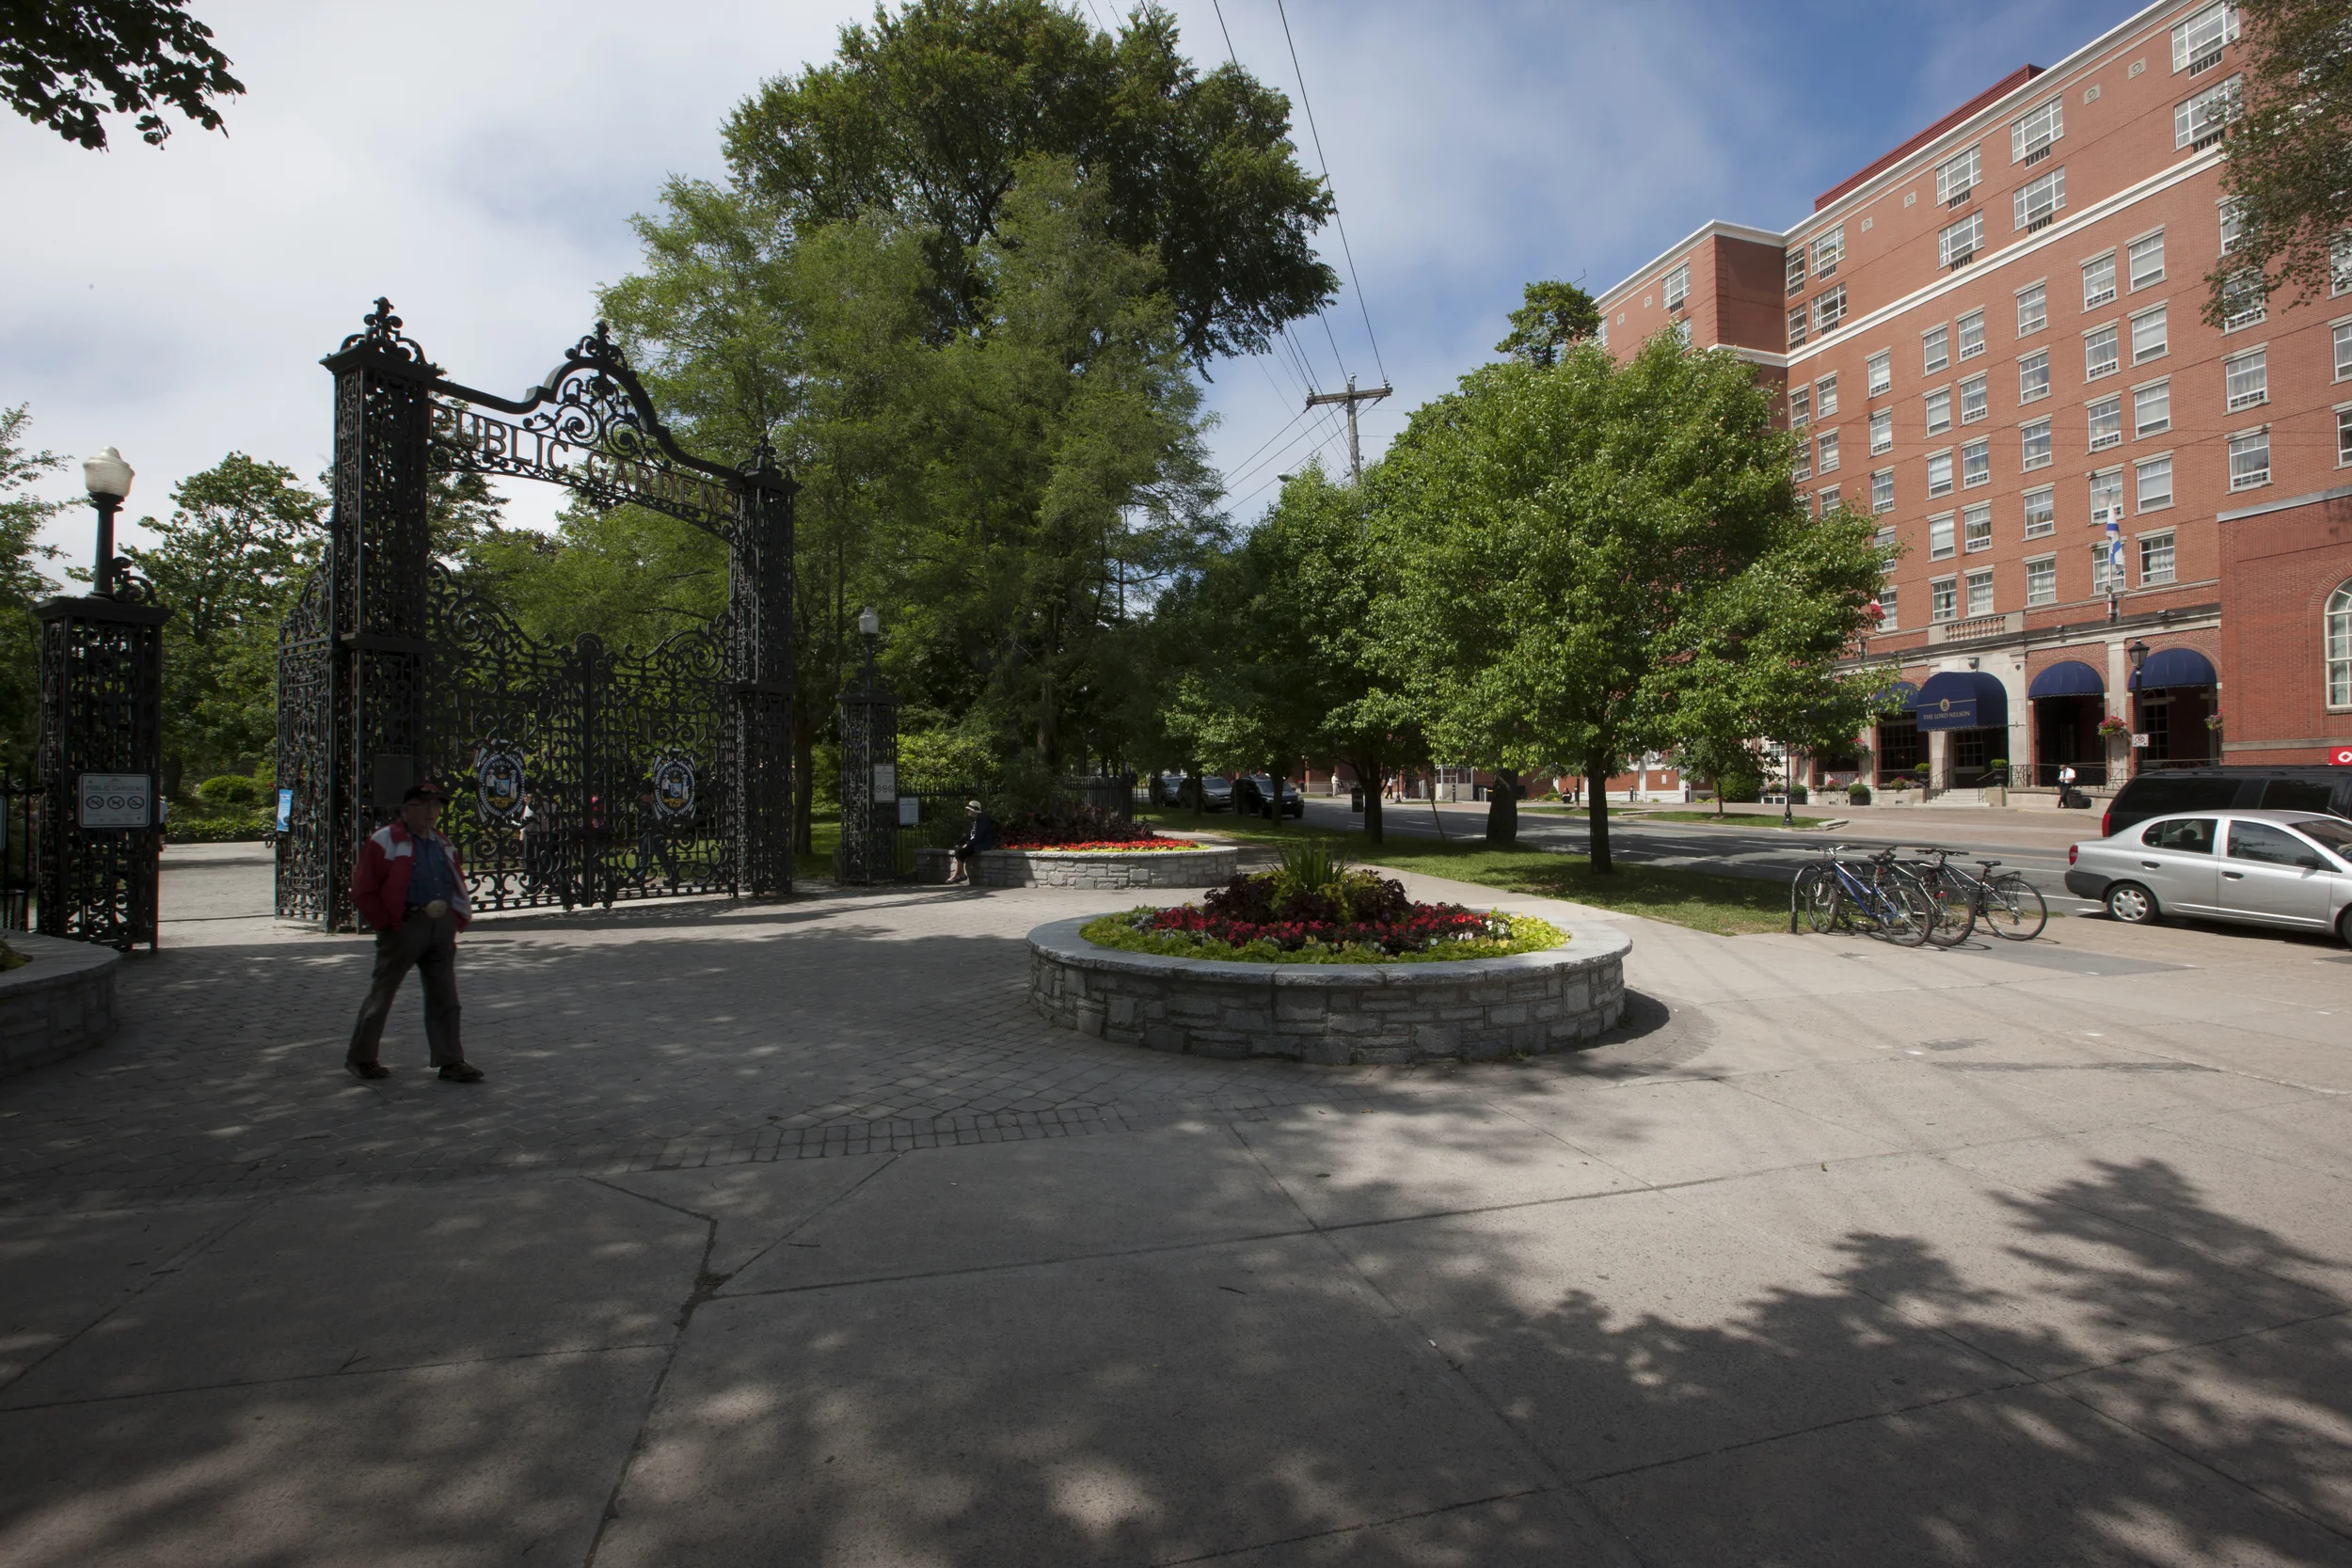
Finished blended image with Photoshop CC and Lightroom Adjustments!
So as you can see it's really about getting it in camera and I'm not claiming to have it mastered yet, so because of spending time teaching myself photoshop and editing techniques I'm able to salvage what would have been a spoiled image and make it industry quality for my clients! Thanks for checking out my blog and I will be posting more about these and other tips and tricks in the future!